Showing posts with label Soda Fizz Stencil. Show all posts

Thursday, January 2, 2020

Festive Mini Album with Karla Yungwirth

Hello friends and Happy New Year! Karla back today with a cute and festive mini album using the Itty Bitty SnowflakesSnowflakes 713Soda Fizz Stencil and adorable Mini Album from the Southern Ridge Trading Company Shop. December always seems to pass so quickly, and I never really get everything done that I want to do, so I decided to take some time to make this sweet tiny mini album with the December Scrapbook & Cards Today Sampler pack, which included these fun Doodlebug Designs Christmas papers, stickers and ephemera and embellish it with the SR chipboard and stencil products.


I started off by tracing each tiny chipboard page (2.5”square) onto the desired patterned paper, which I then cut out and inked around the edges. I used a Crop-A-Dile punch to cut the holes from the paper and then glued each onto the chipboard.


I recently won some beautiful Viva Decor Inka Gold paints from the 12 Days Of Giving contest by Creative Scrapbooker Magazine, and these were the perfect paints to coat the snowflakes! I just dabbed the sponge lightly into the paint and rubbed it on the chipboard. It dried quickly and gives a beautiful sheen.


I again used the Silver paint with the Southern Ridge Soda Fizz stencil on a couple pages for a snowy effect. This is one of my most used stencils!!


After all my pages were prepared I went ahead and embellished each one. You could easily make extra pages and tuck in some photos from your Christmas! I absolutely love the tiny Itty Bitty Snowflakes!! They are just perfect to quickly dress up any cards, scrapbook pages or tags. I even added some sequins to them for extra shine. This cute dimensional gingerbread sticker was perfect for the cover of the album.  I connected the pages with some hemp twine and blue ribbon from my stash and then made a little tassel to hang on the side. I added another little snowflake directly to the tassel.


Here’s a look at each of the inside pages:


The paper on the back of the album was so cute I decided to leave it the way it was.


I had so much fun making this album!! I’ll definitely be putting this keepsake with my Christmas decorations – it might even hang on my tree next year!

Southern Ridge Trading Company Supplies Used:


Other Supplies Used:

- SCT Sampler Pack, including Doodlebug Designs paper, stickers & ephemera and CTMH Felt Embellishments
- Krafty Kolours Ink
- Viva Décor: Inka Gold Metallic Inks
- SpiegelMom Scraps Sequins

Thanks so much for stopping by! I hope you are having a wonderful start to the year and that 2020 brings awesome things your way!

Hugs,
Karla


Monday, November 4, 2019

Peace Christmas Decor Tag with Karla Yungwirth

Hello friends! Karla here today with a beautiful Christmas decor tag using some fun and festive products from the Southern Ridge Trading Company Shop – a Chipboard Tag (coming soon), the 3x3 Star Stencil and Soda Fizz Stencil,  the Peace sentiment from the Words Of Christmas set and two trees from the Cedar Trees pack.


First I covered a medium size tag with Wild Whisper/Pam Bray Winter and Christmas paper.


I then used Golden Glow Cosmic Shimmer Opal Polish around edges of the tag for a bright gold shimmer. I used Nuvo Mustard Seed Expanding Mousse through the SRTC mini star stencil, heating with a heat gun to puff. I’ve used this star stencil on lots of projects and love how stars go with any theme!


I stamped the Wild Whisper deer head on cardstock and coloured it in by sponging on Distress Inks. Then I diecut a window from more of the Wild Whisper paper using the Studio Katia Elegant Scallop Oval die inside a Kaisercraft stitched square die, and I added some Distress Ink around the edge.


I misted two trees with Distress Oxide Sprays and then used Ranger Texture Paste through the Soda Fizz Stencil to create a snowy effect. Because the mist wasn’t quite dry before I added the paste the white took on some of the green colour, which I love! This stencil is one of my favourites too!


I glued on the Peace sentiment and added a pretty bow from my stash. I have to say it matches perfectly 😉


I glued on the trees and added a few Studio Katia gold gems for just a little extra bling!


Now I can display my Christmas tag or give it to someone special this holiday season!


Southern Ridge Trading Company Supplies Used:

- Chipboard Tag (coming soon)

Other Supplies Used:

- Wild Whisper Designs: Paper and Stamps
- Cosmic Shimmer Opal Polish
- Nuvo Expanding Mousse
- Studio Katia Die & Gems
- Kaisercraft Die
- Ranger Ink: Texture Paste
- Tim Holtz for Ranger Ink: Distress Inks and Distress Oxide Sprays

Thanks so much for stopping by today! Be sure to head over to the Southern Ridge Trading Company Shop to pick out your favourite goodies and get crafting!
Hugs, Karla


Wednesday, February 13, 2019

Winter Scrapbook Layout with Laura Gilhuly


Good morning!
Life has gotten a little slower here and I feel like I can start to create again!

Today I am sharing a wintry fun layout I did for Southern Ridge Trading Company


I started by trimming then layering my papers then die cutting many circle using the stitched circles die from Elizabeth Craft Designs.  I inked all the outside edges of my papers using the lawn fawn white ink.


To enhance the snow already on the patterned paper I used the Soda Fizz stencil and the white ink.


For the wonderful Snow Flourishes I inked them white, applied clear embossing powder, then while the embossing powder was still sticky I added some Elizabeth Craft Designs Cool Diamond Silk Microfine glitter to add some more shine!

Southern Ridge Trading Company Supplies Used:

Soda Fizz stencil
- Snow Flourish

Thanks so much for stopping by
~Laura

Monday, November 5, 2018

Christmas Greetings Tags with Karla Yungwirth

Hello friends! It’s Karla back today with a pretty set of Christmas tags using the lovely Chipboard Snowflakes #712 and Soda Fizz Stencil from the Southern Ridge Trading Company Shop. There are 12 - 1” snowflakes included in the pack, with 3 each of 4 different varieties! These are going to be a must-have for your Christmas and winter crafting!


Here are the steps I used to create these tags:


1) First, I used a Tim Holtz striped stencil to create a candy cane effect with Festive Berries Distress Oxide Ink. 


2) I used the STAMPtember Tim Holtz stamp set for most of the stamping. I heat embossed the Christmas Greetings sentiment using Emerald Creek Black Cherry Embossing Powder. 


3) Next I used the fabulous Southern Ridge Soda Fizz Stencil and some shimmery paste to add a textured, shiny detail to the upper part of the tag, above the sentiment. I think this stencil is one of my favs!! You can use it for snow, stars, bubbles, texture... so awesome!


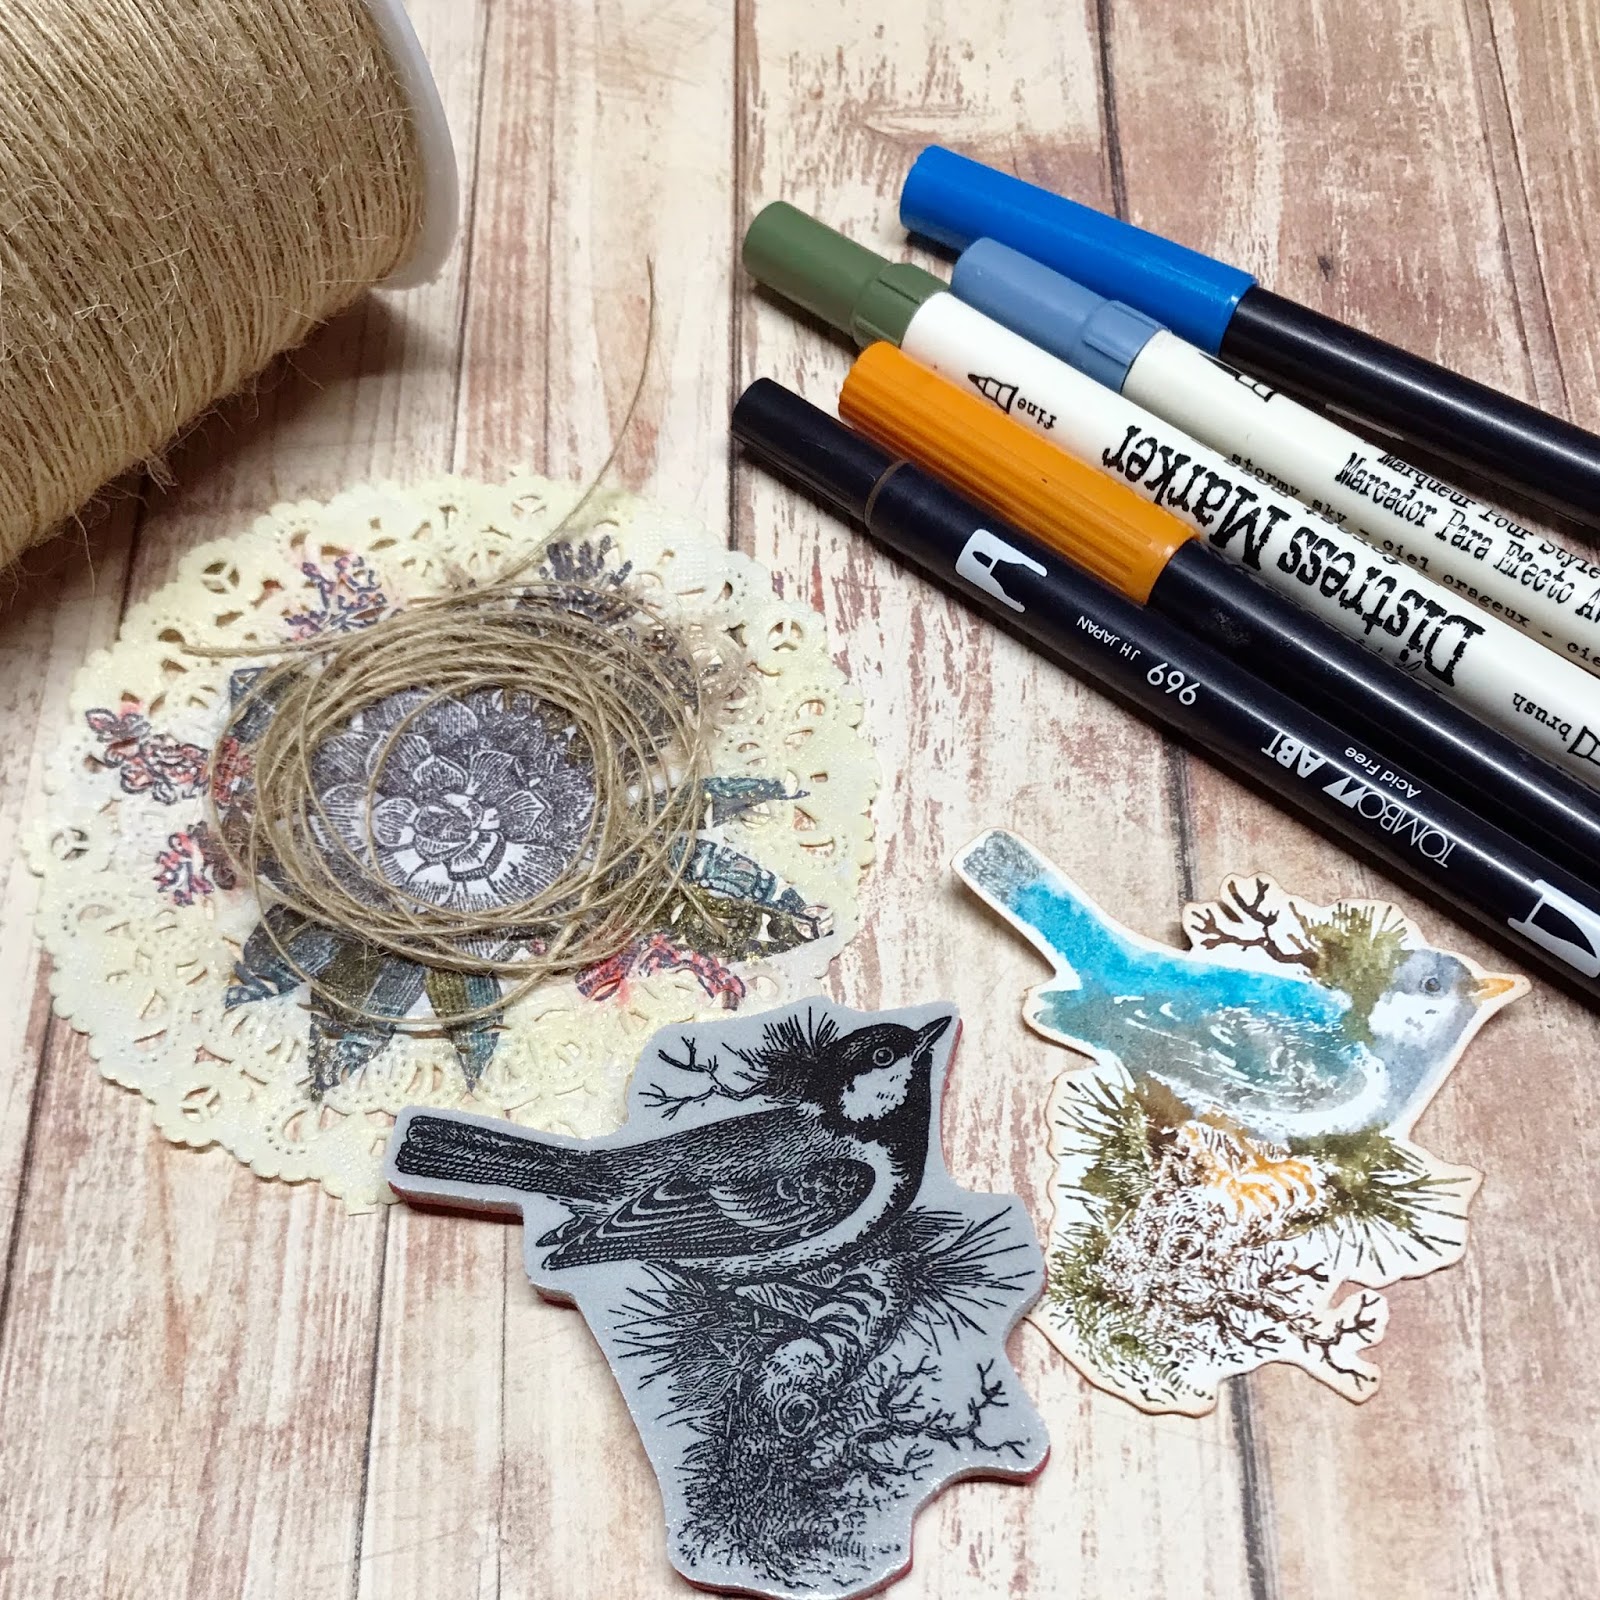
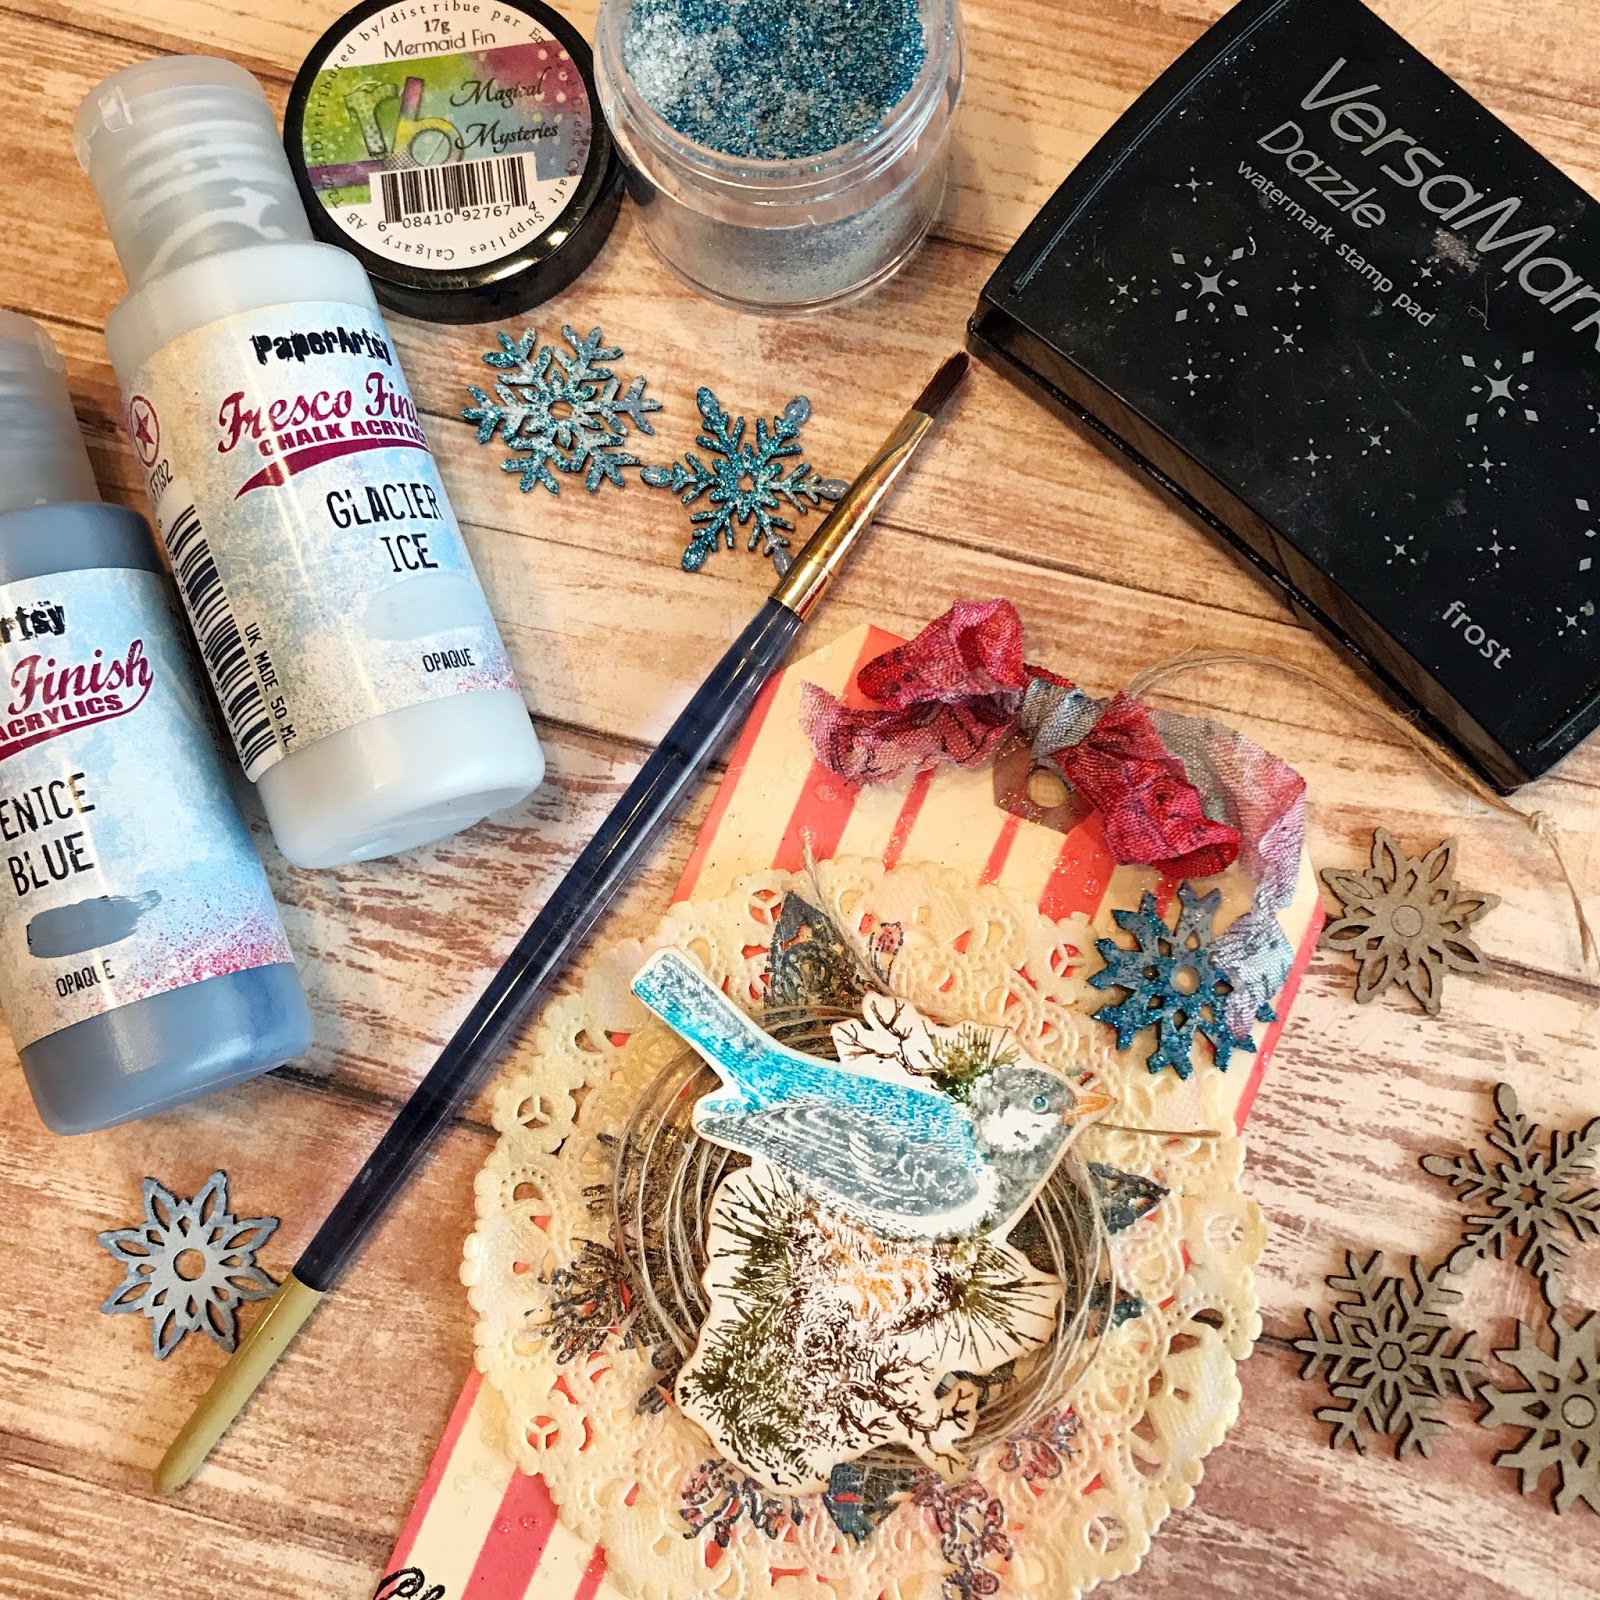
4) I stamped the floral stamp on a white doily using black Archival Ink and then coloured in the outer leaves and flowers with Tombow and Distress Markers. I sponged Scattered Straw Distress Oxide around the edge of the doily and then misted it with Tattered Angels Iridescent Gold Glimmer Mist to add shine and blend the colours. 


5) I coloured directly on the bird stamp using Distress and Tombow Markers and then misted it lightly to create a watercolour effect when stamped. I then looped some twine and glued it to the center of the doily to create a nest. 


6)I used BoBunny stitching stamps to stamp directly on the red rick-rack and then again on the bottom of the tag. Then I stamped two buttons with Distress Oxide Ink and used foam tape to attach the bird to the doily, which I glued down with Tacky Glue. 


7) I used Archival Ink to stamp the music notes on seam binding ribbon before misting with red and blue Glimmer Mist. After misting, I crinkled it up and let it dry before tying it in a bow at the top of the tag. 


8) I painted the chipboard snowflakes with Paper Artsy paints and then heat embossed them with Emerald Creek Mermaid Fin Embossing Powder. I used some Ranger Matte Medium to glue the snowflake to the top of the tag. 


9) I finally added some SpiegelMom Scraps sequins and some Stickles for glimmer. My tags are now ready to send off for a fun little Christmas tag swap!

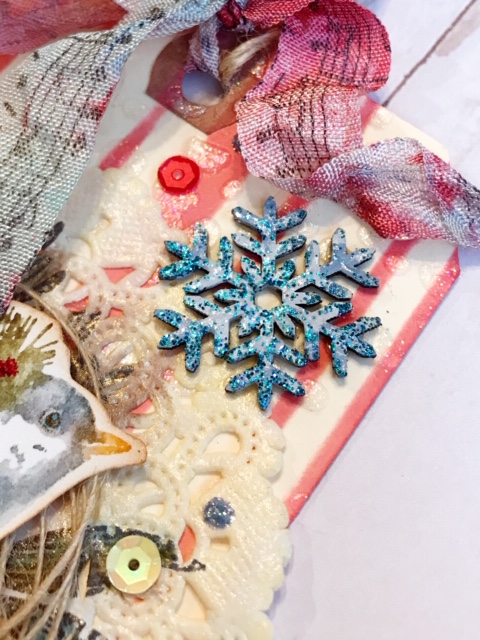
Here are some closeups for you. The glittery paste through the Soda Fizz stencil looks like icy drops on the background - so pretty!


I just love the detail on these snowflakes, and that you can easy customize them however you like. The blues i used in the paints and embossing powder coordinate with the ribbon, the stamped buttons and the bird. 


I really love the layered details of the stencils, stamps and embellishments. Don’t be afraid to alter, embellish and have fun!


Southern Ridge Trading Company Supplies Used:


Other Supplies Used:

- Tim Holtz for Ranger Ink: Distress Oxide Ink - Festive Berries & Scattered Straw, Blending Tool with Foam and Distress Markers
- Ranger Ink: Jet Black Archival Ink, Matte Medium and Stickles
- Imagine Crafts: VersaMark Ink
- Tim Holtz for Stampers Anonymous: Stamptember Stamp Set and Shifter Mint Layering Stencil
- Emerald Creek Craft Supplies: Black Cherry Embossing Powder and Magical Mysteries - Mermaid Fin Embossing Powder
- PaperArtsy: Fresco Finish Acrylic Paint - Venice Blue and Glacier Ice
- Tombow: Markers
- Bo Bunny: Stitching Stamps
- Tattered Angels: Glimmer Mist
- SpiegelMom Scraps - Sequins
- Misc: Shimmery Paste, Doily, Twine, Crinkle Ribbon and Red Rick-Rack

Thanks so much for stopping by today! Hope you have an awesome and super crafty week ahead! 

Hugs,
Karla


Monday, October 22, 2018

Fall Mini Album with Karla Yungwirth

Hello friends! Karla back today to share a Fall mini album using a brand new Chipboard Mini Album that will be in the Southern Ridge Shop soon! 


Last October our family went to Fish Creek Park in Calgary, Alberta to get family photos done. It was such a lovely fall day we decided to take advantage of the weather and the autumn colours and get some of our own pictures too! This album was perfect to document our day and scrapbook those pics!


The album has 6 thick chipboard pages with two holes in each one to add rings or string through. 

I found an older Simple Stories collection- Pumpkin Spice, in my stash and it was perfect to add to the album along with some Recollections fall papers. 


I even added a few flaps using some of the journaling cards in the cut apart sheet. 


I glued on the patterned paper with tacky glue by first tracing around each chipboard page, cutting out the shape and punching holes to match the album. Once I had glued it down I used a craft knife to trim off any extra paper. 


I used both the SRTC Soda Fizz and the Multi Gear Stencil to add Distress Oxide Ink details with a sponge tool on top of the patterned papers. 


I love how sturdy these pages are! I used two metal rings in my stash to connect all the pages together. 


Each page of the album gradually gets larger so you get a cool effect when you see it from the front. There’s lots of space to add fun photos and embellishments. 


Those stencilled details add a fun and cohesive look throughout the album. 


I added some of the wood veneer gears to various areas of the album - on the cover (above) I even turned one into a flower! Don’t be afraid to look at any shapes in your stash and see what different ways you can use them. 


I love the diecut border edges - they add so much interest!


I even decorated the back cover. This was such a fun project to do!


Southern Ridge Trading Company Supplies Used:

- Chipboard Mini Album (coming soon)
- Mini Wood Gears
- Soda Fizz Stencil
- Multi Gear Stencil

Other Supplies Used:

- Simple Stories: Pumpkin Spice Collection


Thanks for stopping by today! I hope this has given you some ideas to create your own mini album -be sure to check out the Southern Ridge Shop and see what inspires you. Have an awesome week! 

- Karla