Wednesday, May 30, 2018

Floral Happy Birthday Card with Katelyn Grosart

Hey Southern Ridge Trading Company fans, Katelyn here. For today's post, I'm excited to share with you a floral birthday card that you can give to that special someone in your life.  My Floral Happy Birthday Card features a variety of our chipboard pieces. You'll want to read below as I share with you how to recreate my Floral Happy Birthday Card at home.


To start, cut two small pieces off of the Cherrio Pattern. Apply two coats of White Paint to the pieces. Once the paint has dried, rub Hickory Smoke Distress Crayon on both pieces.


Choose one of the Happy Birthday sentiments from the Birthday Greetings chipboard. Apply two coats of Evergreen Paint to the Happy Birthday Sentiment. After the paint has dried, rub Mowed Lawn Distress Crayon overtop of the sentiment.


Cut out four foliage pieces from the Foliage Pieces chipboard. Apply two coats of Evergreen Paint to all of the foliage pieces. After the paint has dried, rub Peeled Paint Distress Crayon down the middle and edges of the foliage pieces.


The last chipboard piece you need is the Oval Peacock Feather Frame. Apply a coat of Emboss It Ink to the frame. Sprinkle Enhanced Ivory Pearl Embossing Powder overtop of the frame. Tap off the excess powder and emboss with your heat tool.


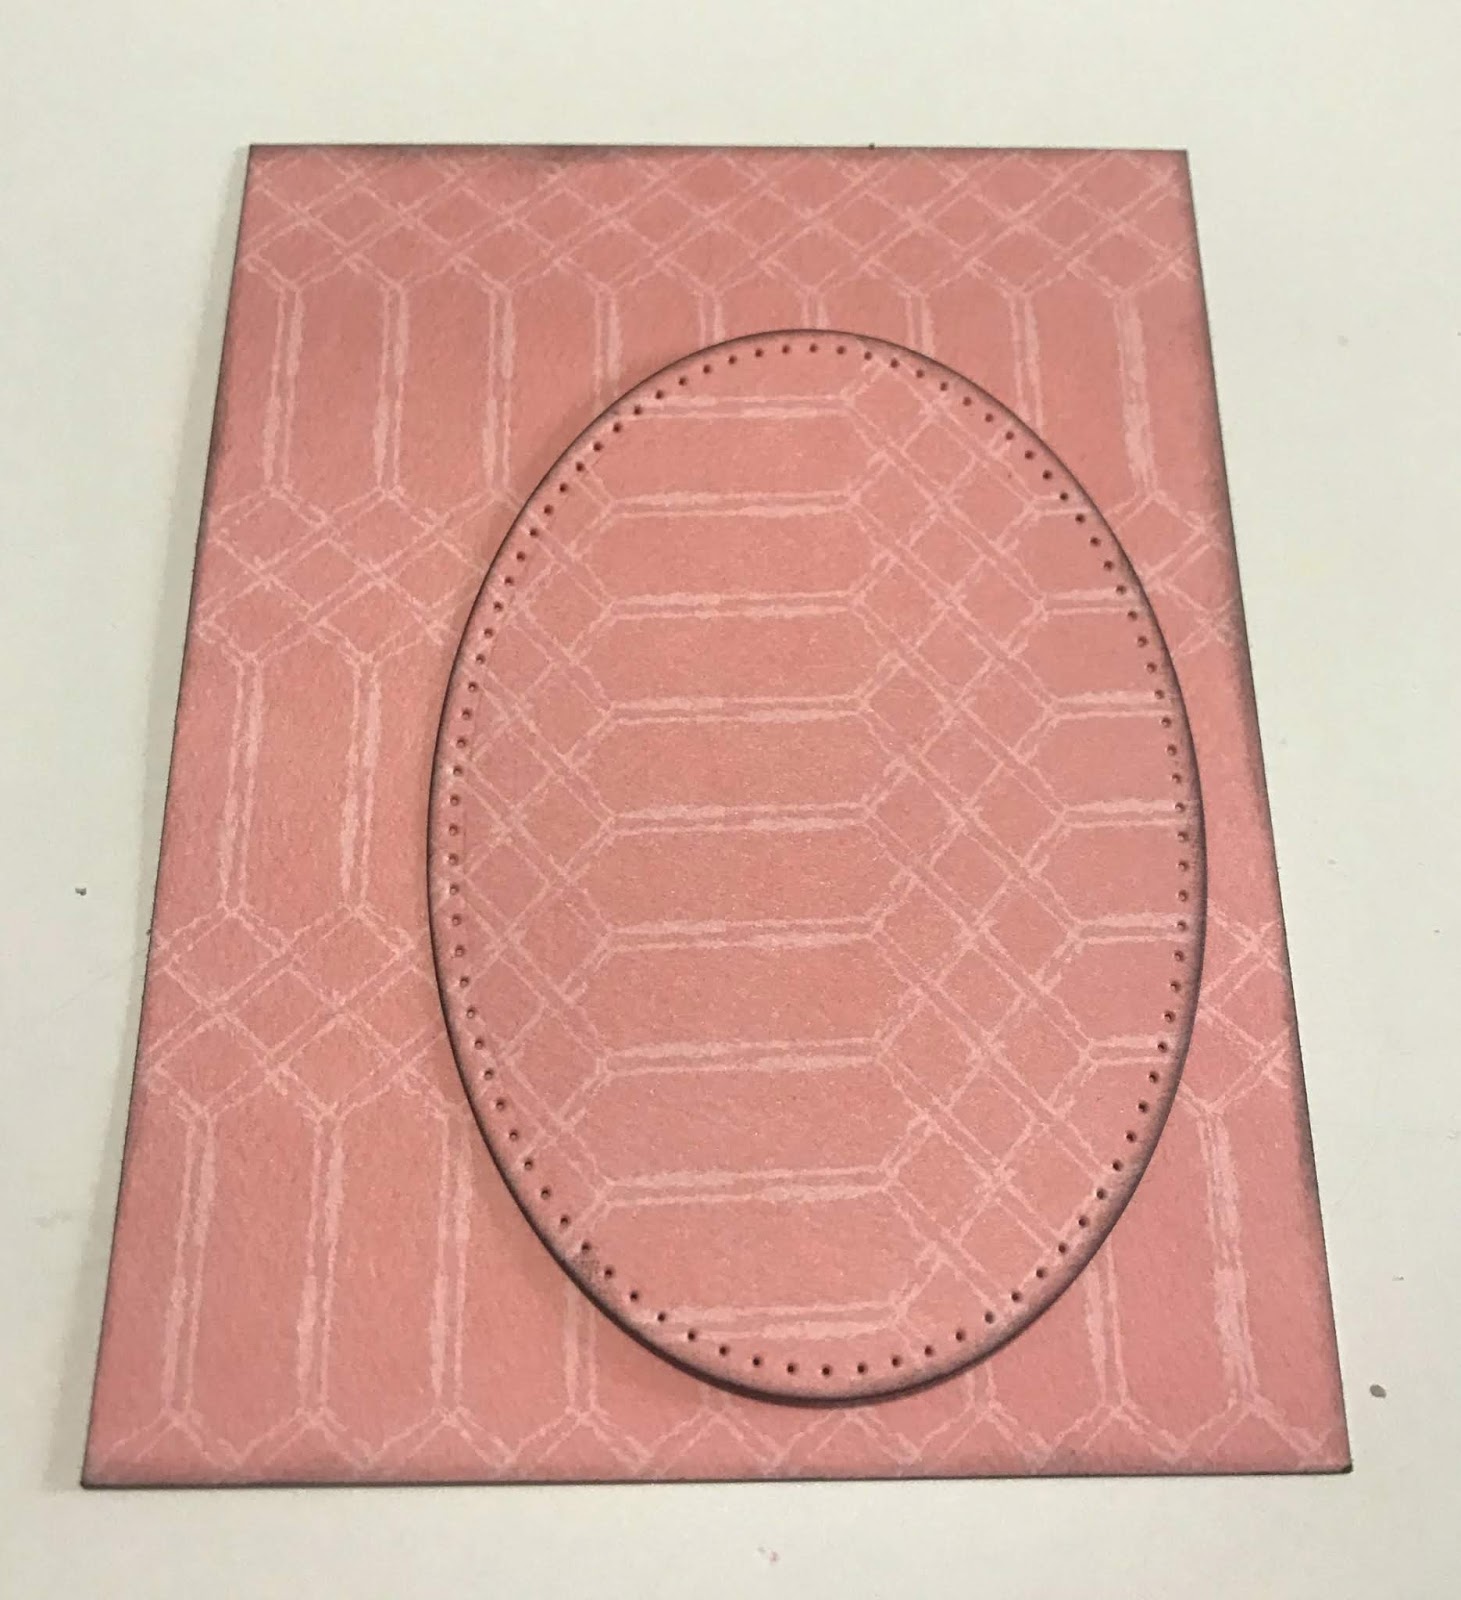
From the pink/white paper, cut a piece that measures 4 1/4" x 5 1/2". From the same piece of paper, die cut the 3" stitched oval. Ink the edges of the patterned papers using Black Soot Distress Ink and a blending tool with foam.


Cut the 3"x4" journal card that has the circle on it. Use the 2 1/2" stitched oval to cut the circle out. Ink the edges of the patterned paper using Black Soot Distress Ink and a blending tool with foam.


From the leaf patterned paper, you'll need to cut out two pieces. The first piece measures 4" x 5 3/8". The second piece measures 3 3/4" x 5". Ink the edges of the patterned papers using Black Soot Distress Ink and a blending tool with foam.


From the Whitewash Woodgrain paper, cut a piece that measures 3 7/8" x 5 1/8". Ink the edges of the patterned paper using Black Soot Distress Ink and a blending tool with foam.


Adhere the large grey/floral paper to the pink/white patterned paper. Adhere the small leaf patterned paper piece to the whitewash wood paper. Foam square the whitewash wood paper to the grey/floral paper.


On the top portion of the leaf/wood paper, tear down a bit of the paper. Adhere a piece of the Cheerio pattern to where the tear is, that way you can see part of it. On the bottom portion of the leaf/wood paper, tear up a bit of the paper. Adhere a piece of the Cheerio pattern to where the tear is, that way you can see part of it. 


Adhere the 2 1/2" stitched oval to the 3" stitched oval. Adhere the 3" oval to the middle of the leaf paper. Adhere the Oval Peacock Feather Frame overtop of the stitched ovals.


Use foam squares and glue to adhere the Happy Birthday sentiment in the middle of the frame. Adhere two leaves at the top of the frame. Adhere four coral roses, three pink roses, one large white rose and four small white flowers.


Adhere two leaves at the bottom of the frame. Adhere two coral roses, two pink roses, one large white rose and four small white flowers.


Cut a cardbase out of white cardstock that measures 5 1/2" x 8 1/2", score at 4 1/4". Adhere the cardfront to the cardbase. To finish off the card add enamel dots in amongst the flowers on both the top and bottom.


Here are a few close up photos of the finished card.


And here's the finished card.


Southern Ridge Trading Company Supplies Used:


Other Supplies Used:

- Tim Holtz for Ranger Ink: Distress Ink - Black Soot, Distress Crayons - Hickory Smoke, Peeled Paint & Mowed Lawn and Blending Tool with Foam
- Dina Wakley for Ranger Ink: Heavy Body Acrylic Paint - Evergreen and White
- Ranger Ink: Emboss It Ink Dabber
- Emerald Creek Craft Supplies: Enhanced Ivory Pearl Embossing Powder 
- Elizabeth Craft Designs: Stitched Ovals
- Carta Bella: Spring Market - Market Floral, Wreath Decor, 4x6 Journaling Cards, 3x4 Journaling Cards and Enamel Dots
- Tombow: Mono Multi Liquid Glue

Until Next Time!

- Katelyn


Monday, May 28, 2018

This Moment Scrapbook Layout with Charlene Byrd

Hello bloggers!


Thanks for joining me today! Life is all about seizing the moment with the ones you love and cherish. I sure do cherish my dear friend Elaine! She is one of the sweetest women I know, with the most genuine heart! And one of my favourite things to do with her is visit her beautiful home on the Rideau Canal and sit on her dock drinking a glass of wine…there is nothing better! (Someday, when I win the lottery, I am going to own waterfront property!!)


I started by staining the Delicate Lace Element and the hinges with Walnut Distress Stain. The lace element comes in one solid piece so I used my Tim Holtz scissors to cut it into 2 pieces. They were both tucked beside the pattern paper.


Then I used my finger to dab some of Prima’s Metallique Wax on the hinges in random spots.
I didn’t add any extra colour to the honeycomb chipboard. I wanted it a bit lighter than the lace chipboard.


Southern Ridge Trading Company Products Used:

Other Products Used:
- My Minds’ Eye pattern paper
- Prima Marketing flowers and buttons
- Prima Marketing Metallique Wax
- Tim Holtz Walnut Stain Distress Stain and Ink
- Twine
- Lace
- Cheesecloth

Thanks for joining me today!
Happy creating,
Charlene


Wednesday, May 23, 2018

Let The Adventure Begin with Erin Sampson-Quiding


Hello I’m back on the blog this week with a Graduate inspired piece. I loooove this Stand-up bike! There are so many great ways to use it, but I decided to go with a feminine, graduation theme.

I started this project by painting the Stand-up bike and base with a coat of white paint. I allowed it to dry then went back in and painted the tires, seat, handle bar and pedal black and the spokes, silver.
I left the basket as it was and filled it with mini flowers and leaves. I joined some of the flowers together so that they would drape out of the basket. I used a glue gun to make sure they are really stuck.


I added brads to the holes for the chain but didn’t like how that looked so I changed it out with some bakers’ twine, which I liked much better.
I printed out the words “Let the adventure begin” onto some basic white paper and cut it into a banner. I adhered the banner to a 3-inch piece of wire that I attached to the bike to create my flag. I placed a graduation cap onto the pole.


I had some dimensional suitcase stickers that I added flowers to and wrapped a piece of bakers’ twine around then glued it onto the back fender. I added some blingy brads into the holes on both the front and back wheels and this super cute bicycle was done!
This bike project would be a great wedding gift also – Just changing out the grad hat for a bouquet or a veil would be fun.

Southern Ridge Trading Company Products Used:

Other Supplies Used:
- Decoart Acrylic Paint: White, Silver and Black
- Small paper flowers
- Glue gun and sticks
- Paint brush
- Brads
- Wire
- Bakers twine
- Stickers
Thanks for stopping in,
~Erin

Tuesday, May 22, 2018

Sunshine and Gelatos with Tracy S

There is nothing quite as relaxing as spending a long lazy weekend playing with your craft supplies. I had so much fun creating this fun card that would be perfect to make a new neighbour or coworker feel right at home.


Directions:

Use the tape to create a border around the entire perimeter of the card. Make sure that the tape is straight and evenly placed.
Use green and blue Gelatos to create a silky smooth backdrop. Using your blender you can decide how much variation will be in the image.
Use black Gelatos to colour the chipboard and adhere it to the card.
Carefully peel back your tape. The trick is to keep the piece you are lifting grasped closely to where it is stuck.
Ink up your sentiment stamp and and add it to the bottom of the shaded area.
Use the fine marker to create freestyle patterns all over your card. 


Southern Ridge Trading Company Supplies Used:


Other Supplies Used:

- White Card Base and Envelope
- Painters Tape or Washi Tape
- Faber Castell: Gelatos
- Black Ink
- Sentiment Stamp (mine is from Close To My Heart)
- Fine Black Marker
- Blending Tool


- Tracy


Monday, May 21, 2018

Shine Scrapbook Layout with Katelyn Grosart

Hey Southern Ridge Trading Company fans, Katelyn here. For today's post, I'm excited that I get to share with you a scrapbook layout that I created for my mom for Mother's Day.  My Shine scrapbook layout features a variety of our chipboard pieces. You'll want to read below as I share with you how I transformed the chipboard pieces for my Shine Scrapbook Layout.


To start, you'll need three Vintage Scroll Keys. Apply two coats of Hickory Smoke Distress Paint to each key. Once the paint has dried, rub Black Soot and Hickory Smoke Distress Crayon along the edges of the keys.


Next you'll need the large frame from the Abstract Frame Set.  Apply two coats of Mustard Seed Distress Paint to the frame. After the paint has dried, rub Black Soot Distress Crayon along the edges of the keys.


Cut the Heart o Graph Doily in half. Apply two coats of Black Gesso to each of the doily pieces.


Take one Queen Anne's Drop from the package. Apply two coats of Ocean Acrylic Paint by Dina Wakley to the chipboard piece. 


The last chipboard piece to embellish is the Shine Word. Apply a coat of Emboss It Ink to the word. Sprinkle Onyx Frost Embossing Powder overtop of the word. Tap off the excess powder and emboss with a heat tool. 


Once all the patterned papers have been layered all together, I then added the photo and frame. In the bottom right hand side of the layout I layered in the drop, a key, the doily, the Shine word as well as some fussy cut images and a variety of flowers.


In the top left hand corner of the layout, I layered in the other half of the doily, the two keys as well as some fussy cut images and a variety of flowers.


And here's the finished layout with all the chipboard pieces added.


Southern Ridge Trading Company Supplies Used:

- Carnations: White & Yellow
- Roses 10mm: Light Blue and Black

Other Supplies Used:

- Tim Holtz for Ranger Ink: Distress Ink - Black Soot, Distress Crayons - Black Soot & Hickory Smoke, Distress Paint - Hickory Smoke & Mustard Seed and Blending Tool with Foam
- Dina Wakley for Ranger Ink: Acrylic Paint - Ocean & Black Gesso
- Ranger Ink: Emboss It Ink Dabber
- Emerald Creek Craft Supplies: Onyx Frost Embossing Powder 
- Graphic 45: Nature Sketchbook - Nature Sketchbook, Mother Earth, Harmonious Honeybees, Flora Fascination, Wildflower Bouquet, Every Blooming Thing, Plant Kingdom and Beautiful World
- Tombow: Mono Multi Liquid Glue
- Misc: Queen Anne's Lace, White Small Flowers and Heat Tool

Until Next Time!

- Katelyn


Friday, May 18, 2018

Embrace Life Shelf Plaque with Sand McTier


Love this time of year when bees, butterflies and dragonflies are everywhere, don’t you?
It usually means the weather is getting warmer and flowers are blooming!

I hope you’ll enjoy creating this simple yet colourful design as much as I did! It doesn’t show up well in the photograph, but the background colours are metallic and so is the dragonfly! They shimmer and shine, and as I pass this little plaque on the shelf, the light dances all over the metallics, bringing it to life!

https://nebula.wsimg.com/obj/RUYyRUY5OUE4RTc2NEJEQ0NGQ0M6MGQ5YjFkMDgxMDlmMzMyOGM3OWM3NDk4ZGViY2RiN2U6Ojo6OjA=


https://nebula.wsimg.com/obj/RUYyRUY5OUE4RTc2NEJEQ0NGQ0M6NjIyOTkwMjhmODFmMjhjYTU3ZGIwOTVjMWNlZThmYjY6Ojo6OjA=

Prepping the Pieces:

Stand:
  • Using a 3/4" wash brush, paint the Medium Canvas Stand with DecoArt’s All Purpose Sealer and let completely dry.
  • Once dried, give it a light sanding. Then paint on a smooth layer of DecoArt Media Gesso and let completely dry. Once dried, give it another light sanding, removing any dust.


Dragonfly:
  • Load a damp #12 flat brush with Metallic Lustre Lavish Green and tap it on here and there. Rinse the brush and mix with some Metallic Lustre Purple. Tap the colour on here and there. Finish with a little Metallic Lustre White Frost, highlighting in a couple of places.
  • Once dried, varnish with DecoArt Media Soft-Touch Varnish.


Stand:
  • Lay the Dragonfly Fantasy stencil in place. Load one of the stencil brushes with Extreme Sheen Aquamarine, wiping most of it off on a paper towel. Using a soft circular motion, stencil over the beautiful Rebecca Baer stencil, mostly along the top half of the surface.
  • Load the other stencil brush with Extreme Sheen Amethyst, wiping most of it off on a paper towel. Repeat the circular motion over the stencil from the middle, down and on the stand as well. Add some of the purple up into the dragonfly’s wings.
  • Blend where it meets the Aquamarine. You might need to add more of the Aquamarine and then more Amethyst to get them to blend nicely. Let dry.
  • Load the IPC Large Oval Foam Sponge with Carbon Black, blotting any excess off on a paper towel. Run the brush along the inside edge of the surface to give it a framed in look.
  • Wipe the Amethyst stencil brush off on a paper towel and then load with Carbon Black, wiping most of it off onto a paper towel.
  • Lay the word stencil in place and, using a soft circular motion, go over the words. Load the liner brush with Carbon Black and attach the letters so that it doesn’t look like you’ve used a stencil.
  • Load the #12 flat brush with water and dip into Extreme Sheen Amethyst; splatter colour in a few places on the plaque. Rinse and repeat with Titanium White.
  • Let everything dry and then varnish with DecoArt Media Soft-Touch Varnish.     


Finishing Touches:
  • Glue the dragonfly on the stand with E6000.
  • Display!

Southern Ridge Trading Company Products Used:


Other Supplies Used:

- Dynasty Brushes: Black Gold 3/4" Wash, #12 Flat, IPC Large Oval Foam, 1/2" Stencil brush x 2 and a liner brush of choice.
(All available from TheBrushGuys.com – use promo code: sandymc for an additional discount)
- Rebecca Baer Stencil: Dragonfly Fantasy (Med.) ST-8007
- DecoArt Stencil: Motivation
- DecoArt Americana All Purpose Sealer
- DecoArt Media Products, White Gesso & Fluid Acrylics: Titanium White and Carbon Black
- DecoArt Extreme Sheen: Amethyst & Aquamarine
- DecoArt Metallic Lustres: Lavish Green, Purple and White Frost
- DecoArt Media Varnish: Soft-Touch
- E6000 Glue
- Misc. Supplies: Sanding Block, Palette Paper and Water Basin


©2018 Embrace Life, Sandy McTier Designs ~ all rights reserved