Showing posts with label Dina Wakley for Ranger Ink. Show all posts

Wednesday, May 30, 2018

Floral Happy Birthday Card with Katelyn Grosart

Hey Southern Ridge Trading Company fans, Katelyn here. For today's post, I'm excited to share with you a floral birthday card that you can give to that special someone in your life.  My Floral Happy Birthday Card features a variety of our chipboard pieces. You'll want to read below as I share with you how to recreate my Floral Happy Birthday Card at home.


To start, cut two small pieces off of the Cherrio Pattern. Apply two coats of White Paint to the pieces. Once the paint has dried, rub Hickory Smoke Distress Crayon on both pieces.


Choose one of the Happy Birthday sentiments from the Birthday Greetings chipboard. Apply two coats of Evergreen Paint to the Happy Birthday Sentiment. After the paint has dried, rub Mowed Lawn Distress Crayon overtop of the sentiment.


Cut out four foliage pieces from the Foliage Pieces chipboard. Apply two coats of Evergreen Paint to all of the foliage pieces. After the paint has dried, rub Peeled Paint Distress Crayon down the middle and edges of the foliage pieces.


The last chipboard piece you need is the Oval Peacock Feather Frame. Apply a coat of Emboss It Ink to the frame. Sprinkle Enhanced Ivory Pearl Embossing Powder overtop of the frame. Tap off the excess powder and emboss with your heat tool.


From the pink/white paper, cut a piece that measures 4 1/4" x 5 1/2". From the same piece of paper, die cut the 3" stitched oval. Ink the edges of the patterned papers using Black Soot Distress Ink and a blending tool with foam.
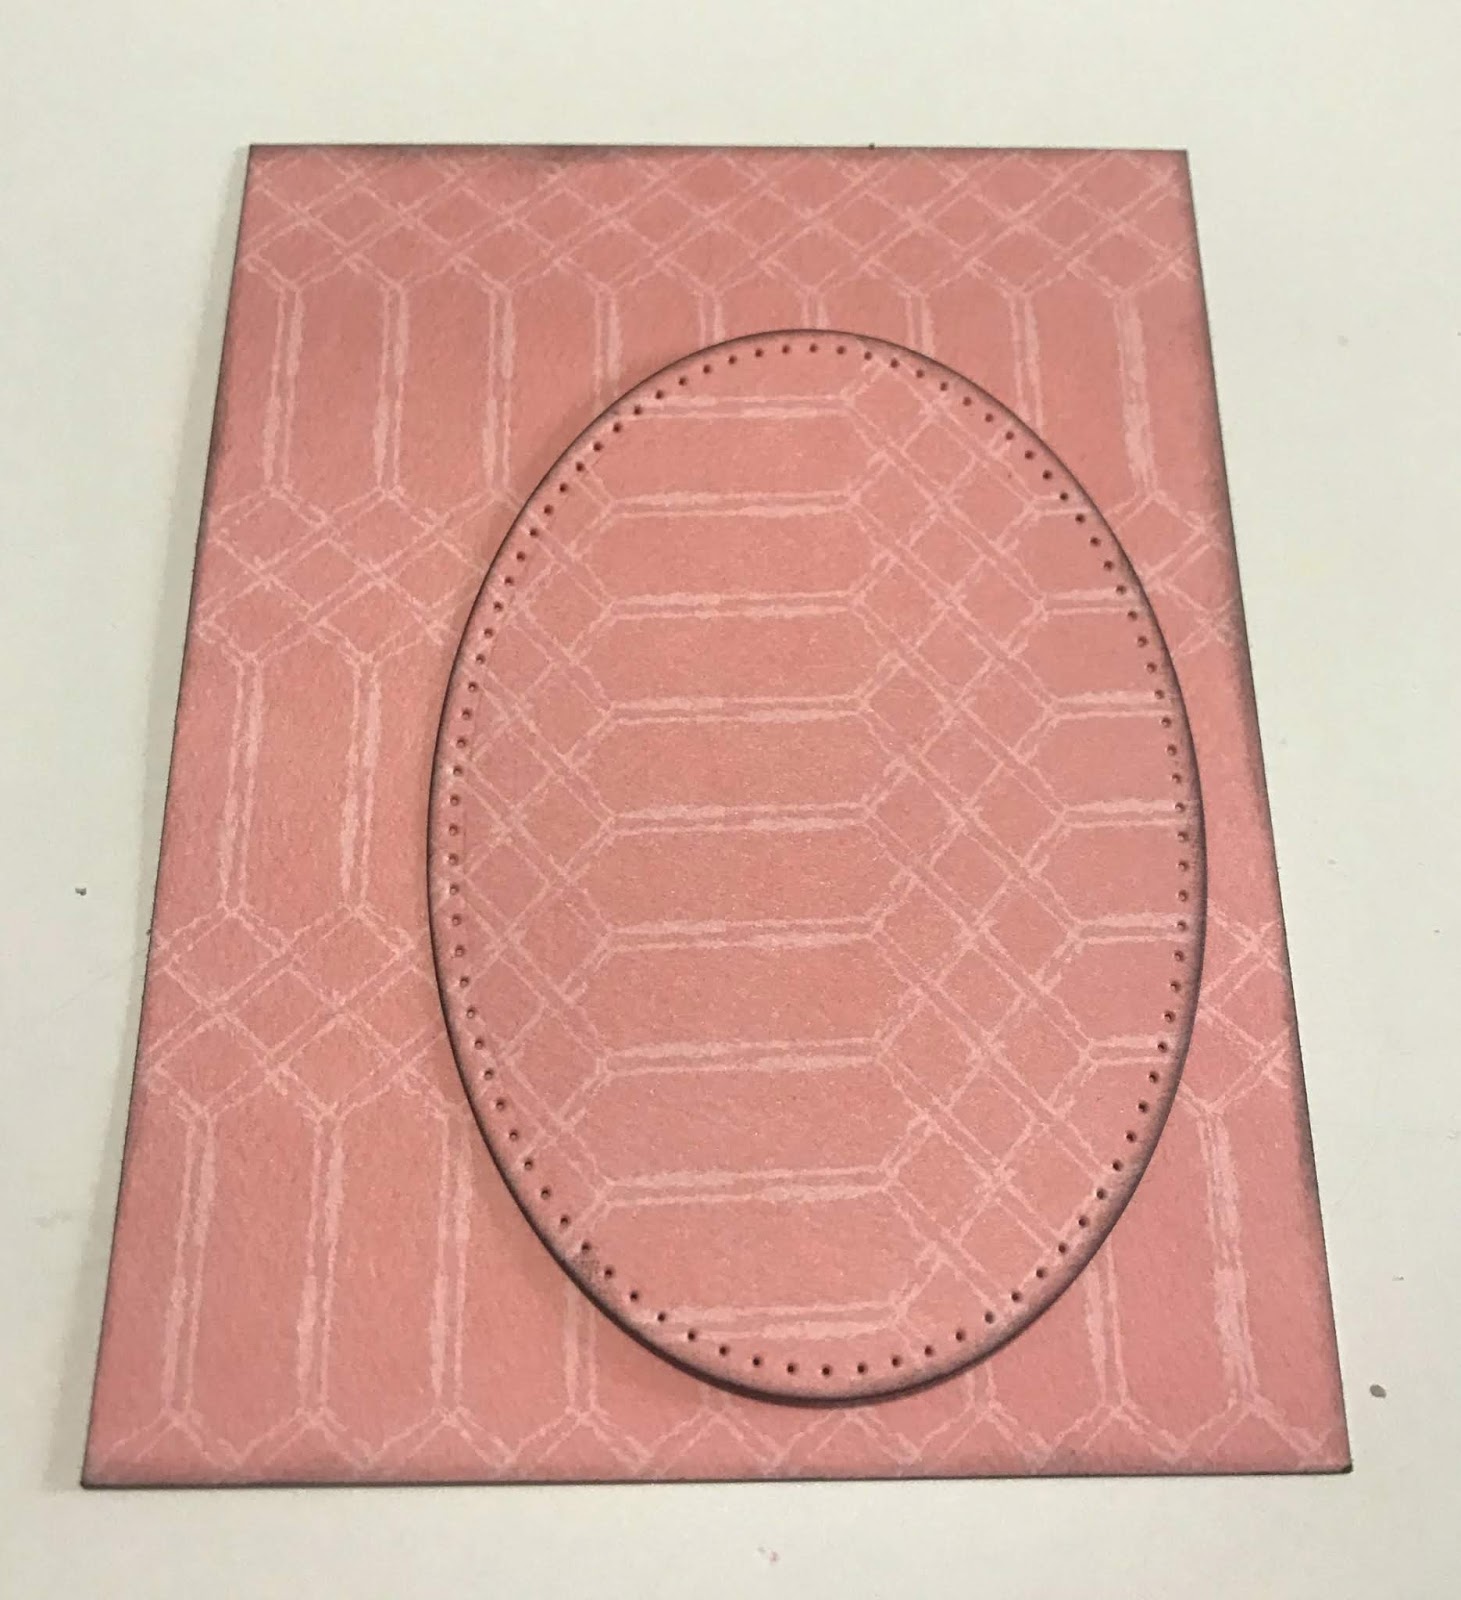

Cut the 3"x4" journal card that has the circle on it. Use the 2 1/2" stitched oval to cut the circle out. Ink the edges of the patterned paper using Black Soot Distress Ink and a blending tool with foam.


From the leaf patterned paper, you'll need to cut out two pieces. The first piece measures 4" x 5 3/8". The second piece measures 3 3/4" x 5". Ink the edges of the patterned papers using Black Soot Distress Ink and a blending tool with foam.


From the Whitewash Woodgrain paper, cut a piece that measures 3 7/8" x 5 1/8". Ink the edges of the patterned paper using Black Soot Distress Ink and a blending tool with foam.


Adhere the large grey/floral paper to the pink/white patterned paper. Adhere the small leaf patterned paper piece to the whitewash wood paper. Foam square the whitewash wood paper to the grey/floral paper.


On the top portion of the leaf/wood paper, tear down a bit of the paper. Adhere a piece of the Cheerio pattern to where the tear is, that way you can see part of it. On the bottom portion of the leaf/wood paper, tear up a bit of the paper. Adhere a piece of the Cheerio pattern to where the tear is, that way you can see part of it. 


Adhere the 2 1/2" stitched oval to the 3" stitched oval. Adhere the 3" oval to the middle of the leaf paper. Adhere the Oval Peacock Feather Frame overtop of the stitched ovals.


Use foam squares and glue to adhere the Happy Birthday sentiment in the middle of the frame. Adhere two leaves at the top of the frame. Adhere four coral roses, three pink roses, one large white rose and four small white flowers.


Adhere two leaves at the bottom of the frame. Adhere two coral roses, two pink roses, one large white rose and four small white flowers.


Cut a cardbase out of white cardstock that measures 5 1/2" x 8 1/2", score at 4 1/4". Adhere the cardfront to the cardbase. To finish off the card add enamel dots in amongst the flowers on both the top and bottom.


Here are a few close up photos of the finished card.


And here's the finished card.


Southern Ridge Trading Company Supplies Used:


Other Supplies Used:

- Tim Holtz for Ranger Ink: Distress Ink - Black Soot, Distress Crayons - Hickory Smoke, Peeled Paint & Mowed Lawn and Blending Tool with Foam
- Dina Wakley for Ranger Ink: Heavy Body Acrylic Paint - Evergreen and White
- Ranger Ink: Emboss It Ink Dabber
- Emerald Creek Craft Supplies: Enhanced Ivory Pearl Embossing Powder 
- Elizabeth Craft Designs: Stitched Ovals
- Carta Bella: Spring Market - Market Floral, Wreath Decor, 4x6 Journaling Cards, 3x4 Journaling Cards and Enamel Dots
- Tombow: Mono Multi Liquid Glue

Until Next Time!

- Katelyn


Wednesday, April 5, 2017

Haida Tribal Tattoo Art Journal with Karen Bearse

I have a page today that is inspired by Haida Tribal Art & a wee history lesson that is hopefully a bit accurate. A few years ago my husband got a tattoo embracing the art of the Haida or Pacific Northwest Coast Native Indians. If you are interested in the story behind the tattoo check out my blog here. The definition is …
Hai·daˈhīdə/noun: Haida; plural Haida or Haidas
  1. A member of any of the tribes of North American Indians inhabiting the Queen Charlotte Islands, British Columbia, and Prince of Wales Island, Alaska. Amazingly the Haida people settled 8,000 years ago- I have a hard time wrapping my brain around that one!


Colour me thrilled that SRTC has tribal chippies & Emerald Creek has Haida stamps! My husband’s tattoo is an example of things I want to document in my art journal. I did do some research on the pieces I used on my page. SRTC has this wonderful dreamcatcher chippie. While the Ojibwe (or Chippewa) Tribe are credited as the originators of this symbol, many other tribes have also adopted it throughout time. As there are Haida Dreamcatcher images I assume that they also embraced this symbol although I could not find confirmation online.


This is one of the images that I did find online, the art is by Eric Parnell.  Eric is part of the Eagle clan with the Haida Nation. For the sake of flexibility in art I will use symbols that remind me personally of living in Vancouver BC, being Canadian and loving the art of the Haida. Now on with the show!


I felt an urgent & resolute need to pull out my Distress Oxides (DO). I just did a tutorial on my blog making a passport book & the cover is one of my favourite techniques. I thought I would re-create it in a different way. Smoosh different DO directly on your craft sheet, spritz with water & dab tag into the colours. Dry & repeat multiple times until the tag has a happy amount of coverage. The key is to dry between layers to build up colour & move your tag around to build different colours on top of each other. Once dry emboss using an embossing folder. I found it was better to emboss the tag after I coloured it. Use a small amount of paint & a hard piece of foam to hit the high points. Let dry.


Cover the tag with Distress Mica Spray & while wet sprinkle UTEE (ultra-thick embossing powder) liberally. Tip tag to let excess UTEE fall off onto a piece of paper, pour back into the jar. Heat set tag until all the crystals are melted. The result is a shimmery, glossy, colourful tag of brilliance!


For the dreamcatcher multiple colours of emboss powder were used. You will notice in the above picture the feather on the left was coloured in Winter’s Mistake to start with but in the final picture I switched it to Northern Lights. Simply cover original with embossing dabber and add new colour on top, this is a great way to tweak your project. I also stamp, heat embossed the Sun using Onyx Frost, on a piece of dictionary paper & cut it out.


Emerald Creek has come out with beautiful gemstones which are perfect for this project. Cover the entire center of the dreamcatcher in Glossy Accent & then simply place the gemstones. Set aside to dry.


For the flag & the feather I pulled out my brand new Dina Wakley Scribble Sticks. The flag was simply coloured like a crayon & covered in UTEE as above. The feather I coloured and added water to create a soft water colour look. The sticks were also used to highlight my dictionary definitions in the same way. They work great as a watercolour.


The rest was a matter of assembly & adding some little touches like random stamping of the sun on the dictionary paper with DO Broken China. Using the above DO technique to colour my #4. Adding a bead & hemp to the dreamcatcher.

For more on the history of the Haida check out this blog Wisdom of The Elders

Southern Ridge Trading Company Supplies Used:


Other Supplies Used:

- Eileen Hull Sunburst Embossing Folder by Sizzix
- Emerald Creek Craft Supplies: Sun Mask Stamp, Gemstones, Northern Lights Embossing Powder, Onyx Frost Embossing Powder, Silvester-Kracher Embossing Powder, Charred Gold Embossing Powder and Salted Navy Embossing Powder
- Ranger Ink: Distress Oxides Ink, UTEE, Embossing Dabber, Distress Mica Spray - Antique Bronze, Glossy Acccents, Mixed Media Tag and Archival Ink
- Dina Wakley for Ranger Ink: Scribble Sticks

I hope you enjoyed this tutorial, please leave me any comments or questions below or check out my blog for more projects karenbearse.blogspot.com Have a great inky day!

- Karen