Showing posts with label Foliage Pieces. Show all posts

Friday, March 20, 2020

Heart of Spring with Ruchi

Hello friends!! Ruchi here from Ruchi's Crafeteria and I'm back with my inspirational project.

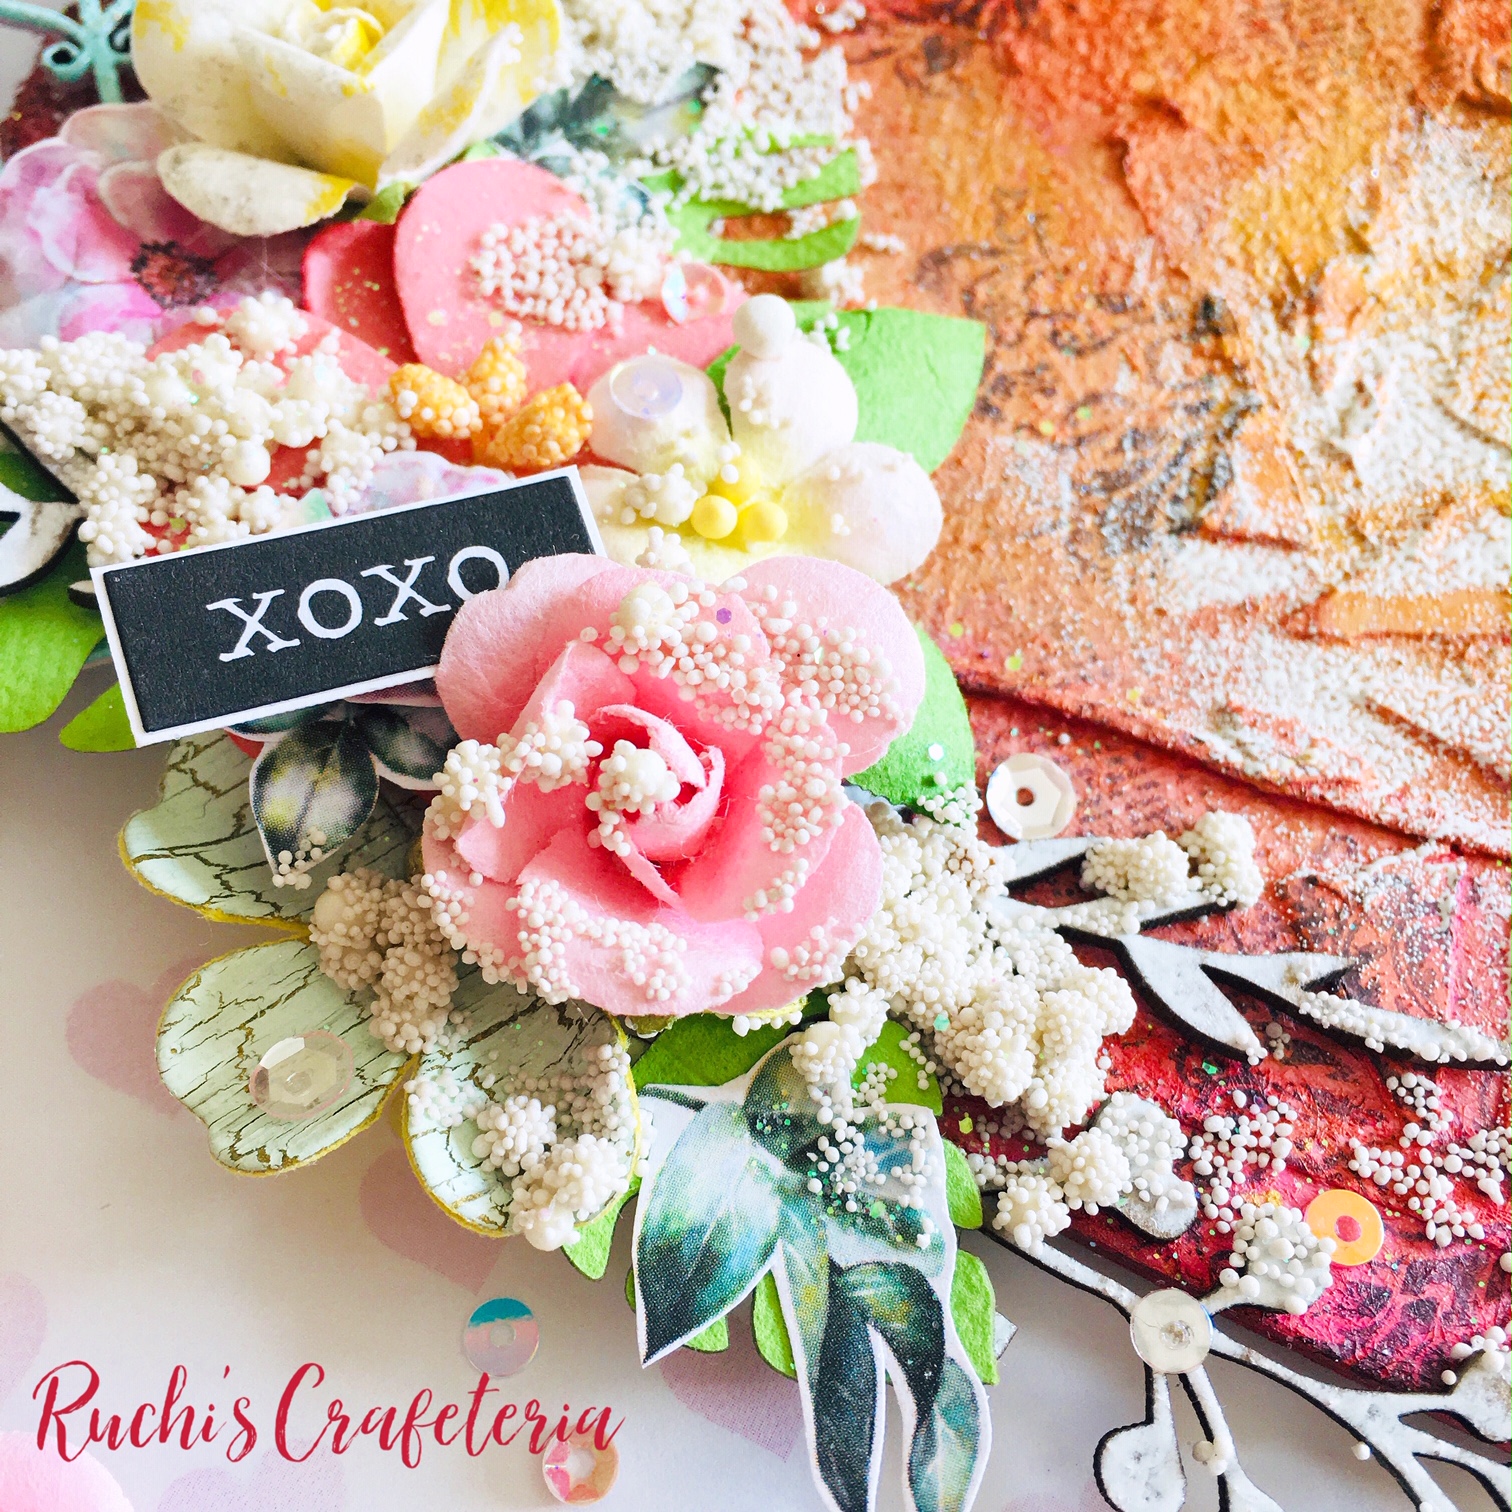
Today I've created a Layout on chipboard using mixed media technique. Here it is...


I chose some bright colours for my projects. Picked SRTC Plain Heart Mix Package which is a set of hearts chipboards in different sizes. Applied used dryer sheet along with Prima Gel Medium. Put that aside for drying and heat embossed some SRTC chipboards- Foliage Pieces and Heart Scroll Cage.


When the base dried, created texture with the help of texture paste and stencil and applied different mists and metallic paints.
I did some stamping and arranged all the elements together.


Lastly added art stones, sequins, and sparkling dust to complete the look.


That’s it for today!! I hope you like my today's project. Don’t forget to check the SRTC shop for these chipboards and some other awesome designs.

Southern Ridge Trading Company Supplies Used:


Other Supplies Used:

- Prima Marketing Inc.: Stamps, Flowers, Gel Medium, White Gesso and Mini Art Stones
- Expressions Craft: Metallic Paints and Deco Stones
- Ranger Ink: Embossing Powder
- Tim Holtz Idea-ology: Big Chat sticker
- Stencil, sequins, fussy cut elements are from my stash

See ya next time.
Till then happy crafting!!
Ruchi


Sunday, March 15, 2020

Easter Basket Card with Nancy Nickel

Hi, everyone!
It's Nancy here today with a fun Easter Basket Card,
using some fabulous items from Southern Ridge Trading Company!

This time I've combined the Detailed Easter Eggs, 

along with some Foliage Pieces.
I've also used the fun Basket Weave Stencil.

Here's my card:


Aren't the eggs gorgeous?
I knew that I wanted to create an Easter basket to put my eggs in.
I found a basket cut file, and adapted it to fit my 5 1/2" square card.
I cut the basket from yellow cardstock, 
and stenciled the design in a darker shade of yellow.


I wanted my basket to look full, so I traced around the chipboard eggs, 
and cut some eggs from pastel coloured cardstock.
I created a card base from the light yellow cardstock,
and added a background panel of very pale blue.


I wanted to give the basket some shape and dimension on the card.
I curled the shape with my fingers,
and then used adhesive along with foam tape to adhere it in place. 
I left some of the basket handle free, to add more dimension.


I coloured the chipboard pieces with various pastel shades of glitter glue:
yellow, turquoise, pink, and green.
They are so pretty and sparkly!


Once the chipboard was all dry, I added two of the eggs in place in the basket.
I tucked the cardstock eggs in behind, and added some foliage pieces.
I added the pink egg, along with one more foliage piece, outside the basket.
Finally, I added a pretty sheer bow to the basket handle.


 These eggs are so intricate and beautiful!
There are lots of ways to create an Easter project with them!

Southern Ridge Trading Company Products:

Other Materials Used:

- AC Cardstock
- Basket Cut File - Easter Egg Treat Basket
- Tim Holtz for Ranger Ink: Scattered Straw Distress Ink
- Glitter Glue: Yellow, Turquoise, Pink, and Green
- Celebrate It Ribbon

* * * * *
Thanks so much for stopping by today!
I'll be back soon with more creative fun!

* * * * *

Friday, January 24, 2020

Wooden Treasure Box with Ruchi

Hello friends! Ruchi here from Ruchi's Crafeteria and I'm back with my inspirational project.

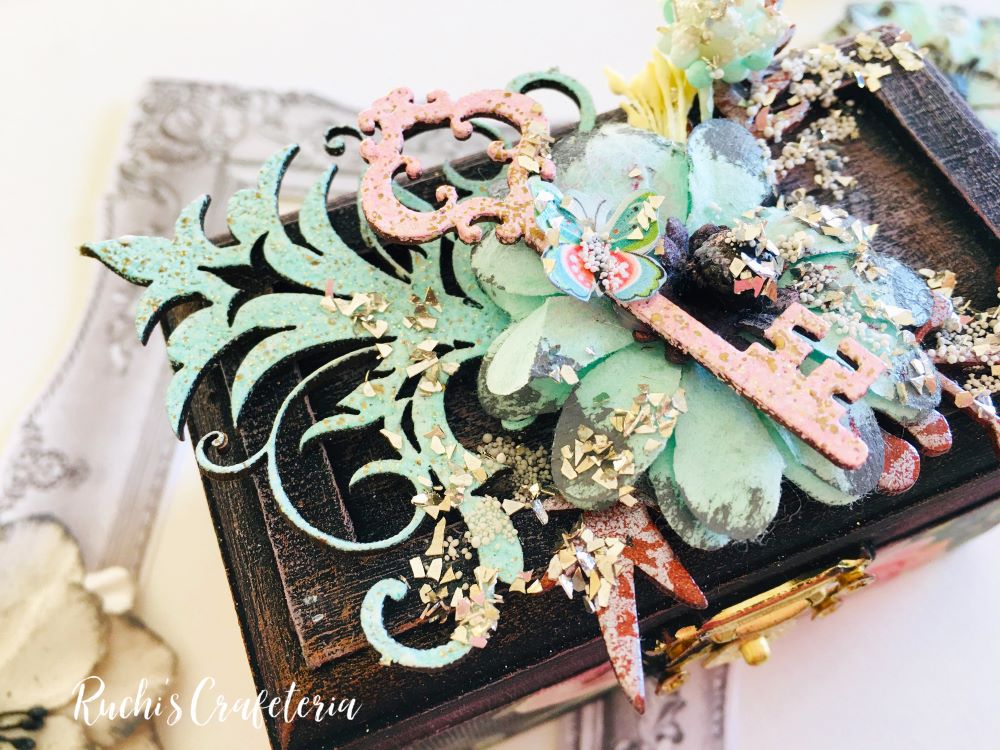
Today I've altered a wooden box into a beautiful Treasure Box with perfectly designed SRTC chipboards.


First I've applied Prima Black Gesso all over to the box and set it aside for drying.
When dried, I took a decoupage paper and applied it to my box. Left the lid but if you want you can cover the lid too with paper.


I chose SRTC chipboards- Vintage Scroll Keys, Demask Corners, and Foliage Pieces and heat embossed them using different embossing powders.
Arranged all the elements like SRTC chipboards, Prima flowers, pollens together on the box lid.
Lastly highlighted some parts of the box with metallic paints and sprinkled Finnabair Glass Glitters and Mini Art Stones.


Southern Ridge Trading Company Supplies Used:


Other Supplies Used:

- Bob n Betty: Decoupage Paper
- Prima Marketing Inc.: Black Gesso, Flowers
- Finnabair: Glass Glitter, Mini Art Stones
- Expressions Craft: Metallic Paints
- Imagine Crafts: Versamark Embossing Ink
- Ranger Ink: Embossing Powders
- WOW: Embossing Powder
- Wooden box, glue, pollens are from my stash

See ya next time.
Till then happy crafting!!
Ruchi


Wednesday, August 28, 2019

Mixed Media Card - Memories with Ruchi

Hello friends!! Ruchi here from Ruchi's Crafeteria and I'm back with my inspirational project.


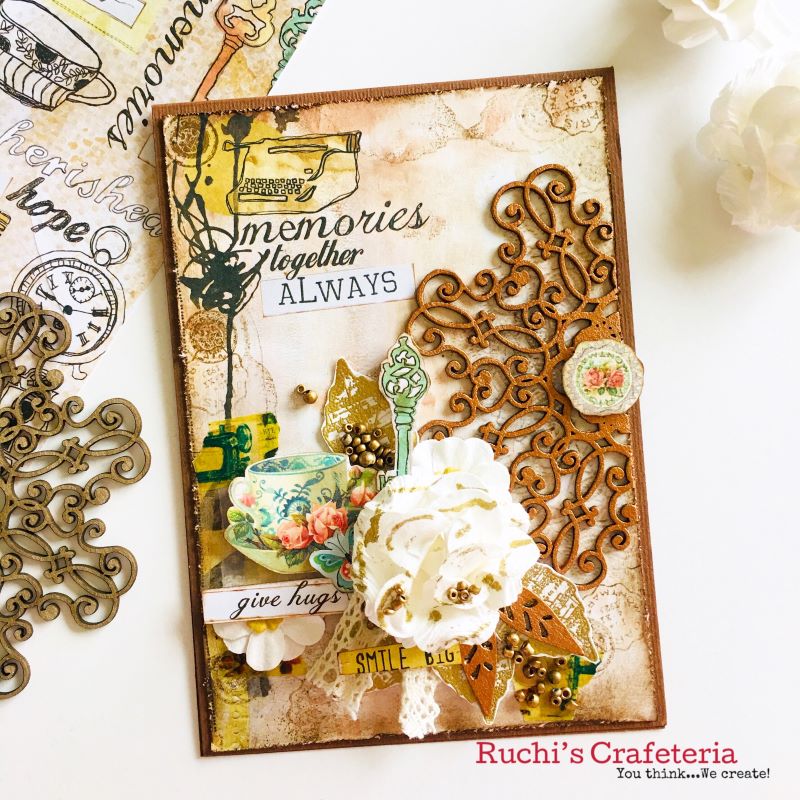
Today I've created a mixed media card.


Took a card stock and adhered Prima paper on that. It's already printed in vintage look so didn't add any texture. Just distressed the edges using Walnut Stain distress ink.


Picked SRTC Delicate Lace Doily and SRTC Foliage Pieces chipboards and applied Expressions Craft 'Bronze Moon' metallic paint.


Arranged all the elements like SRTC chipboards, Prima flowers, Kaisercraft flowers, some fussy cut elements from the same Prima papers, stamped and gold embossed leaves and some embellishments.


That’s it for today!! Hope you like my today's project. Don’t forget to check SRTC shop for these chipboards and some other awesome designs.

Southern Ridge Trading Company Supplies Used:


Other Supplies Used:

- Prima Marketing:  Papers, flowers
- Ranger Ink: Rose Gold Embossing Powder
- Tim Holtz for Ranger Ink: Walnut Stain Distress Ink
- Imagine Crafts: Versamark Ink
- Expressions Craft: Bronze Moon metallic paint
- Kaisercraft: Flowers
- JustRite stamp (for leaves)
- Cardstock, tiny beads, lace, double sided tape are from my stash.

See ya next time.
Till then happy crafting!!
Ruchi


Monday, July 15, 2019

Take Me To The Sea Mixed Media Tag with Ruchi

Hello friends!! Ruchi here from Ruchi's Crafeteria and I'm back with my inspirational project.

It's hot, bright sun outside and all are planning their vacation at beach side. So I've created a tag on this seashore theme as I love beaches too :)


I chose some sea colours and seashore elements for my tag. Picked SRTC Mini Ocean Set, Fish Net and Foliage Pieces chipboards and applied different metallic paints on them. Then heat embossed with gold, orange and clear embossing powders.


Chose mixed media technique to create my tag. Textured my tag base and did some stamping to create background. Layered some Prima papers, and all the SRTC chipboards together and then embellished them with some Prima Art Stones, sequins, stamped leaves, glitter gold and shells which I collected from my various beach trips :)


That’s it for today!! Hope you like my today's project. Don’t forget to check SRTC shop for these chipboards and some other awesome designs.

Southern Ridge Trading Company Supplies Used:


Other Supplies Used:

- Prima Marketing: ATC Tags, Art Stones and Modelling Paste
- Ranger Ink: Gold and Orange embossing powder
- WOW clear embossing powder
- Versamark Ink
- Posca Markers
- Expressions Craft: Metallic Paints and Alaska Gold glitters
- Stamps are from My Favorite Things, Mudra Craft Stamps, Lesia Zgharda Stamps
Altenew Artist Markers
- Sequins, papers, stencil, diamond dust, glue, shells are from my stash.

See ya next time.
Till then happy crafting!!
Ruchi


Monday, May 20, 2019

Scatter Kindness Like Confetti Scrapbook Layout with Karla Yungwirth

Hello friends, it’s Karla back today with a pretty spring layout using the Foliage Pieces and Wild Flower Bouquet Chipboard and Loop Stencil from the Southern Ridge Trading Company Store. I decided to try customizing the chipboard pieces with some of the Ranger Pearl Alcohol Inks that are available. Since they are more opaque than the regular Alcohol Inks because of the pearl mixative, they worked really well to colour the chipboard, giving it a soft, shimmery effect! Be sure to scroll to the bottom to find the video link where you can see how fun this technique is!


I tucked the Foliage Pieces in and around some Simple Stories diecut flowers and layered some stickers on creating clusters around my page.


The Alcohol Pearl Inks were easily applied to the chipboard pieces with a felt pad. I love the mottled look of the Pearl Inks on this beautiful Wild Flower Bouquet!


The Stencils in the SRTC Shop are beautifully detailed! I used a brush to add colour on the base of my layout with Distress Oxide Inks in colours that coordinated with the papers and embellishments.


You can see the steps I used to create this layout and how easy it is to customize chipboard with Alcohol Inks in this video here – https://youtu.be/LMHd_QwYnTs

Southern Ridge Trading Company Supplies Used:

- Loop Stencil - Available Soon

Other Supplies Used:

- Tim Holtz for Ranger Ink:  Alcohol Pearl Ink and Distress Oxide Inks
- Simple Stories: Vintage Botanical Collection
- My Mind’s Eye: Happy Days Paper
- Pinkfresh Studio: Sticky Notes
- Sketch from SCT 365-2019 Online Layout Class
- Creative Scrapbooker: Super Stock White 12x12 Paper

Thanks so much for stopping by! Be sure to head over to the Southern Ridge Trading Company Store to see what you feel like creating with today, and have an awesome week ahead.

Hugs,
Karla


Wednesday, May 30, 2018

Floral Happy Birthday Card with Katelyn Grosart

Hey Southern Ridge Trading Company fans, Katelyn here. For today's post, I'm excited to share with you a floral birthday card that you can give to that special someone in your life.  My Floral Happy Birthday Card features a variety of our chipboard pieces. You'll want to read below as I share with you how to recreate my Floral Happy Birthday Card at home.


To start, cut two small pieces off of the Cherrio Pattern. Apply two coats of White Paint to the pieces. Once the paint has dried, rub Hickory Smoke Distress Crayon on both pieces.


Choose one of the Happy Birthday sentiments from the Birthday Greetings chipboard. Apply two coats of Evergreen Paint to the Happy Birthday Sentiment. After the paint has dried, rub Mowed Lawn Distress Crayon overtop of the sentiment.


Cut out four foliage pieces from the Foliage Pieces chipboard. Apply two coats of Evergreen Paint to all of the foliage pieces. After the paint has dried, rub Peeled Paint Distress Crayon down the middle and edges of the foliage pieces.


The last chipboard piece you need is the Oval Peacock Feather Frame. Apply a coat of Emboss It Ink to the frame. Sprinkle Enhanced Ivory Pearl Embossing Powder overtop of the frame. Tap off the excess powder and emboss with your heat tool.


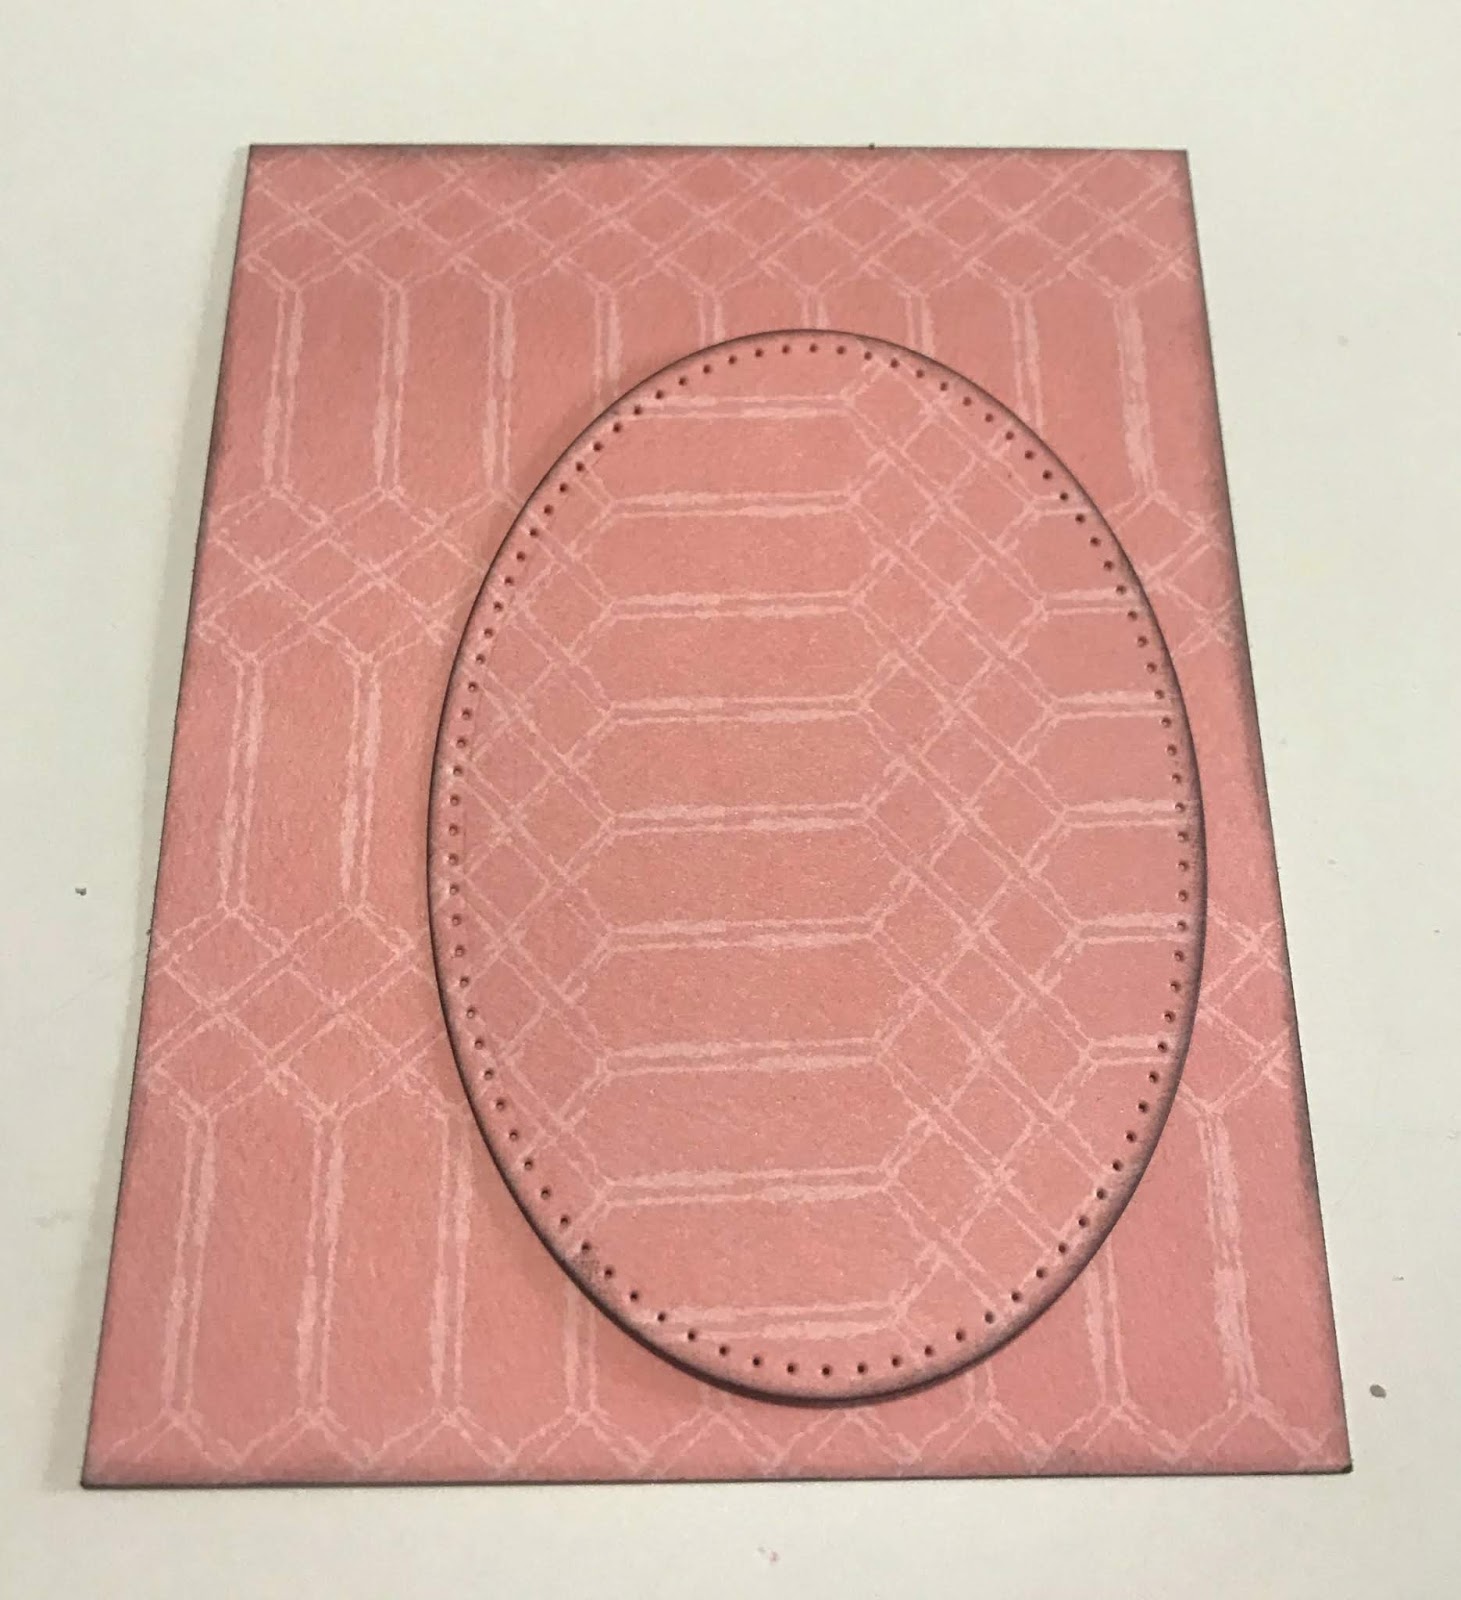
From the pink/white paper, cut a piece that measures 4 1/4" x 5 1/2". From the same piece of paper, die cut the 3" stitched oval. Ink the edges of the patterned papers using Black Soot Distress Ink and a blending tool with foam.


Cut the 3"x4" journal card that has the circle on it. Use the 2 1/2" stitched oval to cut the circle out. Ink the edges of the patterned paper using Black Soot Distress Ink and a blending tool with foam.


From the leaf patterned paper, you'll need to cut out two pieces. The first piece measures 4" x 5 3/8". The second piece measures 3 3/4" x 5". Ink the edges of the patterned papers using Black Soot Distress Ink and a blending tool with foam.


From the Whitewash Woodgrain paper, cut a piece that measures 3 7/8" x 5 1/8". Ink the edges of the patterned paper using Black Soot Distress Ink and a blending tool with foam.


Adhere the large grey/floral paper to the pink/white patterned paper. Adhere the small leaf patterned paper piece to the whitewash wood paper. Foam square the whitewash wood paper to the grey/floral paper.


On the top portion of the leaf/wood paper, tear down a bit of the paper. Adhere a piece of the Cheerio pattern to where the tear is, that way you can see part of it. On the bottom portion of the leaf/wood paper, tear up a bit of the paper. Adhere a piece of the Cheerio pattern to where the tear is, that way you can see part of it. 


Adhere the 2 1/2" stitched oval to the 3" stitched oval. Adhere the 3" oval to the middle of the leaf paper. Adhere the Oval Peacock Feather Frame overtop of the stitched ovals.


Use foam squares and glue to adhere the Happy Birthday sentiment in the middle of the frame. Adhere two leaves at the top of the frame. Adhere four coral roses, three pink roses, one large white rose and four small white flowers.


Adhere two leaves at the bottom of the frame. Adhere two coral roses, two pink roses, one large white rose and four small white flowers.


Cut a cardbase out of white cardstock that measures 5 1/2" x 8 1/2", score at 4 1/4". Adhere the cardfront to the cardbase. To finish off the card add enamel dots in amongst the flowers on both the top and bottom.


Here are a few close up photos of the finished card.


And here's the finished card.


Southern Ridge Trading Company Supplies Used:


Other Supplies Used:

- Tim Holtz for Ranger Ink: Distress Ink - Black Soot, Distress Crayons - Hickory Smoke, Peeled Paint & Mowed Lawn and Blending Tool with Foam
- Dina Wakley for Ranger Ink: Heavy Body Acrylic Paint - Evergreen and White
- Ranger Ink: Emboss It Ink Dabber
- Emerald Creek Craft Supplies: Enhanced Ivory Pearl Embossing Powder 
- Elizabeth Craft Designs: Stitched Ovals
- Carta Bella: Spring Market - Market Floral, Wreath Decor, 4x6 Journaling Cards, 3x4 Journaling Cards and Enamel Dots
- Tombow: Mono Multi Liquid Glue

Until Next Time!

- Katelyn