Showing posts with label Iron Hinges 1. Show all posts

Monday, May 28, 2018

This Moment Scrapbook Layout with Charlene Byrd

Hello bloggers!


Thanks for joining me today! Life is all about seizing the moment with the ones you love and cherish. I sure do cherish my dear friend Elaine! She is one of the sweetest women I know, with the most genuine heart! And one of my favourite things to do with her is visit her beautiful home on the Rideau Canal and sit on her dock drinking a glass of wine…there is nothing better! (Someday, when I win the lottery, I am going to own waterfront property!!)


I started by staining the Delicate Lace Element and the hinges with Walnut Distress Stain. The lace element comes in one solid piece so I used my Tim Holtz scissors to cut it into 2 pieces. They were both tucked beside the pattern paper.


Then I used my finger to dab some of Prima’s Metallique Wax on the hinges in random spots.
I didn’t add any extra colour to the honeycomb chipboard. I wanted it a bit lighter than the lace chipboard.


Southern Ridge Trading Company Products Used:

Other Products Used:
- My Minds’ Eye pattern paper
- Prima Marketing flowers and buttons
- Prima Marketing Metallique Wax
- Tim Holtz Walnut Stain Distress Stain and Ink
- Twine
- Lace
- Cheesecloth

Thanks for joining me today!
Happy creating,
Charlene


Monday, November 20, 2017

Many Thanks Card with Charlene Byrd

Hello bloggers!

Charlene here! Thanks for joining me today. Today I'm sharing with you a special card I made for me dear sweet mother. If you read my last blog post you know that my brother passed away a couple weeks ago. My mom has been through so much lately and through it all she has been there for me. I expressed my gratitude and love for her by creating this beautiful card....made from the bottom of my heart! 


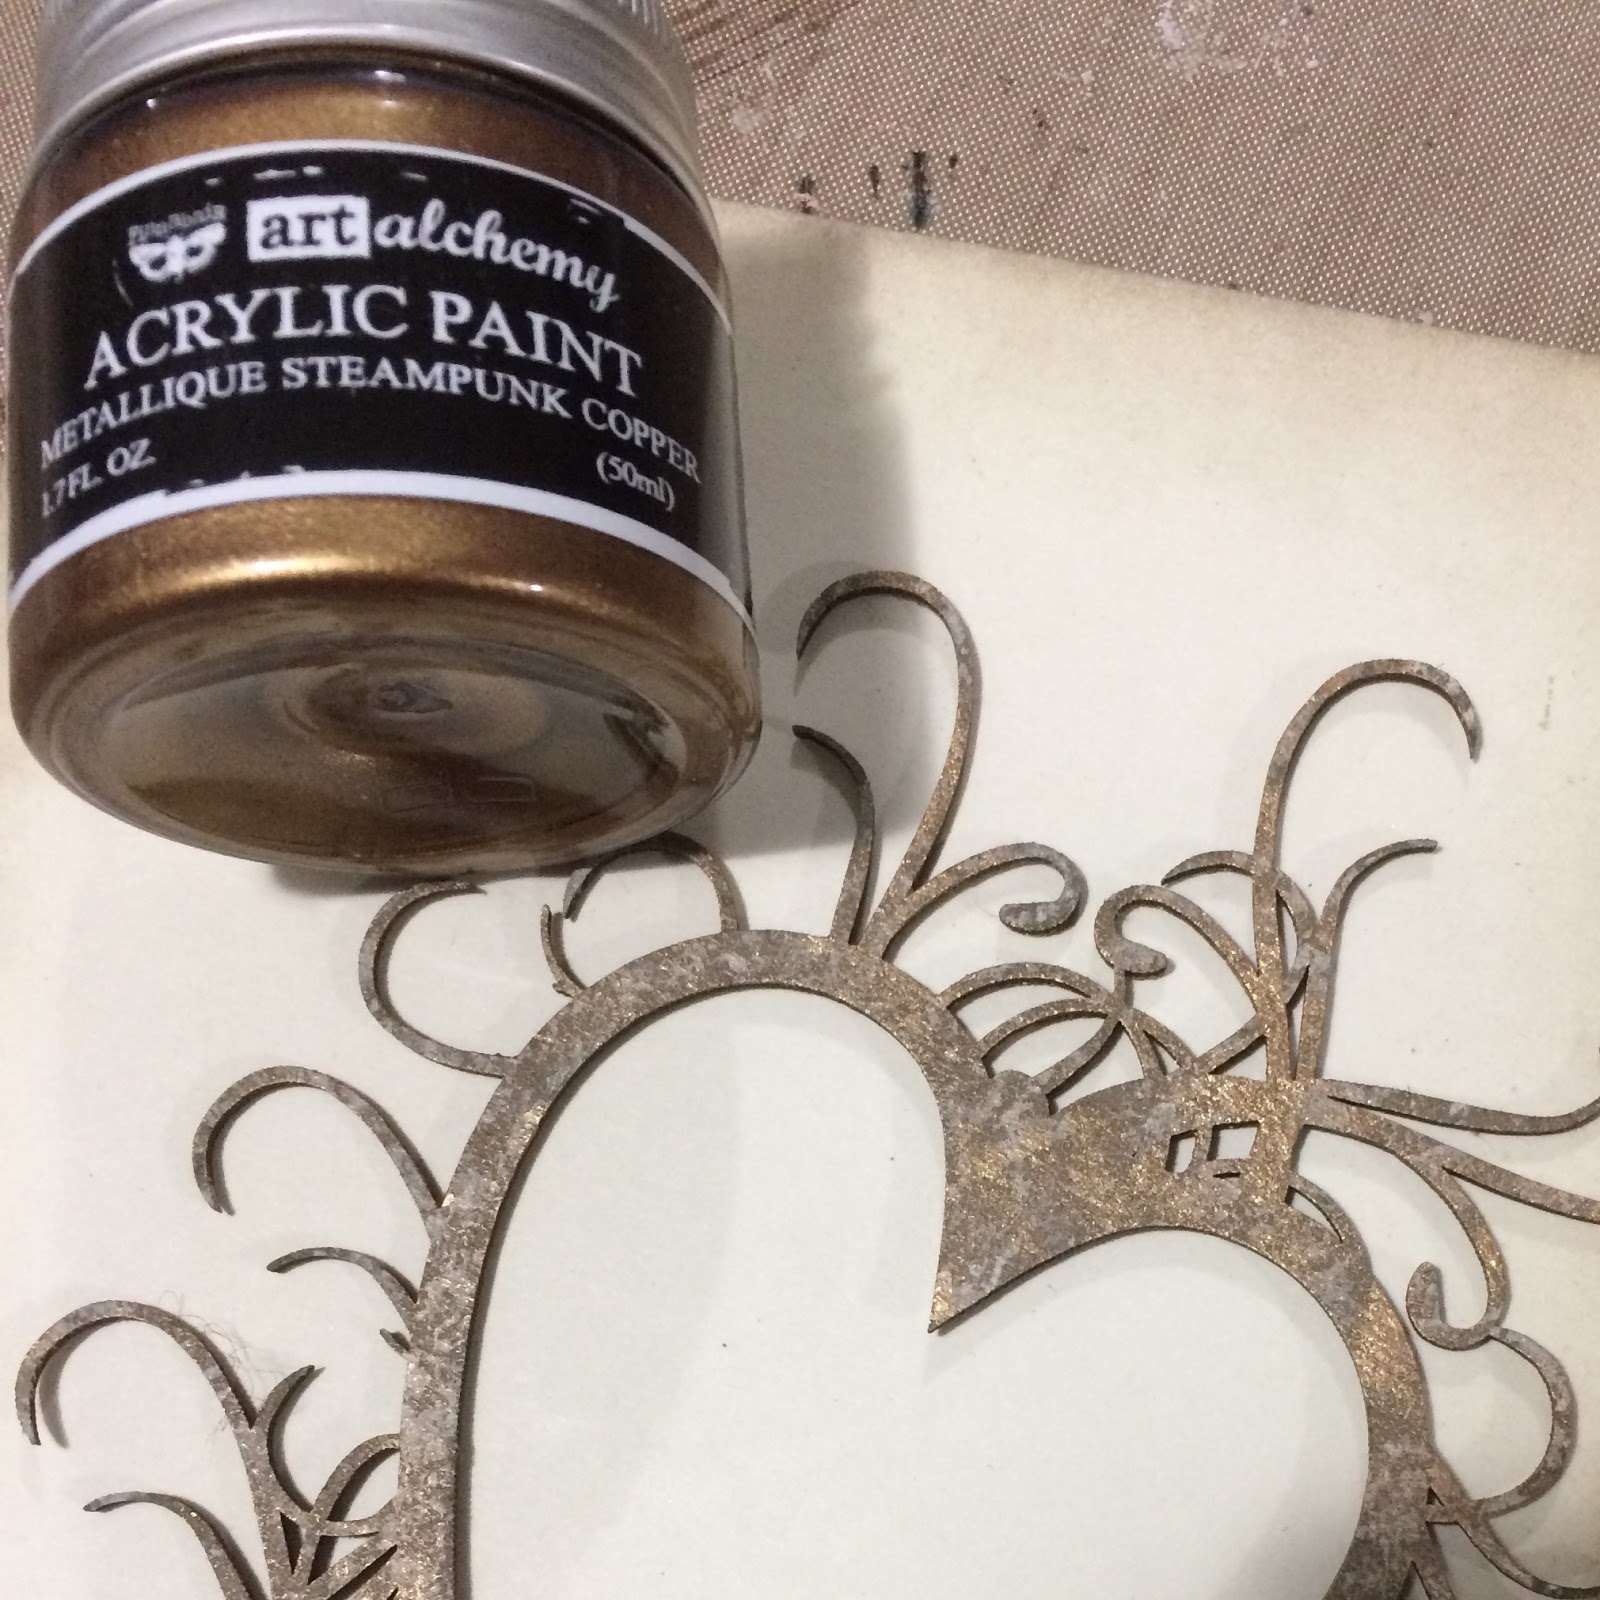
To begin creating the chipboard heart, I randomly stippled white gesso on the piece.


After the gesso was dry, I randomly dabbed copper paint on the chipboard.


I trimmed the chipboard hinges to the length I wanted for my card by cutting them with Tim Holtz scissors. I then painted them with the acrylic copper paint.


Southern Ridge Trading Company Supplies Used:

Other Supplies Used:
- Pion Design Paper
- Cheesecloth
- Paper Flowers
- Acrylic Copper Paint
- Heavy Gesso
- Twine & Paper Doily

Thanks so much for joining me today. Until next time!
Charlene


Thursday, November 9, 2017

Remember Always Mini Album with Charlene Byrd

Hello Bloggers!
Charlene here! Thanks for joining me. Today I am sharing with you a mini album that was created with love and a whole lot of tears! My older brother, at the age of only 49, was tragically killed in a car accident last week. It breaks my heart that he is gone and I will never understand why life can be so unfair, but what is worse is that he was married to the most amazing woman for 18 shorts days. For the first time in his life he was truly happy and loved unconditionally. I created this album for his wife so she can treasure and remember all the good times they had together.


Southern Ridge Trading Products Used:

- Decorative Lace Border (coming soon)


Other Products Used:

- My Mind’s Eye papers and stickers
- Paper flowers
- Paper doilies
- Lace
- Seam binding ribbon
- String and jute
- Rubons
Life is short! In the blink of an eye, everything can change.  Love with all of your heart! Forgive often! You may never know when you may not have that chance again!
Until next time,
Charlene


Monday, October 3, 2016

Fall Memories by Charlene Byrd

Thank you to everyone who participated in last month's monthly challenge. The response was great and we loved seeing all of your creations. Thank you to everyone who entered our challenge last month and stay tuned for the winner in Katelyn's post on Tuesday.

This month's will be an easy one as it's all about Fall! This could mean anything Fall, Halloween or giving thanks.


Each month enter for your chance to win 4 designs from the
 SRTC online store $20 (before tax) retail value
of YOUR OWN CHOOSING! 

And ... it's a completely RANDOM DRAW!

RULES:

- Must follow the theme
 - Your item can be a card, mixed media piece or project, whatever you can call "ART".  
- You can use any image, embellishments and any chipboard pieces you like.
- As of now, there is no limit for entries
- Must be a new project
- Can be combined with 10 other challenges
- Please link back to our blog http://southernchipboard.blogspot.ca/
- Ends October.31st, 2016 at 6pm PST

**If you use product from SRTC, that will count as TWO entries but please make sure we know via your blog post attached via Mr. Linky below or a message below this post!! 

Charlene has created a fabulous layout for you today to get our new challenge started!

----------------------------------------------------------------------------------------

Hello ladies!

Bring on FALL….It’s one of my most favourite times of the year! Last year we took the most amazing all day boat ride with friends along the St. Lawrence River. It’s was an absolutely perfect, sunny, warm day and the river was so calm in some parts. Along our journey we pasted Boldt Castle, an enchanting castle that I have toured several times.


For those interested in this beautiful castle here is a bit of background info. Construction began on Boldt Castle in 1900 at the bidding of millionaire hotel magnate George C. Boldt as a tribute to his beloved wife Louise. Boldt Castle was designed as their summer dream home on the St. Lawrence River, in the heart of the 1000 Islands. However it was not to be, Mrs. Boldt passed away suddenly just months before the completion of the castle. Mr. Boldt was inconsolable and immediately stopped all construction on Heart Island, leaving the property vacant for over seventy year. Today Boldt Castle, located near Alexandria Bay, NY in the famed 1000 Islands is once again becoming what it was always meant to be, the premier home and attraction in the region. 

Ok, now that we’re done our history lesson for the day let’s get back to what we’re really here for…creating!


To create the berry branches I simply used Walnut Distress Ink and dabbed or pounced the ink onto the chipboard. With the pads linen like texture it make a very nice finish on the chipboard.


I started with the same technique as I used on the berry branches to start making the hinges. I then added some VersaMark and UTEE to the hinges and heat set it. Once it was dry I randomly dabbed a little Antique Gold paint to the top of the hinge. Then a hinge wouldn’t be complete without some cute tiny brad fasteners!


To create the Memories title I simply dabbed Black Soot Distress Stain on it. I liked the matte finish of the stain as it coordinates with the pattern paper.

Southern Ridge Trading Company Chipboard Used:


Other Products Used:

- Bo Bunny Paper
- Tim Holtz for Ranger Ink: Walnut Stain Distress Ink
- Tsukineko/Imagine Crafts: VersaMark
- Ranger Ink: UTEE
- Antique Gold Paint
- Lace
- Hemp
- Tim Holtz Idea-ology: Mini Brad Fasteners
- Alpha stickers
- Pearl
- Seam Binding Ribbon
- String
- Edge Distressor

Remember to play along in the monthly challenge over on the Southern Ridge Trading Company blogEach month enter for your chance to win 4 designs from the online store - chipboard.ca -$20 (before tax) retail value of YOUR OWN CHOOSING! 

Thanks for joining me!
Happy Creating!

- Charlene


Friday, September 23, 2016

Love Letters Storage Box with Deb Riddell

Hello, Deb here to share with you another project featuring some of my favourite embellishments and stencils from Southern Ridge Trading Company for our current challenge.  I used the Mini Nested Stamp Frames, Iron Hinges 1 and the 4 Leaf Clover stencil in the making of my card or letter storage box.


The mini nested stamped frame was the inspiration for this project; the stamp shape of the frame made me think of letters which led me to love letters, which led me to the idea of making a box to store those letters in and the rest was history!

I started out by choosing a paper from Tim Holtz’s Correspondence paper stash and then used the Postage Stamp die with a Mini Heart Mover & Shapers die inset to cut out my postage stamp background.  I then embossed the die cut with Southern Ridge’s 4 Leaf Clover Stencil and highlighted the embossed areas with Frayed Burlap Distress ink.


One of the gents from Tim Holtz’s Possibilities stamp set was stamped onto white card with Black Soot Archival ink and clear embossed.  The background around the stamped image was then coloured with more Frayed Burlap Distress ink.

I chose the third largest nested stamp frame and coloured it with Blueprint Sketch Distress stain and sealed it with some satin varnish once it had dried (sorry, I got carried away and forgot to take an in progress picture so here’s a closeup of the finished project).  As you can see, the gentleman was centered behind the heart cut out on the postage stamp die cut and then the mini nested frame was centered overtop of the heart.


I repeated the same colouring and sealing procedure with one of the decorative hinges from the Iron Hinges 1 set (again no in progress pics, sorry!) and then chose the ‘love’ Typed Token and coloured it with some Aged Mahogany Distress paint.  A small heart stud from my stash was coloured in the same way and adhered overtop the hole in the Typed Token with E6000 glue.

I stamped ‘love letters’ from a Fiskars stamp set onto a vintage ticket I had in my stash.  The red ticket was a bit bright for my layout so I first coloured the ticket with some Barn Door Distress ink and then added some Frayed Burlap.


I chose some vintage ephemera from Tim Holtz’s Emporium Ephemera pack and coloured the edges with a bit of Frayed Burlap Distress ink.

All of the elements were added to the postage stamp die cut background.


And the assembled collage was then adhered on to the top of a box I made using papers from Tim Holtz’s Crowded Attic paper stash.  I randomly stamped some script over the top of the box using the Ledger Script stamp and Jet Black Archival ink and then drew around the edge of the stamp die cut with a black Pigma Micron pen to give it some definition.


I now have a box to store some of my completed cards and tags rather than having them in a plain old file folder, yay!

Hope that you’ve enjoyed seeing my love letters storage box made with more of my favourite supplies from Southern Ridge Trading Company.


Southern Ridge Trading Company Supplies Used:


Other Supplies Used:

- Tim Holtz/Sizzix: Postage Stamp die; Mini Hearts Movers & Shapers die
- Tim Holtz/Advantus: Correspondence paper stack; Crowded Attic paper stack; Typed Token; Emporium Ephemera pack
- Tim Holtz/Ranger Ink: Distress ink; Archival ink; Distress paint; Distress stain
- Tim Holtz/Stampers Anonymous: Ledger Script stamp; Possibilities stamp
- Fiskars: Love Simple Stick stamps
- Pigma Black Micron Pen
- Miscellaneous: Scissors, E600 glue, adhesive, Aleene’s Box Maker, paper cutter, paint brush, satin varnish, metal heart stud

I hope that you will be inspired to join in our My Favourites challenge.  You have a chance to win 4 designs from the online store - chipboard.ca - a $20.00 (before tax) retail value of YOUR OWN CHOOSING!  Can’t wait to see what you link up, happy creating!

Deb xo