Showing posts with label Bo Bunny. Show all posts

Monday, March 30, 2020

Needle Book with Nancy Nickel

Hello, everyone!

It's Nancy here to show you a fun little Needle Book I created, 
using more fabulous chipboard from Southern Ridge Trading Company!

I've combined the Chipboard Tags, 

and some pieces from the  Dressmaker Mix.

Here it is:


Here's what I used to make it:


I began by heat embossing the sewing machine green, and the scissors silver.
I covered the front and back of the tag using some fun sewing themed papers.
I inked all the outside edges with green ink, and the inside edges with orange ink.
I added an orange eyelet, and a couple of buttons.


Here's the finished front and back cover.


Here's what I did on the inside:


I found a die shape that I liked,
and I used it to cut four pieces of white felt - two for each side.
Twice I stitched two pieces of felt together using orange thread. 
I then adhered the felt piece onto the inside of the finished tag.
I used liquid glue to do this, and kept the glue around the outside edges only,
right under the stitching. 


The two pieces of felt offer a nice cushion,
so it's very easy to slip your needles in.
I then added some more buttons.


Finally, I added a binder ring through the eyelets, 
and tied some matching ribbons around it.


I confess that I really love this fun needle book,
and I had a really great time putting it together!

Southern Ridge Trading Company Supplies Used:

Other Supplies Used:

- Bo Bunny: Pincushion Collection
- Emboss Ink
- Embossing Powder: Green and Silver
- Ink: Green and Orange
- Spellbinders Die: Labels 5
- White Felt
- Orange Thread
- Small Buttons: Green and Orange
- Orange Eyelets
- Offray Ribbon: Orange and White
* * * * *
Thanks so much for stopping by today!
Please come visit me at The Nickel Nook!
* * * * *
Thursday, January 30, 2020

Loveable Scrapbook Layout with Nancy Nickel

Hello, everyone!
It's Nancy here, with a fun new post for Southern Ridge Trading Company!
Today I'm sharing a simple and sweet Valentine project!

  I always have several 8 X 8 Albums going. 
Some are seasonal, like the Winter one I shared last month. 
Some are filled with assorted pages that I've been inspired to make.
This is one of those pages.

It was the beautiful Abstract Heart Frames,
from Southern Ridge Trading Company,
that inspired this page.


I started by gathering all my supplies.


I dabbed the heart chipboard frames with embossing ink,
sprinkled them with the embossing enamel, and heat set. 
I repeated the process using the pink embossing powder,
on the "Loveable" and the three little hearts. 


I laid the smaller heart frame onto an old photo of my daughters.
This was taken back in the day...when they were still "Loveable"! ;o)
 Using my blade, I cut the photo to fit the frame. 
If you don't like using a blade, just draw around the frame, 
and cut out with scissors. 


Here's a close-up of the intricate frame, and the sparkly enamel. 
The "Loveable" is so shiny and pink!


 I adhered the 6" decorative paper to the center of the 8" cardstock base.
I adhered the large frame in place first, and then added the word in place.
Next, I added foam tape to the back of the framed photo,
and adhered it in place.
Finally, I added the three little hearts to the page.


I know that the word and little hearts would have shown up
much more clearly on the first paper I had chosen.
However, I really wanted something more whimsical and pretty.
So that's why I decided to go with this paper!


Southern Ridge Trading Company Products:


Other Supplies Used:

  - Recollections: Cardstock
- Bo Bunny: Crazy Love
- Stampendous: Embossing Ink and Shabby Pink Embossing Enamel
- Glitters Galore: Shabby Pink Embossing Powder
- ScraPerfect: Best Glue Ever and No Clog Writing Cap.

* * * * *
Thanks so much for stopping in today!
I'll have another project share for you in very soon!

* * * * *
Wednesday, January 15, 2020

Love Valentine's Day Card with Nancy Nickel

Hello, everyone!

It's Nancy here today to share a fun Valentine project.
I've made a Glittery Love Valentine card,
using some fabulous chipboard pieces from Southern Ridge Trading Company!

Here's my sparkly card:


Here's what I used to make it:


First I cut the background paper and adhered it to the front of the A2 Card Base.
Then I glued the pink paper to the front of the chipboard tag.
I trimmed around it with my blade, and then inked all the edges.
I looped some red glittery ribbon through the top of the tag,
and then added a ribbon bow.
I added glue to the front of the "Love" and two chipboard hearts.
While the glue was still wet, I sprinkled the red glitter liberally over top.


Once the glue was all dry, I adhered the chipboard tag and hearts in place on the card base.


Here's a close-up look at the "love"-ly word!
You may also notice that there's random glitter .
I forgot to brush off all the loose glitter once it was dry...oops! 
I did that after the photos were taken. 


It's such a pretty combination of products!


Southern Ridge Trading Company Products Used:


Other Supplies Used:

- Papers: Recollections - Cardstock, Bo Bunny - Crazy Love
- Glitter: Glitters Galore - Fire Engine Red
- Glue: Best Glue Ever
- Ribbon: Celebrate It

* * * * *
Thanks so much for stopping by today!
I'll be back soon with more creative fun!

* * * * *

Monday, February 11, 2019

Chilly Days Scrapbook Layout with Karla Yungwirth

Hello friends! Karla back today with a Chilly Days layout using two different sizes of snowflake chipboard pieces, a beautiful Snow Flourish Chipboard Frame and a Chicken Wire Stencil from the Southern Ridge Trading Company Shop. It has been very chilly lately here in Calgary, Alberta, and a great time to stay inside and do some cozy crafting! The February sketch from the Creative Scrapbooker Sketchy Gallery was the perfect starting point for this layout.


I picked out some wintery papers and embellishments from the Simple Stories Freezin’ Season collection. I love the soft colours and fun sentiments in this collection!


I used some BoBunny stitching stamps to add a faux zigzag stitch around my layout. Then I added some ink around the edges of my layers to add even more interest. The large snowflakes from the Snowflake 714 pack just pop with some Distress Oxide Ink and Ranger Bridal Tinsel embossing powder. I love the packs of Snowflakes from the SRTC Shop!


I chose two of the smaller snowflakes from the Snowflakes 712 pack and embossed them with Ranger Snowflake Tinsel embossing powder – a fun white powder with silver flecks. I recently picked up some Ranger Liquid Pearls and decided to try them as embellishments along with some fun sequins. I love how they dry!


I added just a bit of Distress Oxide Ink through the SRTC Chicken Wire Stencil in a couple of places on the layout. Here you can see it just peeking out on the white cardstock above the frame. I love that you can get this stencil in 3 different sizes! Just like the large snowflakes, I inked the Snow Flourish Oval Frame with Distress Oxide Inks and embossed it with Ranger Bridal Tinsel embossing powder, which is a translucent powder that allows the ink colours to show through – so pretty!


Southern Ridge Trading Company Supplies Used:


Other Supplies Used:

- Ranger Ink: Embossing Powders - Bridal Tinsel, Snowflake Tinsel, Distress Oxide Inks
and Liquid Pearls
- Simple Stories: Freezin’ Season Paper & Embellishments
- Sequins by Brutus Munroe, Pretty Pink Posh, Studio Katia
- BoBunny Stitching Stamps
- Bazzill Cardstock

Thanks so much for stopping by today. I hope you’re keeping warm and cozy, and doing lots of crafting too! Have a great week friends.
Hugs,
Karla


Monday, January 28, 2019

So In Love Scrapbook Layout with Karla Yungwirth


Hello friends! It’s Karla back today with a scrapbook layout of my youngest daughter and our family. Those baby days went so fast and were so busy that I’m glad I’m finally getting to create some pages of this special time. I’m featuring the Love Chipboard, the XOXO Chipboard and the Heart stencil on this double page layout today, and while I had originally planned to use these on Valentines Day cards or tags, I just love how they worked for these pages. You could also use them for a wedding or anniversary theme!


I decided to emboss the Love Chipboard embellishment with Emerald Creek Magical Mysteries Embossing Powders in Dragon’s Egg and Kiss of the Fairy, creating an ombre effect. This worked great for my title after stamping the ‘So In’ sentiment using a Ranger Letter It stamp set. I really love mixing fonts for titles to create extra interest.  I combined several papers including Cocoa Vanilla Midnight, Maggie Holmes Bloom and some handmade watercolour paper that my oldest daughter, Stephanie, created for me for my birthday!


I used the January sketch from the Scrapbook & Cards Today SCT 2019 365 Online Class. I love using sketches as a way to start my pages! I stamped some cute Hello Bluebird stamps creating a little subtitle under the Polaroid frame and used some Distress Oxide inks to sponge various edges.


Using the Heart Stencil in the 6x6 size I first lightly inked the background using Distress Oxide Inks in pink and orange and then added a Shimmerz texture paste to add glimmer. Some SpiegelMom Scraps and Studio Katia sequins, along with various diecut ephemera embellishments and buttons, added just a bit more bling!


I fussy cut some of the gorgeous flowers from the watercolour paper my daughter gave me and then embellished the XOXO Chipboard with Emerald Creek Magical Mysteries Mermaid Fin and Baked Velvet Dusk, Lim and Aegean Sea Powders. I love how easy it is to customize the chipboard to match whatever project I’m making!


Southern Ridge Trading Company Supplies Used:


Other Supplies Used:

- Emerald Creek Craft Supplies: Magical Mysteries - Kiss Of The Fairy, Mermaid Fin & Dragons Egg Embossing Powder and Seth Apter - Baked Velvet Embossing Powder: Mediterranean Kit 
- Stamps by Hello Bluebird, Ranger and BoBunny
- Patterned Paper and Embellishments by Maggie Holmes, Cocoa Vanilla and Handpainted papers by Stephanie O’Handley
- Sequins by SpiegelMom Scraps and Studio Katia
- Ranger Ink: Distress Oxide Inks
- Shimmerz Puttin On The Glitz Paste-Eez

Thanks so much for stopping by today! Be sure to head over to the Southern Ridge Trading Company Shop to see what goodies you find to inspire your crafting!

Hugs,
Karla


Monday, November 5, 2018

Christmas Greetings Tags with Karla Yungwirth

Hello friends! It’s Karla back today with a pretty set of Christmas tags using the lovely Chipboard Snowflakes #712 and Soda Fizz Stencil from the Southern Ridge Trading Company Shop. There are 12 - 1” snowflakes included in the pack, with 3 each of 4 different varieties! These are going to be a must-have for your Christmas and winter crafting!


Here are the steps I used to create these tags:


1) First, I used a Tim Holtz striped stencil to create a candy cane effect with Festive Berries Distress Oxide Ink. 


2) I used the STAMPtember Tim Holtz stamp set for most of the stamping. I heat embossed the Christmas Greetings sentiment using Emerald Creek Black Cherry Embossing Powder. 


3) Next I used the fabulous Southern Ridge Soda Fizz Stencil and some shimmery paste to add a textured, shiny detail to the upper part of the tag, above the sentiment. I think this stencil is one of my favs!! You can use it for snow, stars, bubbles, texture... so awesome!


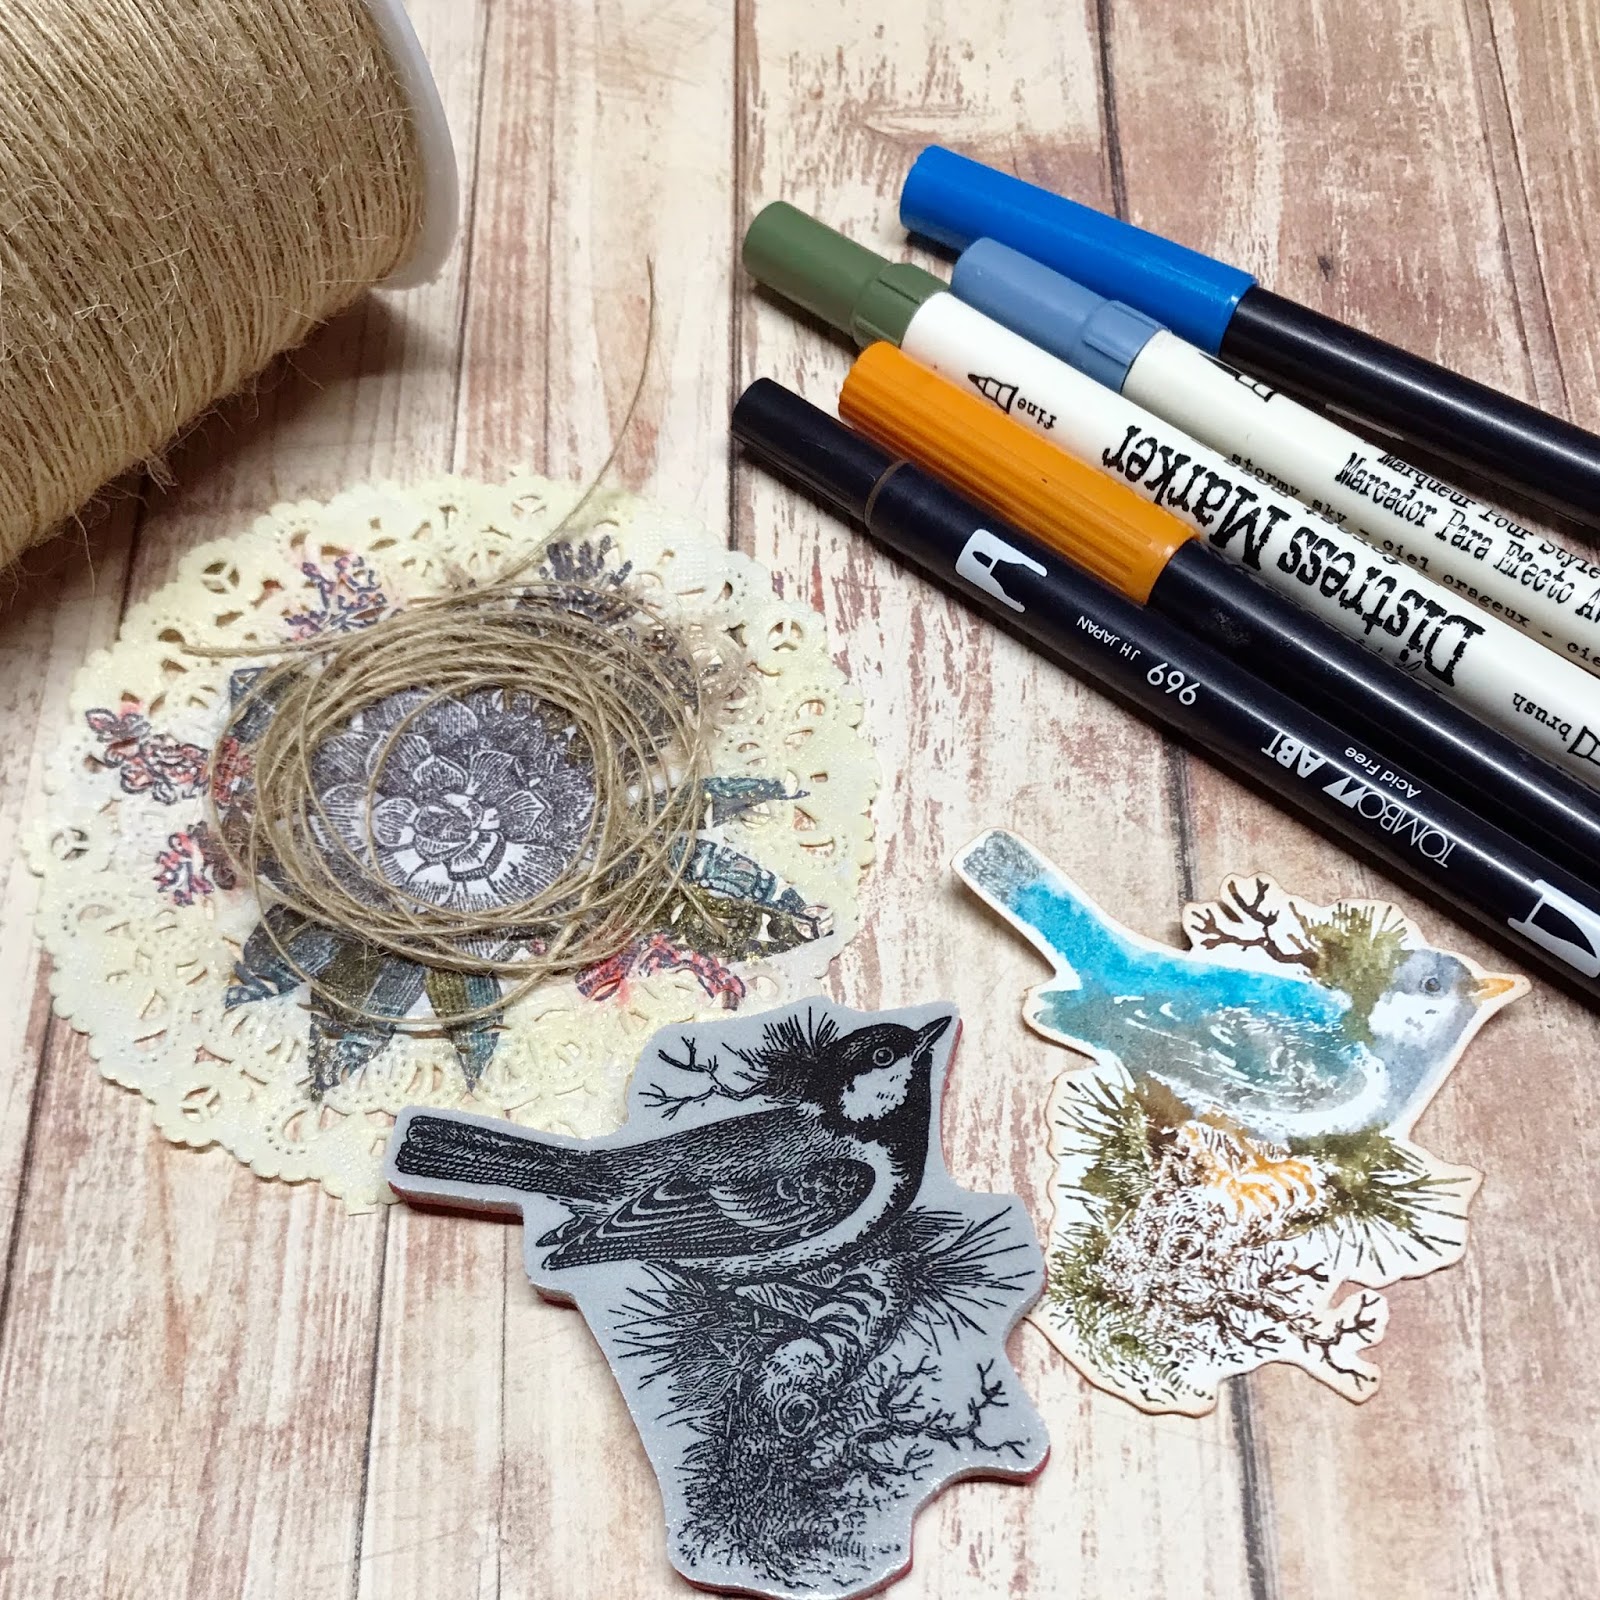
4) I stamped the floral stamp on a white doily using black Archival Ink and then coloured in the outer leaves and flowers with Tombow and Distress Markers. I sponged Scattered Straw Distress Oxide around the edge of the doily and then misted it with Tattered Angels Iridescent Gold Glimmer Mist to add shine and blend the colours. 


5) I coloured directly on the bird stamp using Distress and Tombow Markers and then misted it lightly to create a watercolour effect when stamped. I then looped some twine and glued it to the center of the doily to create a nest. 


6)I used BoBunny stitching stamps to stamp directly on the red rick-rack and then again on the bottom of the tag. Then I stamped two buttons with Distress Oxide Ink and used foam tape to attach the bird to the doily, which I glued down with Tacky Glue. 


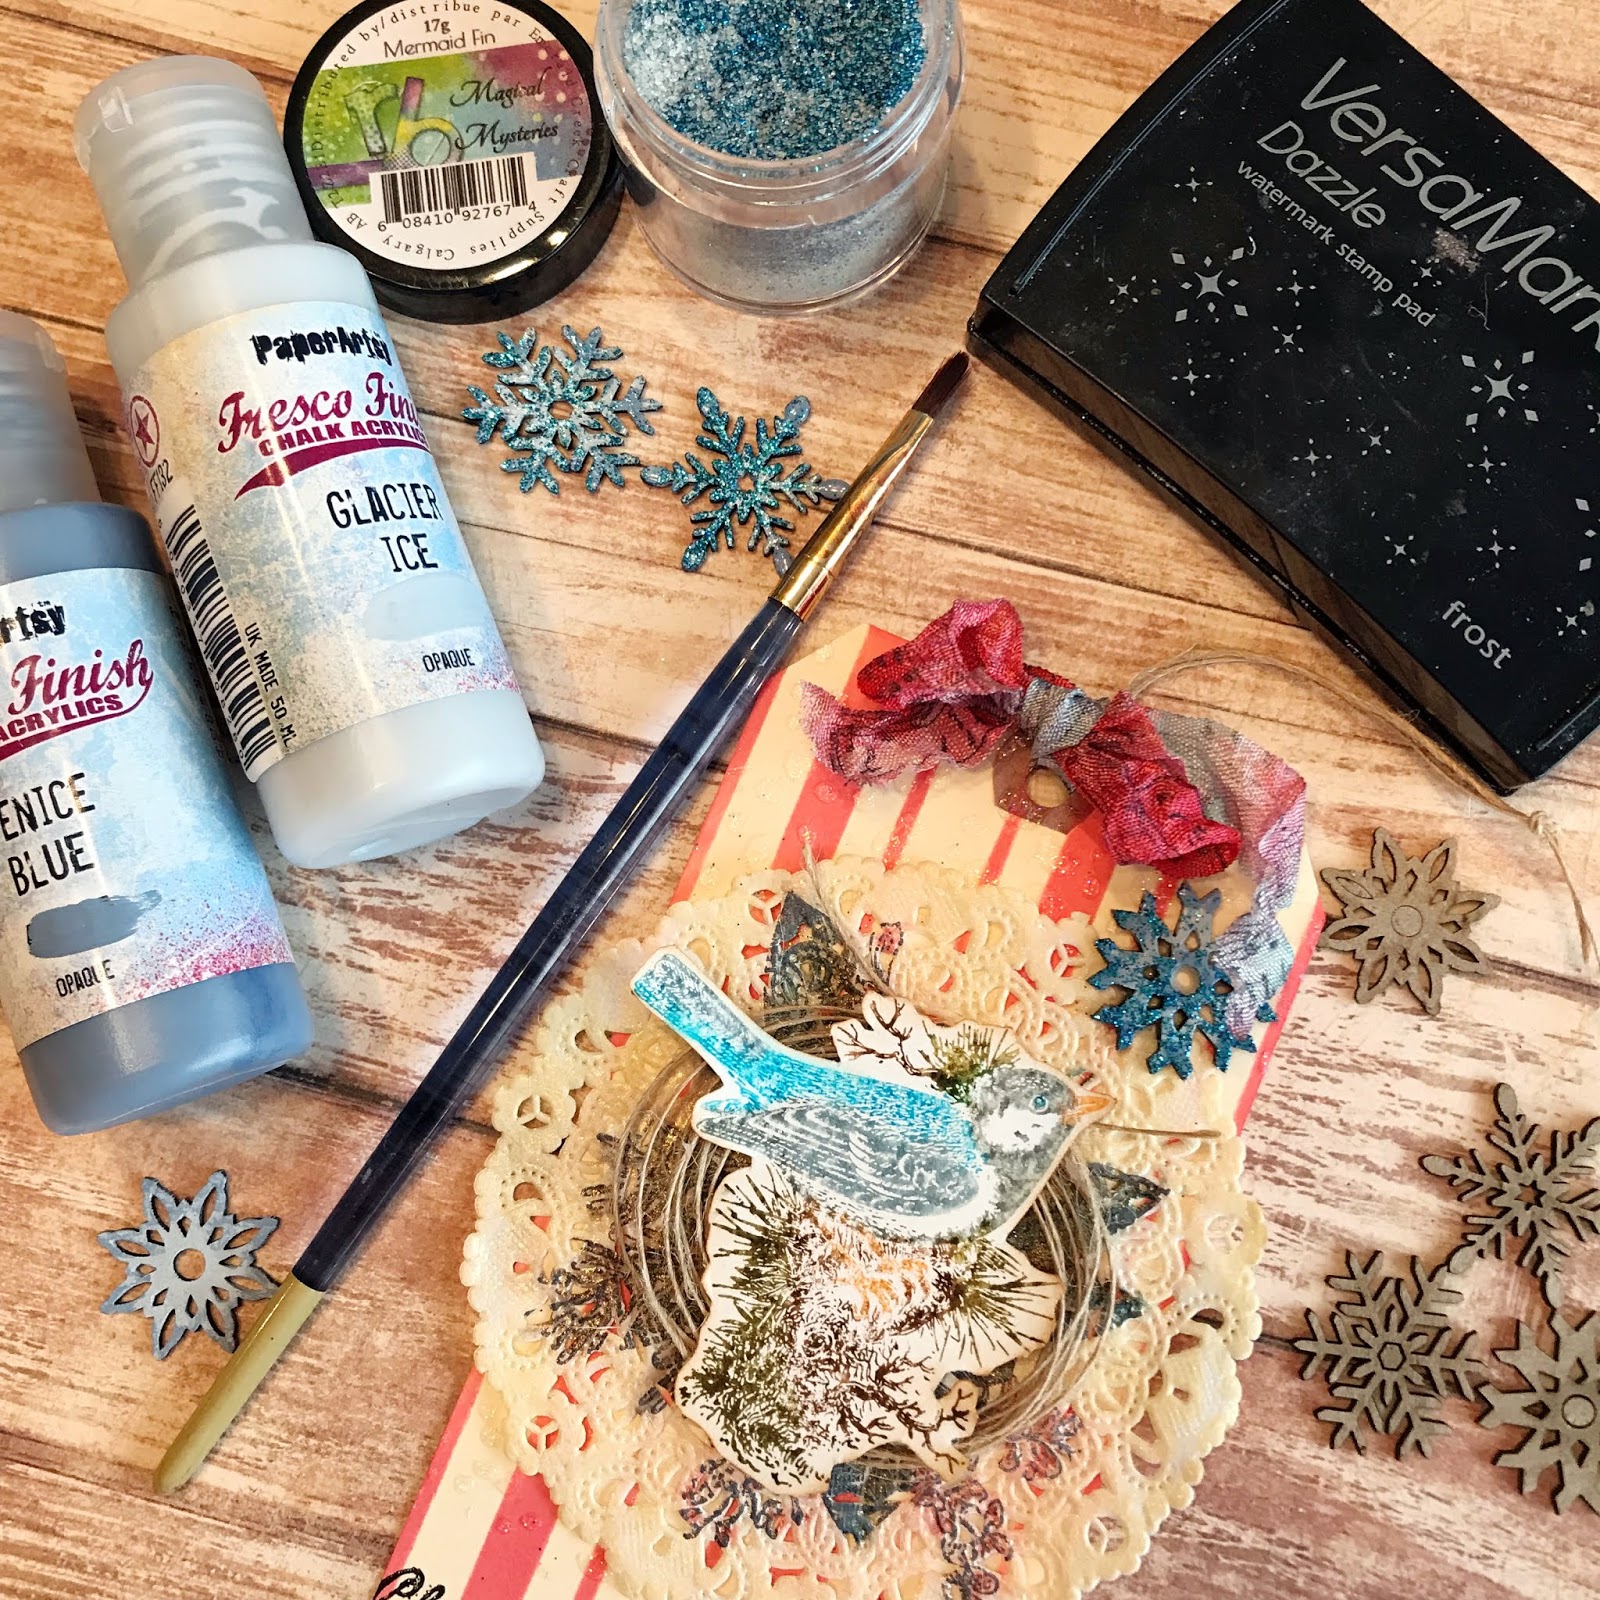
7) I used Archival Ink to stamp the music notes on seam binding ribbon before misting with red and blue Glimmer Mist. After misting, I crinkled it up and let it dry before tying it in a bow at the top of the tag. 


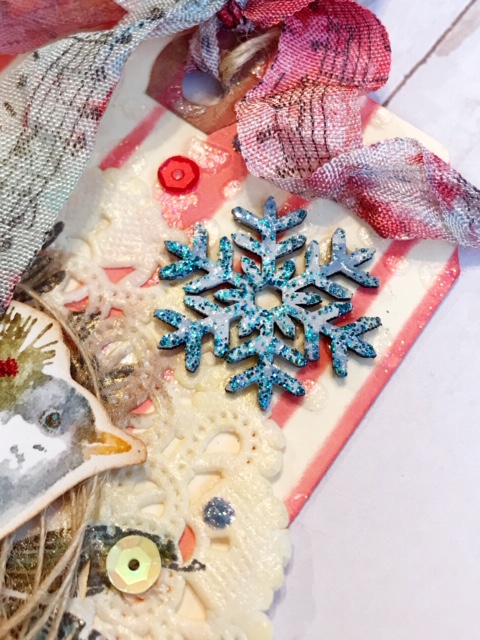
8) I painted the chipboard snowflakes with Paper Artsy paints and then heat embossed them with Emerald Creek Mermaid Fin Embossing Powder. I used some Ranger Matte Medium to glue the snowflake to the top of the tag. 


9) I finally added some SpiegelMom Scraps sequins and some Stickles for glimmer. My tags are now ready to send off for a fun little Christmas tag swap!

Here are some closeups for you. The glittery paste through the Soda Fizz stencil looks like icy drops on the background - so pretty!


I just love the detail on these snowflakes, and that you can easy customize them however you like. The blues i used in the paints and embossing powder coordinate with the ribbon, the stamped buttons and the bird. 


I really love the layered details of the stencils, stamps and embellishments. Don’t be afraid to alter, embellish and have fun!


Southern Ridge Trading Company Supplies Used:


Other Supplies Used:

- Tim Holtz for Ranger Ink: Distress Oxide Ink - Festive Berries & Scattered Straw, Blending Tool with Foam and Distress Markers
- Ranger Ink: Jet Black Archival Ink, Matte Medium and Stickles
- Imagine Crafts: VersaMark Ink
- Tim Holtz for Stampers Anonymous: Stamptember Stamp Set and Shifter Mint Layering Stencil
- Emerald Creek Craft Supplies: Black Cherry Embossing Powder and Magical Mysteries - Mermaid Fin Embossing Powder
- PaperArtsy: Fresco Finish Acrylic Paint - Venice Blue and Glacier Ice
- Tombow: Markers
- Bo Bunny: Stitching Stamps
- Tattered Angels: Glimmer Mist
- SpiegelMom Scraps - Sequins
- Misc: Shimmery Paste, Doily, Twine, Crinkle Ribbon and Red Rick-Rack

Thanks so much for stopping by today! Hope you have an awesome and super crafty week ahead! 

Hugs,
Karla