Showing posts with label ScraPerfect. Show all posts

Saturday, February 15, 2020

Masculine Happy Birthday Card with Nancy Nickel

Hello, everyone! It's Nancy back with you today.
I have made a Masculine Birthday card, using a fun glitter design technique,along with some fabulous chipboard pieces from Southern Ridge Trading Company!
Here's the card I made: 


I'm afraid I don't have any process photos for you.
It's sometimes hard enough to get regular photos this time of year
but getting good photos of all this glitter was even more difficult. ;o)
This is a fun technique that I've been wanting to try for ages,
so I'll walk you through it.


I began by making an A2 tent-fold card from black cardstock.
I then cut a piece of sticker paper at 4" x 5 1/4".
I peeled back the protective layer from the sticker paper,
and adhered the stencil in place.
I thought this stencil was perfect for a masculine birthday card,
as it's all full of gears and numbers.


Once the stencil was securely in place,
I generously sprinkled it with the blue glitter.
Using my fingers, I burnished it all very well,
then gave it a really thorough brushing with the glitter brush.
Then I peeled off the stencil,
and generously sprinkled it with the silver glitter.
I repeated the burnishing and brushing,
and was left with a fabulous glittered design!
It's so fun and easy, and I think it's very effective!


Next, I took my chipboard "Happy Birthday"
and inked it up with embossing ink.
I sprinkled it with black embossing powder,
and heat set it.
Now the words are so dark and shiny!


To finish off the card,
I adhered the glittered piece onto the card base with foam tape.
Then I adhered the chipboard in place on the card front.


I can't wait to try this technique with another stencil!
It's so much fun to do!

* * * * * 

Southern Ridge Trading Company Products Used:


Other Supplies Used:

- Papers: Recollections - Cardstock
- Sticker Paper
- Glitter: Glitters Galore - Blue Jewel, Reflection
- Glitter Brush
- Stencil: Carabelle Studio
- ScraPerfect - Best Glue Ever, Perfect Cleaning Cloth
 - Embossing Powder: Glitters Galore - Black Detail
- Embossing Ink: Stampendous

* * * * *
Thanks so much for stopping by today!
I'll be back soon with more creative fun!

Thursday, January 30, 2020

Loveable Scrapbook Layout with Nancy Nickel

Hello, everyone!
It's Nancy here, with a fun new post for Southern Ridge Trading Company!
Today I'm sharing a simple and sweet Valentine project!

  I always have several 8 X 8 Albums going. 
Some are seasonal, like the Winter one I shared last month. 
Some are filled with assorted pages that I've been inspired to make.
This is one of those pages.

It was the beautiful Abstract Heart Frames,
from Southern Ridge Trading Company,
that inspired this page.


I started by gathering all my supplies.


I dabbed the heart chipboard frames with embossing ink,
sprinkled them with the embossing enamel, and heat set. 
I repeated the process using the pink embossing powder,
on the "Loveable" and the three little hearts. 


I laid the smaller heart frame onto an old photo of my daughters.
This was taken back in the day...when they were still "Loveable"! ;o)
 Using my blade, I cut the photo to fit the frame. 
If you don't like using a blade, just draw around the frame, 
and cut out with scissors. 


Here's a close-up of the intricate frame, and the sparkly enamel. 
The "Loveable" is so shiny and pink!


 I adhered the 6" decorative paper to the center of the 8" cardstock base.
I adhered the large frame in place first, and then added the word in place.
Next, I added foam tape to the back of the framed photo,
and adhered it in place.
Finally, I added the three little hearts to the page.


I know that the word and little hearts would have shown up
much more clearly on the first paper I had chosen.
However, I really wanted something more whimsical and pretty.
So that's why I decided to go with this paper!


Southern Ridge Trading Company Products:


Other Supplies Used:

  - Recollections: Cardstock
- Bo Bunny: Crazy Love
- Stampendous: Embossing Ink and Shabby Pink Embossing Enamel
- Glitters Galore: Shabby Pink Embossing Powder
- ScraPerfect: Best Glue Ever and No Clog Writing Cap.

* * * * *
Thanks so much for stopping in today!
I'll have another project share for you in very soon!

* * * * *

Sunday, December 15, 2019

Snowy Santa Card with Nancy Nickel

Hello, friends!

It's Nancy here today...with a fun Snowy Santa card!
I'll show you how easy it is to foil these fabulous chipboard pieces!

Here's my card:


Here's what I used:
(Oops...the chipboard snowflakes aren't in the photo)


I began with adding some Best Glue Ever to the front of the chipboard Santa and snowflakes.
I did this by dabbing it on with a make-up sponge.
 Once the glue was tacky, I laid the red foil over the Santa,
 and burnished it really well with my fingers.
I peeled back the foil and was left with this fabulous red Santa!
I repeated the process with the two chipboard snowflakes.
Here's a close-up look at the fine detail of the chipboard.


Using the fun die set,
I cut the card base out in a combination of white cardstock,
and some fabulous red foil polka dot paper.


I then used the Best Glue Ever, along with the No-Clog Writing Tip, 
to adhere my chipboard pieces in place.


Here's what the card looks like closed.
Doesn't the foiled chipboard match the paper perfectly?


To finish off the inside of the card,
I added a strip of the polka dot paper, 
a strip of pretty red glitter ribbon,
and a couple of silver foiled snowflakes.


Southern Ridge Trading Company Products Used:


Other Supplies Used:

- Papers: Recollections - Cardstock, MAMBI - Let it Snow
- ScraPerfect: Best Glue Ever, No-Clog Writing Cap, Transfer Foils
- Die: Sizzix - Card, Regal Stand-Up
- Ribbon: Celebrate It

* * * * *
Thanks so much for stopping by today!
I'll be back soon with more creative fun!

* * * * *

Friday, November 15, 2019

Sparkle Christmas Card with Nancy Nickel

Hello, everyone! It's Nancy here with a new project share.
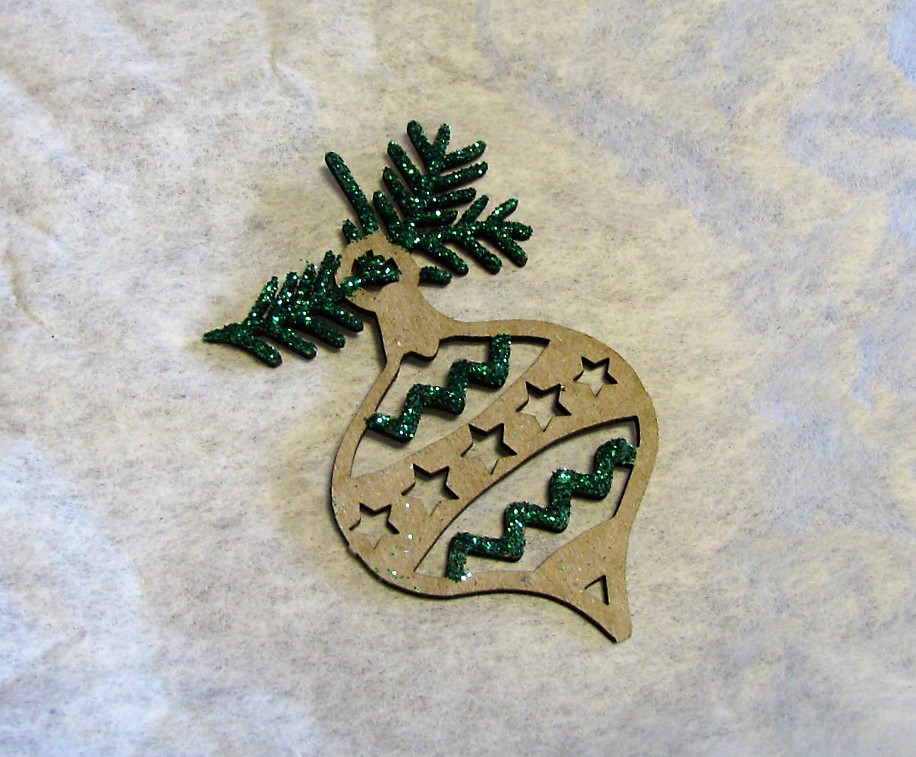
I've glittered up some fabulous chipboard pieces,
to create a very sparkly Christmas card.

Here's my card:


Here's what I used:


When I cut out the chipboard "Sparkle",
 I left a little stem under the "a".
I also left a stem at the top of the ornament piece.
I then connected the two stems, 
so it looks like the ornament is hanging off of the word.
I began with adding some glue to the chipboard ornament,
in all the areas that I wanted to have green.
A skinny glue tip makes it so easy to add to the intricate areas.


I the shook green glitter very generously over the glued areas.


I then used tweezers to pick it up, turn it over, 
and shake off all the excess glitter. 


I then repeated the same process for the red glitter,
and then the white glitter.
I then set these pieces aside to dry.


I then cut an A2 size card base from white cardstock.
I cut the decorative paper 4" x 5 1/4".
I inked the edge of the paper, and adhered in place.


Once they were all dry,
I adhered the glittered pieces to the card front.


When I was all finished my project,
I used the Perfect Cleaning Cloth to wipe up all the glitter.
Here's one last look at the finished card:


Southern Ridge Trading Company Products:


Other Materials Used:

- Papers: Recollections - Cardstock, Authentique - Nostalgia
- ScraPerfect: Best Glue Ever, No-Clog Writing Cap,Perfect Cleaning Cloth
- Ink: Martha Stewart - Red Chrysanthemum
- Glitter: Glitters Galore - Fire Engine Red, 
Elegant Emerald, Diamond Dust.

* * * * *
Thanks so much for stopping by today!
I'll be back soon with more creative fun!

* * * * *