Showing posts with label Finnabair. Show all posts

Monday, July 29, 2019

Mixed Media Card- Totes Adorbs! with Ruchi

Hello friends!! Ruchi here from Ruchi's Crafeteria and I'm back with my inspirational project.


Today I've created a simple mixed media card with minimum supplies.


I picked a grey card stock and stamped some demask design using Altenew Warm Gray inks. Then glued Prima ATC tag Totes Adorbs which means Totally Adorable!! 


Picked SRTC Damask Corners chipboard and heat embossed it with Ranger Black embossing powder. I just applied Prima Heavy Gesso Black on SRTC Foliage Leaf Branch chipboard.


Arranged all the elements like SRTC chipboards, paper flowers, die cut leaves and glued them on my card base. Sprinkled some Diamond Dust and Finnabair Glass Glitters on them.


That’s it for today!! Hope you like my today's project. Don’t forget to check SRTC shop for these chipboards and some other awesome designs.

Southern Ridge Trading Company Supplies Used:


Other Supplies Used:

- Prima Marketing:  ATC Tags and Heavy Gesso Black
- Ranger Ink: Black Embossing Powder
- Versamark embossing ink
- Finnabair: Glass Glitters
- Altenew: Warm Gray Mini Cube Set
- KaiserKraft Flowers
- Demask stamp, sequins, grey cardstock, diamond dust, glue, die cut leaves are from my stash


See ya next time.
Till then happy crafting!!
Ruchi


Monday, June 10, 2019

Mixed Media ATC Coin Tags with Ruchi

Hello friends!! Ruchi here from Ruchi's Crafeteria and I'm back with my inspirational project.

Today I’ve created some Mixed Media ATC Coin Tags. Here it is.. 


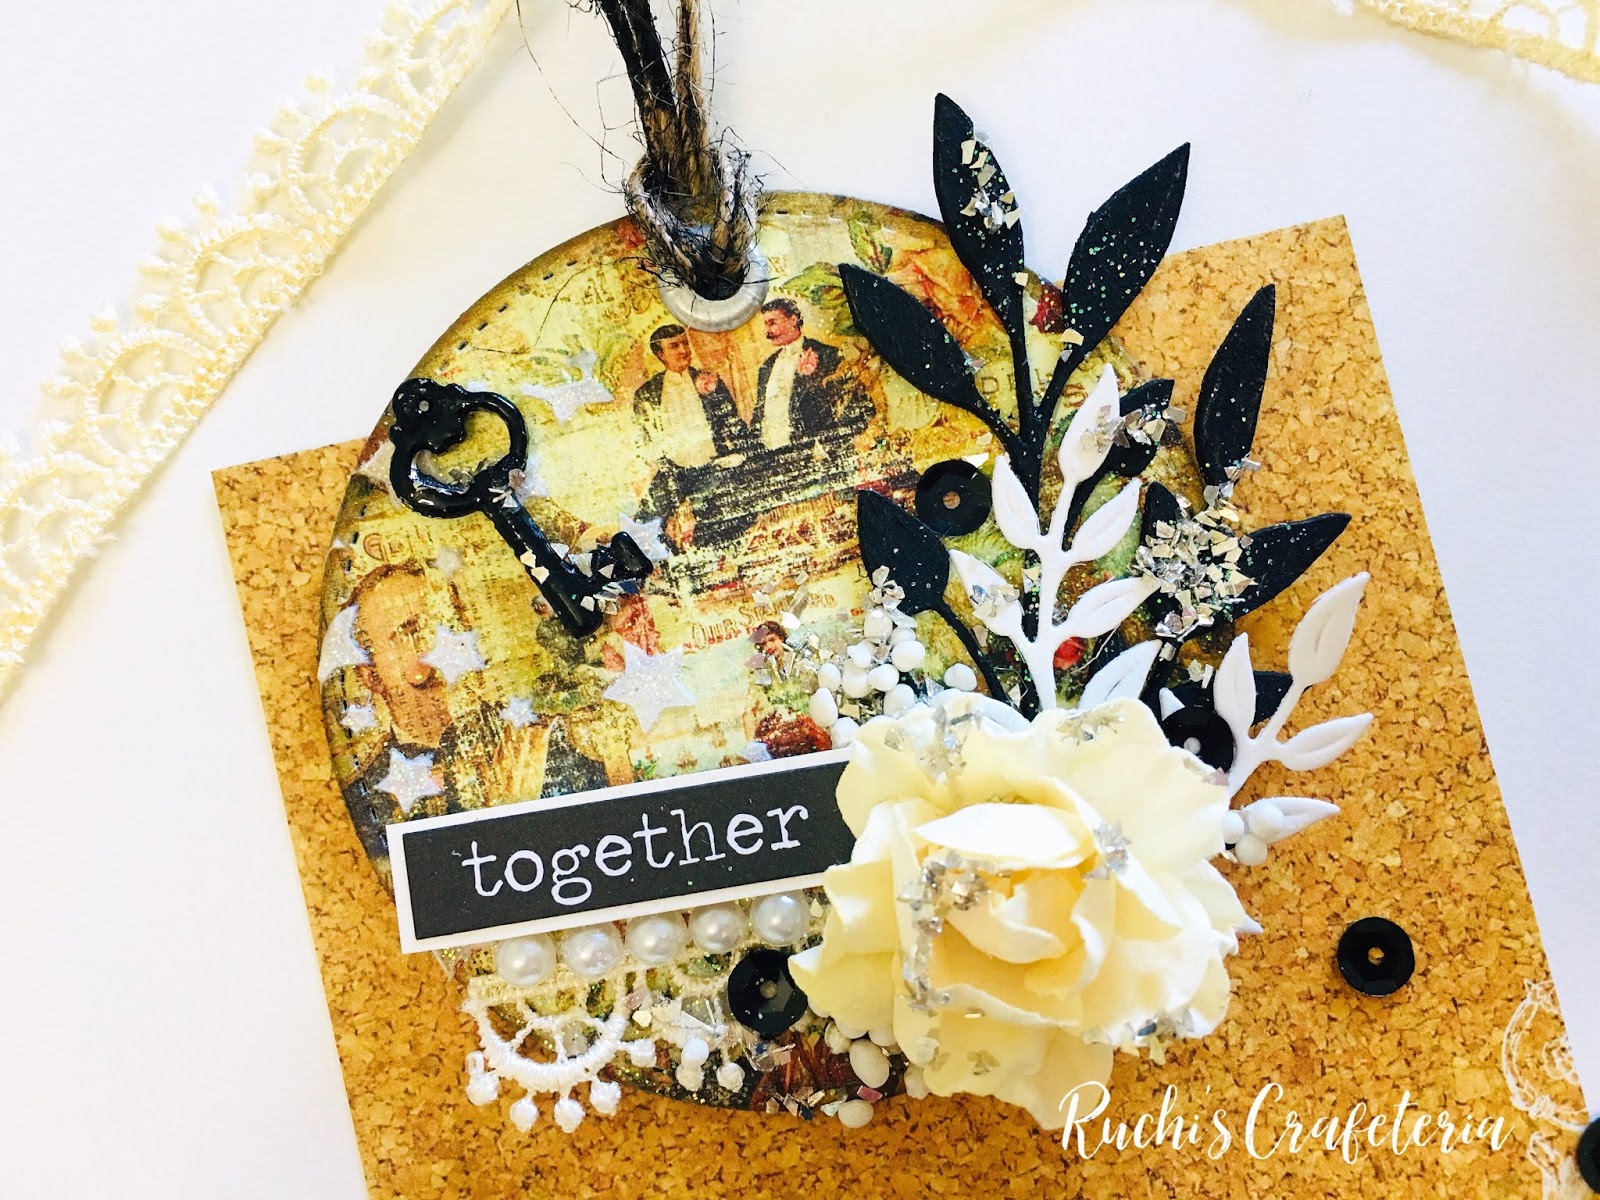
I chose some vintage colours for my tags. I’ve die cut some circles using cardboards and Prima paper in different sizes and glued them together. Distressed the edges using Walnut Stain distress ink.


I've picked SRTC Tribal Feather Mix and Foliage Leaf Branch chipboards and applied Prima black gesso all over them.


I've arranged all the elements together and layered them on my coin tags. Used Tacky Glue for that.


Lastly added some black sequins and sparkly glitter powder to give my ATC Coin Tags finishing touch.


I've captured all the making process of these tags in a video. You can watch the step by step tutorial on my YouTube channel. Enjoy watching!!


That’s it for today!! Hope you like my today's project. Don’t forget to check SRTC shop for these chipboards, stencils and some other awesome designs.

Southern Ridge Trading Company Supplies Used:


Other Supplies Used:


- Prima Marketing: Heavy Gesso Black, Patterned Paper, Modeling Paste and Art Stones
- Ranger Ink: Black Embossing Powder
- Imagine Crafts: Versamark Ink
- Tim Holtz Ideaology: Big Chat Stickers
- Finnabair glass glitter
- Tim Holtz for Ranger Ink: Walnut Stain Distress Ink
- WRMK Crop-A-Dile tool
- Expressions Craft Sprinkle Glitz
- Lace, pearls, sequins, metal charms, button, leaves die cuts, twine are from my stash.


See ya next time.

Till then happy crafting!!

Ruchi


Monday, May 27, 2019

Shine Mixed Media Tag with Ruchi

Hello friends!! Ruchi here from Ruchi's Crafeteria and I'm back with my inspirational project.

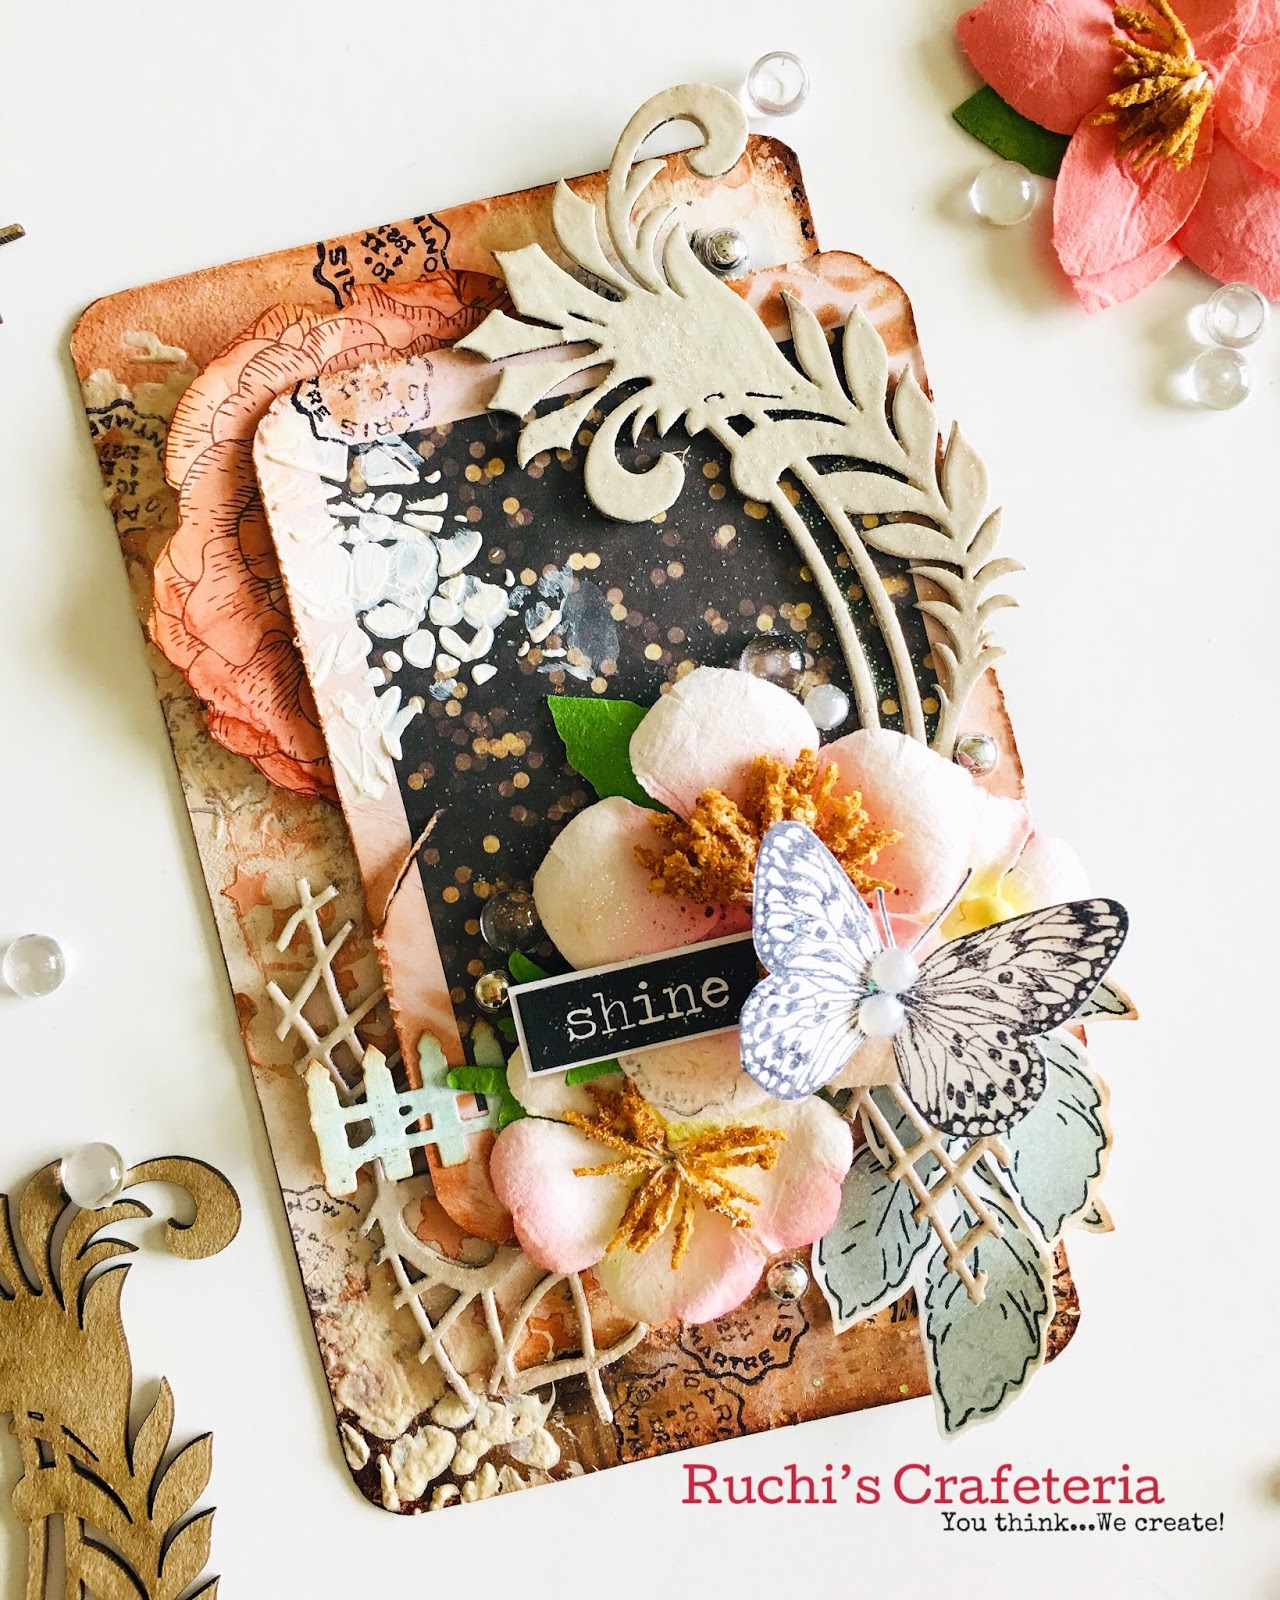
Today I’ve created a Mixed Media Tag 'Shine'. Here it is.. 


I chose some vintage colours for my tag. I’ve created background using SRTC Fibers stencil along with white gesso. Added white gesso on SRTC Oval Peacock Frame and SRTC Fish Net chipboards. Added rose pearl embossing powder on that and embossed it.


I've arranged all the elements together and layered them on my tag. Used Tacky Glue for that.


Lastly added some pearls, dew drops and sparkly glitter powder to give my tag finishing touch.


That’s it for today!! Hope you like my project. Don’t forget to check SRTC shop for these chipboards, stencils and some other awesome designs.

Southern Ridge Trading Company Supplies Used:


Other Supplies Used:

- Prima Marketing: Flowers and Papers
- Ranger Ink: Rose Gold Embossing Powder
- Imagine Crafts: Versamark Ink
- Tim Holtz Ideaology: Big Chat Stickers
- Finnabair Heavy White Gesso
- Tim Holtz for Ranger Ink: Vintage Photo Distress Ink
- Honey Bee Stamps half pearls and dew drops

See ya next time.
Till then happy crafting!!
Ruchi


Monday, April 15, 2019

Spring Themed Mixed Media Tag with Ruchi

Hello friends!! Ruchi here from Ruchi's Crafeteria and I'm so happy to join Southern Ridge Trading company as DT.

It’s my first post today and I’ve created a Mixed Media Tag on spring theme. Here it is.. 


As spring is in the air so I chose all bloom colours for my tag.
I’ve created background using SRTC Fibers stencil n white chalk ink. Then I picked Tribal Feather Mix and Foliage Leaf Branch chipboards and heat embossed them in white. For texture, I’ve applied white gesso on that.


Arranged all the elements together and pasted them on my tag base. Just added some sequins n pearls to give finishing touch.


That’s it for today!! Hope you like my project. Don’t forget to check SRTC shop for these chipboards and some other awesome designs.

Southern Ridge Trading Company Supplies Used:

- Prima Marketing: Flowers and Art Stones
- Altenew Stamp
- Tim Holtz Ideaology:  Big Chat Stickers
- Finnabair Glass Glitter
- Versa Magic White Chalk ink
- Pollens, sequins and pearls are from my stash.

See ya next time.
Till then happy crafting!!
Ruchi


Monday, July 9, 2018

Create From Your Soul Wall Hanging with Cathy Potosky

It's July and the sun is shining and making me melty if I go outside! So I'll turn on my little fan and stay in my craft room.

I am in the process of reorganizing my craft room, and the space in front of my desk is blank! Thanks to some great pieces from SRTC, I now have something to fill that space and inspire me!

This project is very simple, but I just fell in love with the chipboard piece "Create from your soul". I also love shimmer so I painted all my pieces with the Finnabair Art Alchemy Paints. The chipboard takes this paint so beautifully, it's amazing.

I wanted to keep most of my purple shimmer but to tone it down just a bit, so I just used my finger and rubbed some Finnabair Amethyst Magic Wax randomly over my piece. I love the effect I got with it.


While the wax dried a bit I painted the Pearl Strings with my Finnabair paints and did the strand with TH Distress Crayon in Brushed Pewter.


I put these pieces aside and gessoed a piece of wood that I had in my stash using the thick Black Gesso from Finnabair and then sponged and stenciled using TH Brushed Pewter Paint.


Once that was dry (and paint takes a long time to dry when it's crazy hot in my room) I attached my chipboard with Glossy Accents.


I am so happy with this one, simple, shimmery and will be a nice reminder on my wall. And seriously, the Pearl Strings...I will need to order more!! I want those strings on everything! In every colour!


Southern Ridge Trading Company Products Used:


Other Supplies Used:

- Finnabair Art Alchemy Paints: Iris Potion, Ginger Magic, Mermaid Sparkle, Butterfly Spells, Magical Pond and Fairy Wings
- Finnabair Wax in Amethyst Magic
- Tim Holtz Distress Crayon in Brushed Pewter
- Tim Holtz Distress Paint in Brushed Pewter

Thanks for stopping by and make sure you head over to SRTC and check out all the amazing words and phrases there and "create from your soul" something that will inspire you all the time.

- Cathy


Monday, June 11, 2018

Top Hat with Cathy Potosky

Happy June everyone! Hope the month has been treating you all well and you're ready for the summer. And in the summer, it's a good idea to wear a hat to keep that sun off your head.

With that in mind, my project this month features the Top Hat as the base. It's one of my favourite pieces and you can dress it up in so many ways.

I used collage medium and TH Correspondence paper as my base layer and then embossed the whole hat with the Baked Texture Vintage Beeswax. I then went back over it with different Baked Texture Embossing Powders for some more layers. After it was completely cooled, I added mixed media medium with a stencil and once it was tacky, I foiled it with Champagne foil from DecoArt.


Once I had my base ready I started adding my colour to my other pieces. I used 1 of the Butterfly Mix and 2 pieces from the Butterfly Swirl Combo

On one butterfly I covered it with white gesso before I added Ken Oliver's Liquid Metals for colour, on the second butterfly I used the Liquid Metals straight on the chipboard and I love the bit more muted colour I got. 


Another one of my favourite pieces is the butterfly swirl. This piece was painted with Dylusions, Finnabair Wax and Liquid Metals.


I used Glossy Accents to attach my butterflies. Once they were in place I added the TH quote chip and a few TH Baubles that I dyed with alcohol ink.


Here are a few close ups of the finished project. I love the shimmer.


Southern Ridge Trading Company Supplies Used:


Other Supplies Used:

Emerald Creek Craft Supplies: Baked Texture Embossing Powders by Seth Apter in Vintage Beeswax, Chunky Rust, Patina Oxide and Ancient Amber
- Ken Oliver Liquid Metals: Emerald, Coral, Peridot, Quartz and Turquoise
- Dylusions Paint: Laidback Lilac and Dylusions Mica Spray - Crushed Grape
- Finnabair Antique Brilliance Wax: Amethyst Magic and Aged Bronze
- Rebekah Meier Mixed Media Medium
- TCW Rebekah Meier Mini three Tags Stencil
- DecoArt Foil: Champagne
- Tim Holtz/Ideaology: Quote Chips and Baubles 
- Tim Holtz for Ranger Ink: Alcohol Ink - Amethyst and Turquoise

Thanks for stopping by and be sure to come back to see what the DT has to share with you. And don't forget to get your favorite pieces from Southern Ridge Trading Company, you can never have enough chipboard!

Cathy


Wednesday, August 30, 2017

Halloween Scrapbook Album with Karen Bearse

Before Karen Bearse takes you through her fabulously spooky Halloween project, Karen and I would like to thank Karen for all of her fabulous and inspiring work during her time on our Design Team. It has been a true pleasure working with you and we wish you all the best on your future successes! You'll want to make sure to follow Karen on her blog to see what she is up to. Now back to Karen and her spooky Halloween project.

*****************************************************

Karen Bearse here today with my last post for Southern Ridge Trading Co. I have loved being on this team!! I want to thank my team mates especially Katelyn Grosart the DT lead & Karen Beaupre the very generous owner. I will miss these talented ladies but will check in from time to time. I feel the need to focus on other endeavours, but you will still see me around the block!


First I have a creepy Halloween Scrapbook Album for you. I made a similar book way back in 2001 or so. The idea was to do a scrapbook spread every year chronicling our Halloween costumes. This book starts in 1996 with my oldest son’s first Halloween. I have the years up to 2010 where my book kind of stalled out. Time to create part 2 the sequel. The goal is to play with this book and fill in the missing years & carry on from there.


I decided to once again use Eileen Hull’s Journal die but this time in a different way. As most of our Halloween pics tend to be landscape, it will give me room to use bigger photos. First I cut out 2 journal pieces from mat board, lined up & punched the middle hole. Next I cut off the top spine piece leaving me with only 1 row of holes. I used these to add rings so I can add pages as the years go by.


The top pieces were decorated using Distress Oxide, stamped then heat embossed. I have years of Halloween paper hoarded so I brought a bunch out to use on this project. I went with this black & silver spider web paper as the background.


Placing dies & the chipboard piece gave me an idea of how much room I had & where my embellishments should go. I took a photo so I could re-assemble after the pieces were cut & coloured.


Placing dies & the chipboard piece gave me an idea of how much room I had & where my embellishments should go. I took a photo so I could re-assemble after the pieces were cut & coloured.


The cool raven was cut out twice and layered to give him some strength then doodled on. He was adhered with pop dots to give a bit of depth. My ghost was cut out of a piece of white embossed on white paper, misted with Glimmer Mist in Silver for a bit of shimmer.


The cool chippie title was painted using Finnabair art alchemy acrylic paint. Hard to see in photos but in real life there is a great shimmer & metallic finish. Once it was dry the title was a bit dark & did not show up well so I doodled that as well with a white paint pen.


Time for finishing touches! I took my word band and added paint so the letters would show up better, and some hemp. I added orange rings now all I need is to add some pages. I hope you enjoyed my Halloween tutorial & I encourage you to make a book, it is a lot of fun to look back on all the years of Halloween! Thanks again for all the fun playing with Southern Ridge Trading Co.


Southern Ridge Trading Company Supplies Used:


Other Supplies Used:

- Eileen Hull by Sizzix: Journal Die
- Tattered Angels: Tinsel Town (G.Glam) and Silver (G.Mist)
- Tombow: Mono Liquid Glue
- Tim Holtz by Sizzix: Feather & Ravens and Village Graveyard
- Tim Holtz Stamps by Stampers Anonymous
- Tim Holtz Idea-ology by Advantus: Word Band 
- Emerald Creek Craft Supplies: Onyx Frost Embossing Powder
- Ranger Ink: Emboss It Dabber
- Finnabair Acrylic Paint by Prima Marketing: Metallic - Dark Forest, Fresh Orange and Silver Spoon, Opal Magic - Pink, Blue and Sparks: Iris Potion


- Karen