Showing posts with label Heidi Swapp. Show all posts

Monday, September 2, 2019

This is the Good Stuff Scrapbook Layout with Karla Yungwirth

Hello friends! Karla here today with a pretty Fall layout using the Fall Leaves Chipboard, Abstract Frame Set and Fence Stencil (size Medium) from the Southern Ridge Trading Company Shop. My favourite season is fall so I couldn’t wait to jump into this pretty scrapbook page. I decided to go with a bit of a non-traditional colour scheme though, focusing on the teals and brown colours with a bit of mahogany red thrown in.


I love customizing the beautiful chipboard available in the SRTC Shop and this month I wanted to try Distress Oxide Inks. By simply sponging them on I was able to add beautiful soft layer of colours that blend wonderfully and matches my papers and photos. I think everything needs a bit of sparkle, so I added some glittery letters and shiny sequins.


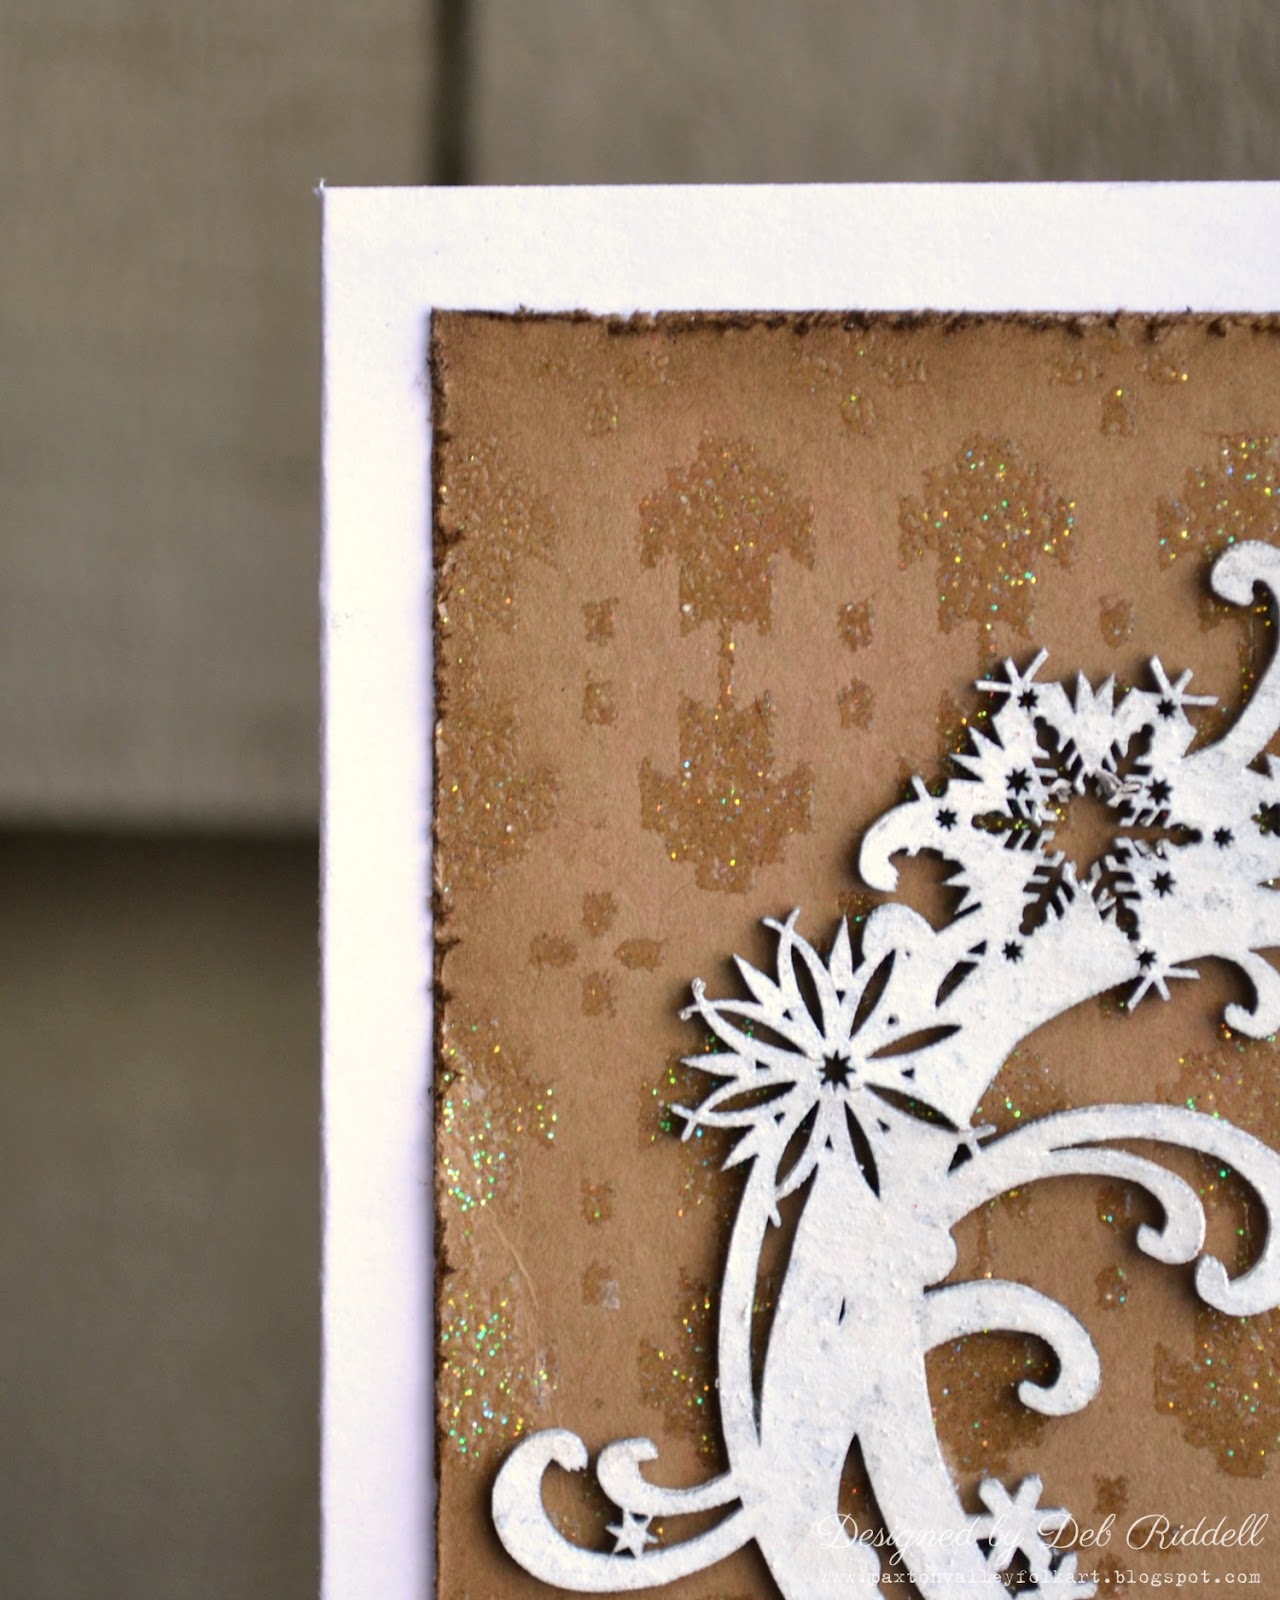
 I added a Project Life Card to record my journaling and followed the SCT 365 – 2019 Layout Class Sketch as a starting point to layer on my papers and embellishments. A grid stamp and some Distress Oxide Ink splatters add even more interest over the background and on the leaves.


You can find the process video where I’m sharing how to put this layout together HERE.

Southern Ridge Trading Company Supplies Used:

Fence Stencil (size Medium)

Other Supplies Used:

- Tim Holtz for Ranger Ink: Distress Oxide Inks
- Recollections Paper Pad
- Heidi Swapp Word Stickers
- Glitter Letter Stickers
- Grid Stamp
- Project Life Card
- SpiegelMom Scraps Sequins
- Amy Tangerine Date Stamp

Thanks so much for stopping by! Be sure to check out the Southern Ridge Trading Company Shop to see what inspires you to create – and have a fabulous first week of September!

Hugs,
Karla


Friday, December 16, 2016

Snowflakes Merry Christmas Card with Deb Riddell

Hello everyone and thank you for stopping by today.  If you are anything like me, you are scrambling to get ready for Christmas and so I really appreciate you taking the time!  Because I know we are all crazy busy at this time of year the Christmas card project I have to share with you today is quick and easy, just a little embossing powder and ink sprays onto some wonderful Southern Ridge chipboard embellishments and you are done!


I used Southern Ridge’s Small Snowflake Wreath, Snowflakes 712, Merry Christmas Greeting Pack and Aztec stencil (which I don’t see in the store at the moment but I’m sure you could ask Karen for it if you want it).  I’m completely enamoured of the kraft, white and red colour palette right now so that is what I used for my card, read on for the very quick how to.

I started out by cutting a piece of kraft coloured cardstock to 4 ¾” x 5 ¾” and inking it with clear embossing ink through the Aztec stencil.  I then embossed it with some Iridescent Shimmer embossing powder.  The Aztec pattern reminds me of a Nordic print knitted sweater!


The Small Snowflake Wreath was then sprayed with Picket Fence Distress spray, Heidi Swapp White Color Shine spray and a touch of Brushed Pewter Distress Mica spray in a sweeping motion.  I like to use sprays for these very intricate chipboard pieces as they allow you to maintain the delicate details.

I cut one of the Merry Christmas sentiments from the Merry Christmas Greeting Pack and gave it two coats of Red Candy embossing powder.


And finally, 3 snowflakes from the Snowflakes 712 collection were given two coats of Soft Fallen Snow embossing powder.

And then the card was assembled; I cut a card blank from white cardstock and mounted the embossed kraft background onto it with double sided tape.  I tattered the edges of the kraft background and inked it with some Frayed Burlap Distress ink before adhering it.  The Small Snowflake Wreath was centered towards the left side of the card.


Add the Merry Christmas sentiment was adhered to the bottom.


The three Snowflakes 712 were then glued down the right side of the card beside the Snowflake Wreath.


I love the shimmer of the stenciling on the kraft card in the background, adds another layer of interest with minimal steps which is a real bonus at this time of year!


And as a final touch, a sentiment from Tim Holtz’s Doodle Greetings #1 was stamped on the inside of the card.


So there you go, a quick and easy Christmas card using chipboard embellishments from Southern Ridge Trading Co that looks wonderful, what more could you ask for at this busy time of year!


Southern Ridge Trading Company Supplies Used:

- Aztec stencil ( Coming Soon)

Other Supplies Used:

- Tim Holtz for Stampers Anonymous: Doodle Greetings #1 stamp
- Tim Holtz for Ranger Ink: Clear Distress Embossing powder, Picket Fence Distress Spray stain, Brushed Pewter Distress Mica spray and Frayed Burlap Distress ink
- Emerald Creek Craft Supplies: Iridescent Shimmer embossing powder and Candy Red embossing powder
- Heidi Swapp: White Color Shine spray
- Miscellaneous: kraft and white cardstock, paper trimmer, double sided tape and wet adhesive

Thank you so much for stopping by today and if you can find a few minutes of spare time I hope you will enter our Christmas and New Years challenge, you have a chance to win 4 designs from the online store - chipboard.ca - a $20.00 retail value (before taxes) of YOUR OWN CHOOSING!  Hope to see you there and I’d like to take this opportunity to wish you and yours the happiest of holidays, see you in 2017!

Deb xo


Monday, December 12, 2016

Baking Cookies Scrapbook Layout with Charlene Byrd


Hello everyone,
Thanks for joining me today. I LOVE when my boys were little and they enjoyed doing a little Christmas baking with me! They’re teenagers so they’re too old for that now, good thing I have nieces and nephews who will bake with me!


I used Perfect Pearls to create the snowflake frame and the individual snowflakes. Start by adding some embossing ink to the chipboard. The Perfect Pearls that I used was in a powder form so I used a dry paint brush to apply it. Dip your brush into the powder, tap off excess and then brush it over the chipboard. I randomly applied all 3 colours. I cut off the tips of 2 of the snowflakes so that they are peeking out from the paper.


Then I simply used gold embossing powder on the word JOY.

Southern Ridge Trading Company Products Used:


Other Products Used:

- Imaginese Paper
- Bazzill Cardstock
- Heidi Swapp Letter stickers
- Websters tiny letter stickers
- Washi Tape
- Perfect Pearls
- Embossing Ink
- Border Punch

Remember to play along in the monthly challenge over on the Southern Ridge Trading Company blogEach month enter for your chance to win 4 designs from the online store - chipboard.ca -$20 (before tax) retail value of YOUR OWN CHOOSING! 

Happy Creating and Merry Christmas to ALL!
Charlene


Friday, July 15, 2016

Enjoy the Ride Card with Deb Riddell

Hello and thanks so much for stopping by today.  Deb here again to share another project for our July challenge theme of Anything Summer.  For today’s project, I made a card using Southern Ridge Trading Company’s Leafy Frame and Retro Bike chipboard pieces.  Riding your bike along a path lined with flowers and green leaves certainly says summer to me!


I started out with a piece of scrapbook paper from my stash that had some glittered flowers and swirls on it (sorry but I don’t know what paper line it is from, it was a gift from a blogging friend).  I gently tattered and inked the edges of the paper with Vintage Photo Distress ink and mounted it onto a white card blank.


I sprayed the Retro Bike with Heidi Swapp White Colour Shine spray and then did a couple of small spritzes with Salty Ocean Distress spray.  While it was still wet I sprayed again with Picket Fence Distress spray and quickly heat dried so that just a bit of the blue peeked through here and there.


The Leafy Frame was coloured with Mowed Lawn Distress ink and while the ink was still wet, I sprinkled it with clear embossing powder and heat set it.  The frame was then painted with Ranger Glue ‘n Seal and sprinkled with Mowed Lawn Distress Glitter and set aside to dry.

Three tiny Maya Road metal roses were coloured with Stonewash alcohol ink.


Two Jenni B paper flowers were sprayed with Salty Ocean Distress spray and then sprayed again with Heidi Swapp White Colour Shine spray.  I just wiped the spray off of the pearl centers while the sprays were still wet and gently dried the flowers with my heat gun.

And then the card was assembled.  I adhered the Leafy Frame to the scrapbook paper and then placed the Retro Bike inside the frame along the bottom edge.


The blue paper flowers were adhered to the corners of the frame and I added some small leaves that I die cut with the Tiny Tattered Florals leaf die from cardstock coloured with various shades of green Distress inks.

I stamped the sentiment (from a Studio G clear stamp set #VC0053) with Jet Black Archival ink and clear embossed it.


And finally I added the Maya Road metal roses into the basket on the Retro Bike along with some more Tiny Tattered Florals leaves.

This card would be suitable for birthdays or even for a graduation or congratulations on a new job.


You could also incorporate it into a scrapbook layout with pictures of your families bike riding adventures this summer!

Southern Ridge Trading Company Supplies Used:


Other Supplies Used:

- Tim Holtz/Ranger - Vintage Photo, Mowed Lawn, Peeled Paint and Bundled Sage Distress ink; Mowed Lawn Distress glitter; Stonewashed alcohol ink; Salty Ocean and Picket Fence Distress spray; Glue ‘n Seal; Clear Embossing powder; Jet Black Archival ink
- Tim Holtz/Sizzix - Tiny Tattered Florals die
- Heidi Swapp - White Color Shine spray
- Maya Road - Vintage Trinkets Mini Antique Metal Roses
- Jenni B - Paper Flower Pearl WH
- Studio G - Clear Stamp VC0053
- Miscellaneous - Glitter scrapbook paper; scissors; paper cutter; E6000 glue; card blank; ruler; paint brush; tape runner

Hope that you have been inspired to join in our July challenge, Anything Summer, you have a chance to win 4 designs from the online store - chipboard.ca - a $20.00 (before tax) retail value of YOUR OWN CHOOSING!  Can’t wait to see what you link up, happy creating!

Deb xo