Showing posts with label Merry Christmas Greeting Pack. Show all posts

Monday, December 9, 2019

Merry Christmas Wall Hanging with Katelyn Grosart

Hey Southern Ridge Trading Company fans, Katelyn here. I'm excited to be back on the blog today sharing my Merry Christmas Wall Hanging perfect to add to any place in your home. To create my wall hanging, I've used a variety of our popular Christmas chipboard pieces. You'll want to read below as I share with you how to recreate my Merry Christmas Wall Hanging at home.


To start, you'll need the Primitive Star. Apply a coat of Emboss It Ink to the star. Sprinkle Charred Gold Embossing Powder over the entire surface of the star. Tap off the excess powder and emboss with a heat tool.


Next, you'll need two Corrugated Stars. Apply a coat of Emboss It Ink to the stars. Sprinkle Charred Gold Embossing Powder over the entire surface of each star. Tap off the excess powder and emboss with a heat tool.


From the Ribbon Bows, you'll need the small sized ribbon bow. Apply two coats of Candied Apple Distress Ink to the ribbon bow. Once the ribbon bow has dried, rub Ground Espresso Distress Crayon to the bow as desired.


From the Merry Christmas Greeting Pack, choose one of the Merry Christmas's. Apply two coats of Candied Apple Distress Ink to the Merry Christmas sentiment.


Next, you'll need the large sleigh from the Sleighs. Apply a coat of Emboss It Ink to the sleigh. Sprinkle Weathered Wood Embossing Powder over the entire surface of the sleigh. Tap off the excess powder and emboss with a heat tool.


Choose one of the deer from the Merry Deer. Apply a coat of Emboss It Ink to the deer. Sprinkle Copper Scroll Modern Gilding Powder over the entire surface of the deer. Tap off the excess powder and emboss with a heat tool.


From the Holly Berry Assembly, you'll need four holly branches and one berry bunch. Apply two coats of Peeled Paint Distress Ink to the four holly branches. Apply two coats of Candied Apple Distress Paint to the holly berry bunch. Once the holly branches and holly berries have dried, rub Ground Espresso Distress Crayon to them as desired.


Adhere the sleight to the right of the star. Adhere the ribbon bow to the top of the sleigh.


Adhere two holly branches together. Adhere the holly branches to the top right side of the bow. Use adhesive and foam squares to adhere the two corrugated stars to the top portion of the ribbon bow. 


Adhere the other two holly branches and holly berry together. Adhere the holly bunch to the bottom left corner of the star. Use adhesive and foam squares to adhere the deer slightly overtop of the corrugated stars and sleigh. Adhere the Merry Christmas sentiment to the left of the deer. 


To finish the wall hanging, adhere a piece of twine to the top of the star. 


Here are a few closeup photos of the finished wall hanging. 


Here is the finished Merry Christmas Wall Hanging.


Southern Ridge Trading Company Supplies Used:

- Primitive Star

Other Supplies Used:

- Emerald Creek Craft Supplies: Weathered Wood Embossing Powder and Charred Gold Embossing Powder
- Quietfire Design: Modern Gilding Powder - Copper Scroll
- Tim Holtz for Ranger Ink: Distress Paint - Candied Apple & Peeled Paint and Distress Crayon - Ground Espresso
- Ranger Ink: Emboss It Dabber
- Misc: Twine

Thanks so much for joining my today!

- Katelyn


Friday, December 14, 2018

Merry Christmas Card with Monica Edwards


Hi everyone only 11 days until Christmas and I can't wait!  I am here today sharing a card using Southern Ridge Trading Co. chipboard "Merry Christmas Greeting Pack" and "Christmas Stocking"


I added glue to the chipboard piece and then applied some red glitter


The stocking I added to my Gingerbread as if it was being held.  I thought it would add a cute touch?!!


 Southern Ridge Trading Company Supplies Used:


Other Supplies Used:

- Pink & Main: Jolly collection
- Creative Inspirations : Resplendence Regal Red Glitter
- Cardstock : Tan, White
- Stitched Oval Die

- Monica

Friday, December 22, 2017

Christmas Stockings Ornament with Deb Riddell

Hello everyone and thank you for stopping by at this very busy time of the year.  It’s Deb Riddell here with you today and I have a quick and easy Christmas ornament to share with you created with Southern Ridge Trading Company’s Ribbon Bows, Merry Christmas Greeting Pack and Christmas Stockings.


For the base of my ornament I used Eileen Hull’s Embroidery Hoop die, cutting it once form white Little Sizzles Mat Board and twice from some Carta Bella ‘A Very Merry Christmas’ scrapbook paper.


The front of the mat board die cut was covered with the Night Before Christmas paper;


And the back of the mat board embroidery hoop covered with the blue snowflake paper.

Southern Ridge’s Ribbon Bow was painted with gold metallic paint and then embossed with gold embossing powder, this powder from my stash has flecks of green and red in it so perfect for the Christmas season.


One of the sentiments from the Merry Christmas Greeting Pack was painted with dark green acrylic paint and then Deco Foil Adhesive was applied over the entire piece.  Once the adhesive was dry and tacky, green Deco Foil was burnished overtop of the Merry Christmas sentiment.

Three of those adorable little Christmas Stockings were painted with gold and silver metallic paints and once the paint had dried they were embossed with Emerald Creek Craft Supplies Iridescent Shimmer embossing powder for a little more sparkle (‘cause you can never have enough sparkle at Christmas time!).


All of the Southern Ridge chipboard embellishments were going on the front of the ornament so I stamped and embossed one of Tim Holtz’s Swirly Snowflakes stamps with some blue shimmer embossing powder from my stash to decorate the back of the ornament.  I die cut the embossed snowflake with the coordinating die from Sizzix and then popped it up on some 3D Zots Singles adhesive dots.

And then I just layered all of the chipboard onto the front of the ornament, the embossed Ribbon Bow was adhered at the top:


The foiled Merry Christmas sentiment was adhered on the tails of the Ribbon Bow:


And finally the three little embossed stockings were tied onto the Merry Christmas sentiment with some button thread coloured with green Distress ink.  There was a bit of bare spot between the second and third stockings so I quickly die cut a Mini Paper Snowflake from some Deco Foil Toner Sheet I had in my stash that I think was covered with Rebekah Meier Designs Vintage Tin Mixed Media Transfer Foil.  A ribbon hanger was added to the embroidery hoop and the ornament was complete.


I hope that you’ve enjoyed seeing how my Christmas Stockings ornament came together, it would make a quick and easy last minute gift.


Southern Ridge Trading Company Supplies Used:


Other Supplies Used:

- Sizzix: Embroidery Hoop die, Swirly Snowflakes die, Mini Paper Snowflakes die and Little Sizzles White Mat Board
- Stampers Anonymous: Swirly Snowflake stamp
- Carta Bella: A Very Merry Christmas Patterned Paper
- Therm O Web: Green Deco Foil, Deco Foil Adhesive Pen, Mixed Media Adhesive, Deco Foil Toner Sheet, Rebekah Meier Designs Mixed Media Transfer Foil and 3D Zots Singles
- Emerald Creek Craft Supplies: Iridescent Shimmer Embossing Powder
- Deco Art: Americana Acrylic Paint
- Miscellaneous: ribbon, gold embossing powder, blue metallic embossing powder, button thread, gold and silver metallic paint

Thanks once again for stopping by today and I’d like to take this opportunity to wish you all a very Merry Christmas and may the New Year bring you joy and good health, happy holidays everyone!


Friday, July 28, 2017

Merry Christmas Ornaments Canvas with Deb Riddell

Hello and thanks for stopping by, Deb Riddell here with you today to share a Christmas In July mixed media canvas that I created with some of Southern Ridge’s new Christmas releases.


I used the new Swirls Ornament Set along with the Merry Christmas Greeting Pack chipboard to create my Merry Christmas Ornaments canvas, read on for the how to.

The Swirls Ornament Set includes three ornaments that each have two layers, a solid backing and a decorative overlay.  I covered the solid backing ornaments with three different papers from Tim Holtz’s Yuletide and Tidings Paper Stash’s, trimming the edges with a finger knife and then filing any stray bits with an emery board.  The hanger holes were punched out with a single hole punch.


The first Swirl overlay was embossed with Soft Fallen Snow embossing powder from Emerald Creek Craft Supplies and then adhered overtop of the green polka dot paper covered ornament.

The second Swirl overlay was covered with Distress Vintage Platinum Glitter Dust and adhered overtop of the Christmas text covered ornament.


And the third Swirl ornament was foiled with Therm O Web’s Opal Deco Foil and adhered overtop of the red star patterned ornament.

One of the Merry Christmas sentiments from the Merry Christmas Greeting Pack was then foiled with more Therm O Web foil, this time I used some Old Gold Mixed Media Transfer Foil from their Rebekah Meier Designs line.  I used the Deco Foil Adhesive pen directly onto the bare chipboard and love the distressed effect that was enhanced with some Frayed Burlap Distress Ink.


To carry on the gold theme, Tim Holtz’s Bird Branch die was cut from some gold Metallic Kraft Stock, sanded slightly to reveal some of the kraft paper below the gold and inked with Frayed Burlap Distress ink (I cut off the little bird and will save him for a future project!).

A 6” x 8” flat artist’s canvas was painted with white gesso and then inked with Tumbled Glass Distress Stain.  Some of the stain was randomly removed with a damp baby wipe for a mottled cloudy effect.


A little subtle tone on tone stenciling followed with Tumbled Glass Distress ink through Tim Holtz’s Holiday Script layering stencil.

And finally, more stenciling was added through Tim Holtz’s Snowflake layering stencil with Ranger Transparent Gloss texture paste and once it had dried a splattering of white acrylic paint and edging with Stormy Sky Distress ink completed the background.


And then the canvas was assembled, button thread was tied onto each of the ornaments and they were adhered onto the prepared canvas.


The Merry Christmas sentiment was adhered below the ornaments,


And a snowflake charm was embossed with more Soft Fallen Snow embossing powder and adhered to the left side of the canvas.  A couple of sentiments from Tim Holtz’s Occasions Small Talk Stickers were also added after inking them with some Old Paper and Frayed Burlap Distress Inks.


Finally, the Bird Branch die cut was applied along the top of the canvas and the ornament hangers tied around it.


I hope that you’ve enjoyed seeing how my Merry Christmas Ornaments canvas came together, I love this new Swirls Ornament set, such a versatile design!


You could easily turn this canvas into a Christmas card or scrapbook layout and if you covered the ornaments with patterned paper front and back they’d make lovely decorations for your tree.

Southern Ridge Trading Company Supplies Used:


Other Supplies Used:

- Tim Holtz / Sizzix: Bird Branch die
- Tim Holtz / Ranger Ink: Distress Stain, Distress Ink, Distress Glitter Dust and Transparent Gloss texture paste
- Tim Holtz / Advantus: Yuletide and Tidings Paper Stack, Metallic Kraft Stock, Snowflake charm and Occasions Small Talk stickers
- Tim Holtz / Stampers Anonymous: Snowflake and Holiday Script layering stencils
- Therm O Web: Deco Foil, Mixed Media Transfer Foil and Deco Foil Adhesive Pen
- Emerald Creek Craft Supplies: Soft Fallen Snow Embossing Powder
- Miscellaneous: 6” x 8” flat canvas, scissors, finger knife, emery board, button thread, adhesive, hole punch, gesso, white acrylic paint and paint brush

Thanks again for stopping by today and as always, happy creating!


Friday, December 16, 2016

Snowflakes Merry Christmas Card with Deb Riddell

Hello everyone and thank you for stopping by today.  If you are anything like me, you are scrambling to get ready for Christmas and so I really appreciate you taking the time!  Because I know we are all crazy busy at this time of year the Christmas card project I have to share with you today is quick and easy, just a little embossing powder and ink sprays onto some wonderful Southern Ridge chipboard embellishments and you are done!


I used Southern Ridge’s Small Snowflake Wreath, Snowflakes 712, Merry Christmas Greeting Pack and Aztec stencil (which I don’t see in the store at the moment but I’m sure you could ask Karen for it if you want it).  I’m completely enamoured of the kraft, white and red colour palette right now so that is what I used for my card, read on for the very quick how to.

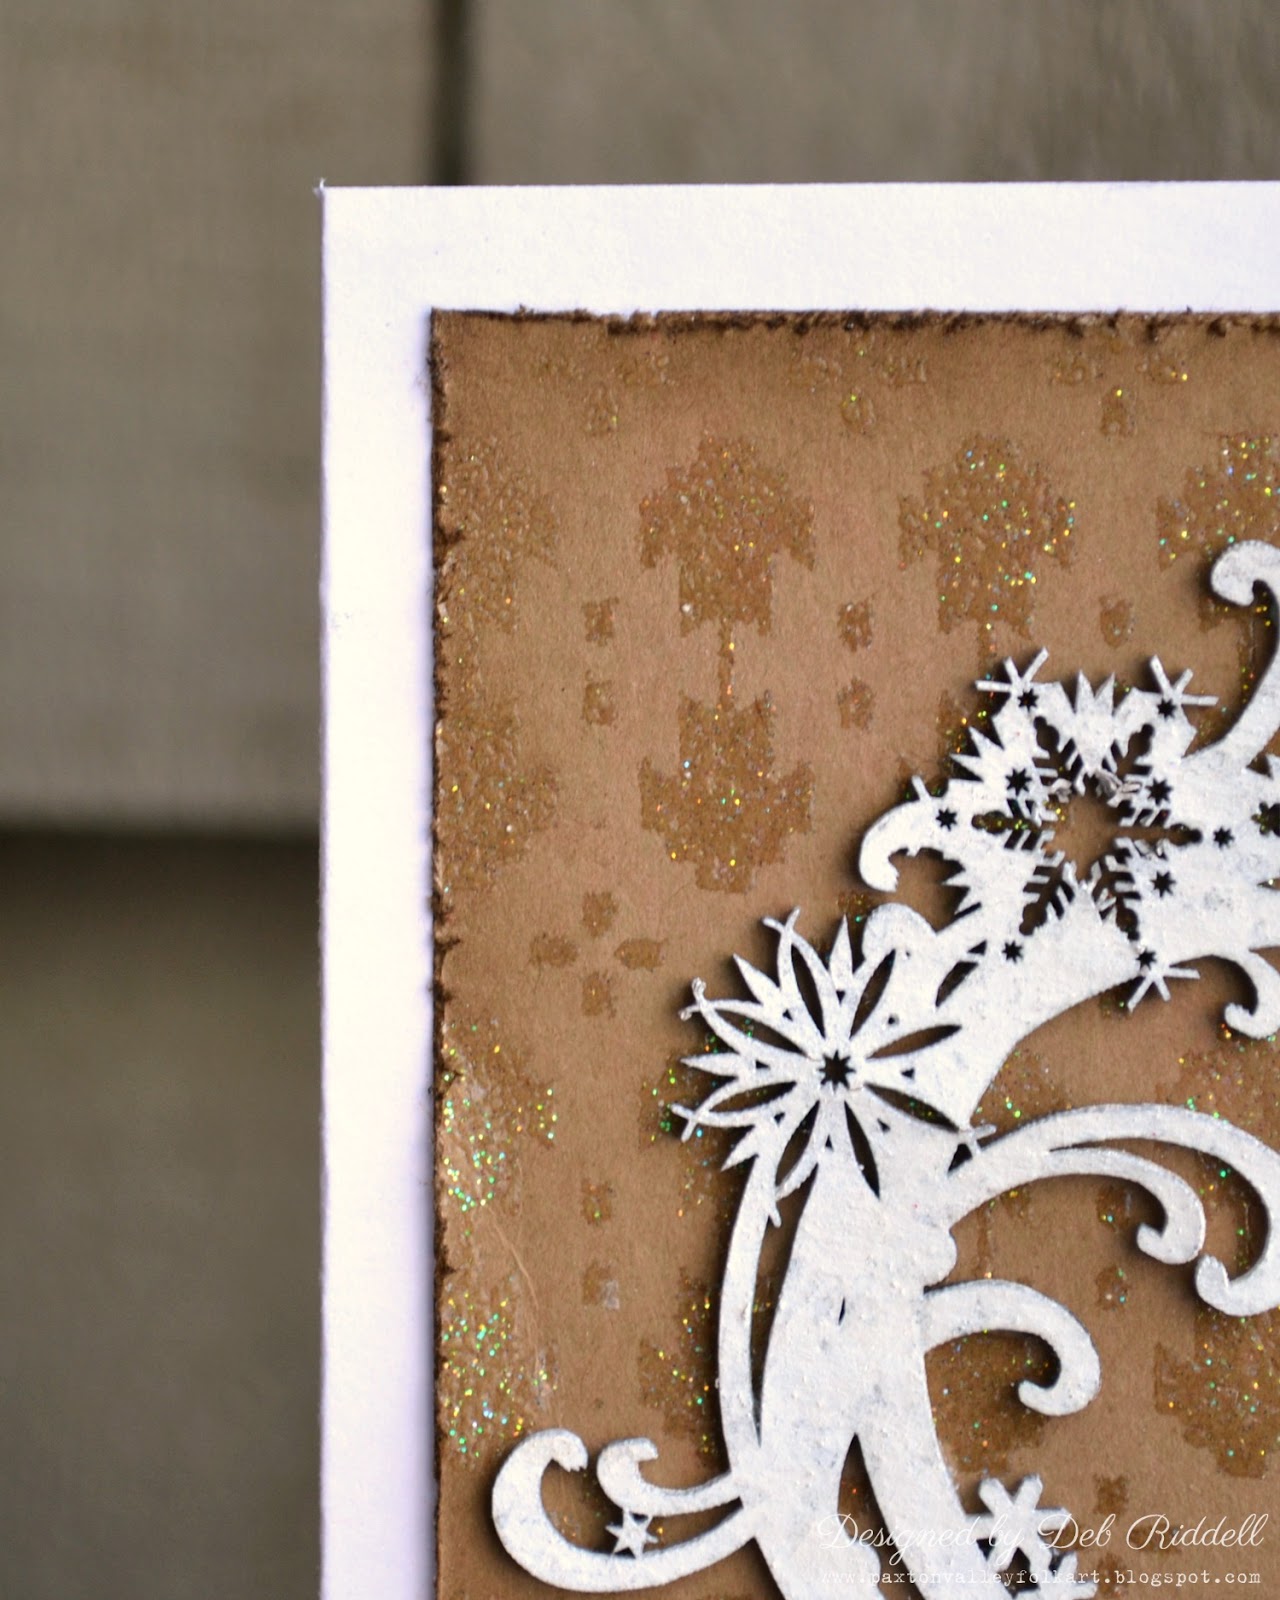
I started out by cutting a piece of kraft coloured cardstock to 4 ¾” x 5 ¾” and inking it with clear embossing ink through the Aztec stencil.  I then embossed it with some Iridescent Shimmer embossing powder.  The Aztec pattern reminds me of a Nordic print knitted sweater!


The Small Snowflake Wreath was then sprayed with Picket Fence Distress spray, Heidi Swapp White Color Shine spray and a touch of Brushed Pewter Distress Mica spray in a sweeping motion.  I like to use sprays for these very intricate chipboard pieces as they allow you to maintain the delicate details.

I cut one of the Merry Christmas sentiments from the Merry Christmas Greeting Pack and gave it two coats of Red Candy embossing powder.


And finally, 3 snowflakes from the Snowflakes 712 collection were given two coats of Soft Fallen Snow embossing powder.

And then the card was assembled; I cut a card blank from white cardstock and mounted the embossed kraft background onto it with double sided tape.  I tattered the edges of the kraft background and inked it with some Frayed Burlap Distress ink before adhering it.  The Small Snowflake Wreath was centered towards the left side of the card.


Add the Merry Christmas sentiment was adhered to the bottom.


The three Snowflakes 712 were then glued down the right side of the card beside the Snowflake Wreath.


I love the shimmer of the stenciling on the kraft card in the background, adds another layer of interest with minimal steps which is a real bonus at this time of year!


And as a final touch, a sentiment from Tim Holtz’s Doodle Greetings #1 was stamped on the inside of the card.


So there you go, a quick and easy Christmas card using chipboard embellishments from Southern Ridge Trading Co that looks wonderful, what more could you ask for at this busy time of year!


Southern Ridge Trading Company Supplies Used:

- Aztec stencil ( Coming Soon)

Other Supplies Used:

- Tim Holtz for Stampers Anonymous: Doodle Greetings #1 stamp
- Tim Holtz for Ranger Ink: Clear Distress Embossing powder, Picket Fence Distress Spray stain, Brushed Pewter Distress Mica spray and Frayed Burlap Distress ink
- Emerald Creek Craft Supplies: Iridescent Shimmer embossing powder and Candy Red embossing powder
- Heidi Swapp: White Color Shine spray
- Miscellaneous: kraft and white cardstock, paper trimmer, double sided tape and wet adhesive

Thank you so much for stopping by today and if you can find a few minutes of spare time I hope you will enter our Christmas and New Years challenge, you have a chance to win 4 designs from the online store - chipboard.ca - a $20.00 retail value (before taxes) of YOUR OWN CHOOSING!  Hope to see you there and I’d like to take this opportunity to wish you and yours the happiest of holidays, see you in 2017!

Deb xo