Thursday, March 5, 2015

Bee ATC's

I have been creating Artist Trading Cards again, they are small, 2.5" x 3.5". I have used the gorgeous chipboard honey comb, MIS-274. I have used this before, but its just something I keep coming back to and working on this smaller scale was really fun. Its so easy to cut the chipboard, so one size fits all :)
My three ATC's, all slightly different :
 There are a number of elements on my ATC's, including honey in the comb, this is made with gold acrylic paint and crystal effects. The gorgeous bee image is from SCACD, a steam punk bee called Bee Ware - isn't it great. A close up of my favourite ATC of the three, you can clearly see the embossing, the cogs, honey, chipboard and flowers - also for sale by SRTC at events.

Monday, March 2, 2015

A Daughter Tag Set

It's crazy to believe that we are already into March which means that at Southern Ridge Trading Company we have a brand new set of releases!! Karen has designed beautiful new pieces, which means you are in for a treat for the next couple of months as the rest of the design team members will be using all of the beautiful March & April releases. To check out all of the New Releases check it out under the New Release section at Southern Ridge Trading Company.

So here is my first tag in the set using VIN-549 :

Supplies used: Graphic 45 Staples, May Arts Ribbon, VIN-549, Flowers from SRTC, Gold Ultra Thick Embossing Enamel, and Pion - My Daughter Paper.

Ultra Thick Embossing Enamel is my favourite to use when I'am trying to make a piece look old and you have control of how embossed your piece ends up. When I use Ultra Thick Embossing Enamel I like to keep some of the bubbles still on the piece. Some parts of VIN-549 was missing some embossing enamel so I added some Vintage Photo Distress Ink into the non-embossed parts.
Supplies Used: VIN-549, Flowers from SRTC, and Gold Ultra Thick Embossing Enamel.

Here is the tag completed:


Here is the second tag in the set using VIN-550:
Supplies used: Pion - My Daughter, VIN-550, Distress Crackle Paint in Vintage Photo, and May Arts Ribbon.


I love all the detail on VIN-550 so I added Vintage Photo Distress Crackle Paint to give the frame a crackled finish. 

Supplies used: Distress Crackle Paint in Vintage Photo, VIN-550, and Pion - My Daughter.


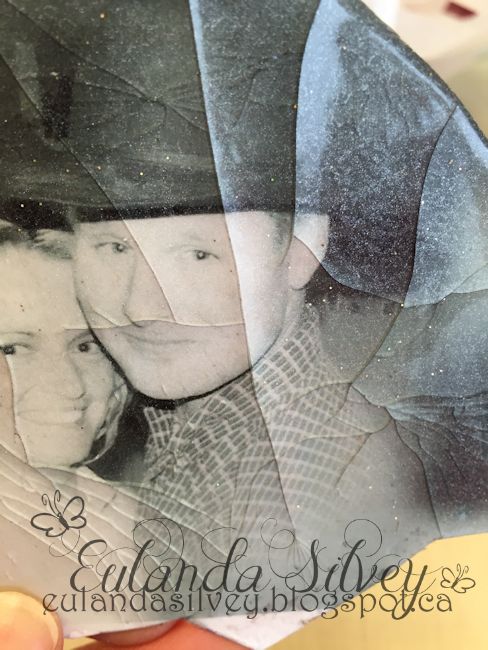
Here is an up close photo of the crackle finish on VIN-550:
Supplies used: VIN-550, and Distress Crackle Paint in Vintage Photo.

Here is the full view of the second tag:

Have a great Monday Morning! Come back this week for more inspiration from other design team members and to see how we are using the beautiful new March & April releases. 


Thanks for Stopping by!
-Katelyn


Thursday, February 26, 2015

LOVE Project

This project was fun but for some reason it took me 2 days!  Ok, I must confess I was at a crop with a lot of friends so they MAY have distracted me and I was busy distracting myself.  LOL!  The LOVE and chipboard pieces are available HERE on the Southern Ridge Trading Company store. 

Here's the finishing project but I'll show you more as we go along.  


The first thing I did was cover the LOVE piece with white acrylic paint, then Crackle and then white paint again.  When you add the 3rd layer, that's when the cracking starts.  


I chose to use white under my first layer because I was going for a shabby chic look but if you wanted a more vintage look, you could paint the bottom color a brown or anything you wanted and it'll show through. 


My next step was to distress all the edges with Momento cocoa ink.  I also distressed the bottom of the V and E quite high because it does end up sliding in the base of the LOVE piece. 


The next thing I did was fit my picture into this sweet heart frame.  Yup it was a bit finicky but it worked.  I then painted the heart border with pink acrylic paint and sprayed with Prima's new color bloom "Cotton Candy" then "Worn Leather" and let it dry. 


Here I covered the picture with Versamark called "Frost" and then loaded it up with UTEE 3 or 4 times to get this effect.  Cracked very easy all on it's own at this point.


My next step was to add some more dimension so I mixed up some molding paste and colored it using a brown colored gelato.  At first I thought it was too dark but after all the embellishments were added it didn't too bad.  **Don't forget to do your base as well.


Just bare chipboard to a beautiful piece by adding some gold embossing powder. 


My finished hearts with a few Wild Orchid Crafts flowers (which Karen happens to sell at crops) and finished it off with a simple piece of lace.


For the top piece I covered with some chunky shabby white Stampendous embossing powder and then added the gold to the ends as well.  The piece underneath is just the raw chipboard with Versamark "Frost" and UTEE.  It's gorgeous this way as well!


Finished piece under a gorgeous Prima flower.  


The Cupid is covered with pink chunky Stampendous embossing powder.  So cute!  


Now everything starts to come together.  One thing I didn't take a picture of but you can see here is that I ended up adding some shabby chunky Stampendous white and gold embossing powder to different area's.  Wahoo ready for embellishements now!!  I always lie down my lace or ribbon first because I like building over top.  


So again, here is the completed product.  I also went around and touched with some gesso for a finishing touch . From Prima there are flowers, butterflies and the "US" bulb, Wild Orchid Craft flowers and some gorgeous resin pieces.  


All of these pieces are available from Southern Ridge Trading Company separately but for your convenience Karen has put together a package of all 4 pieces of chipboard and the wooden LOVE piece.

Monday, February 23, 2015

I just love you.

 
It's still the month of Love
and 
I got one of the perfect "love" pieces today for you.
This is one of my favorites. Oh, who am I kidding? They are all my favorites.
 It's the perfect size for such a variety of projects.
 
This is HRT-477
from the February New Releases .
 
 
I knew I wanted to really highlight the heart; so I've kept it relatively simple.
 
I've used a glue pad, stamping the entire area.
Then covering and burnishing in ECD microfine glitter.
Using a heart stencil as a mat, I've sprayed a bit of R38
(with copic airbrush) slightly around the edge.
With Sentiment word stamps, I've stamped the "I love you"
then added a small ribboned WOC bloom and a little sticker heart.
Finally, I've place an image "Flower Girl" from Whimsy Stamps
That I've had colored up with no home.
I really love how it turned out.

I hope you enjoyed my project today and make sure to check out the new designs.
The great thing about the heart/love ones is that they can be used year round.
Take care and I'll see ya soon
Big Hugs,
Dorinda

Saturday, February 21, 2015

Prom 2015

Yes, it's a tad bit early for Prom season, but all the dress shopping going on right now got me excited for what's to come this June! My baby girl is graduating and she's found the perfect dress! 

Karen has got some amazing designs this month that just went with the theme. I either spritzed or stamped all the chipboard shapes with Heidi Swapp Gold Color Shine or Tsukineko Brilliance Galaxy Gold ink & let the richness of the colour speak for it's self!


The golden gilded bird cage Misc-567 (coming soon) goes perfectly with this paper from Bo Bunny! I've had it in my stash for a couple of years and I just knew it was going to work magically with the pieces that I picked out to use. Add in a bird from Nat-295 and they compliment each other beautifully! 


In the lower left corner, I cut up the honeycomb pattern Pat-274, then used a small gear from the set Misc-514 (coming soon) to steady the delicate, vintage clock face Vin-54 (coming soon). 


I finished it off with butterfly die cuts, bling & flowers inked in gold. Now I can't wait to get her picture on this layout when Prom finally arrives! 

Thanks for looking! :)


Wednesday, February 18, 2015

Relax- Guest Blogger

Nicole here and I'm back again for a little "RELAX-ation" post.  A little break from those long winter days where the dark and snow never seem to end!  I have just returned from a family holiday so looks like fun in the sun was on my mind.  I knew as soon as I saw this Relax Welded Word it would involve somehow a beachy scene.
 
I started with the Eileen Hull Canister die from the recent Vintage Kitchen release.  I had no idea where I was going.


I used distress paint to ink the sand and SRTC sea horse.  I used my spritzer and distress marker chipped sapphire and the speckles stencil for his spots.  Then crackled.


I cut some spring greenery for the plants with core paper.


I grabbed a tattered pinecone flower from my handy jar of pre-made flowers and attached.  I attached the little SR Leaf behind the tattered pinecone flower.  These added cuts make all the difference for layering!


For the top of the canister die I used a mini cabinet card.  I used Wendy Vecchi embossing texture paste then tucked this All Occasions card in it. 


I inked the Southern Ridge Trading Company chipboard "Relax" with distress paints, shabby shutters, peeled paint and tumbled glass.


I used twine to frame everything out.  It has a nautical look.


Thanks for stopping by!  I hope this gets you inspired to layer too!


Tuesday, February 17, 2015

A Perfect Catch Artist Trading Card

Valentines is still on my mind ... think I can make it last for the whole week ? 
I made an ATC using the perfect heart from Southern Ridge Trading Company. This is one of the hearts I cut off from the border strip BOR-150, very versatile aren't they hearts :)
 The heart is gesso'd and painted with acrylic paint, the sentiment added to it.
Thanks for visiting :)