Showing posts with label Tiny Bubbles. Show all posts

Wednesday, February 15, 2017

Wonderful, Sweet & Charming Scrapbook Layout with Ava Gavloski

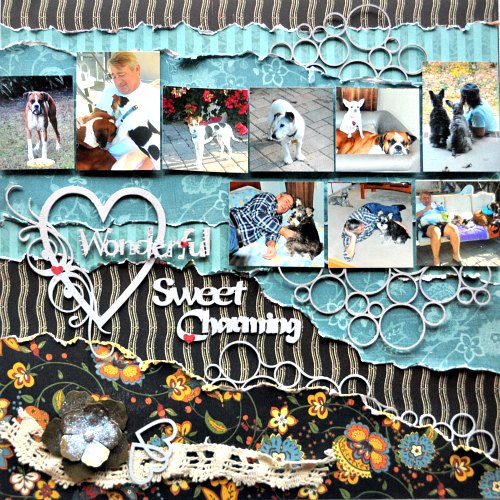
Hey Southern Ridge Trading Company fans, Ava here and I'm here today to share with you a well embellished scrapbook layout.  My husband and I have been on adventure and  this journey lead us to caring for a few dogs.  These pup’s are so loveable.
AvaGavloski-3.jpg

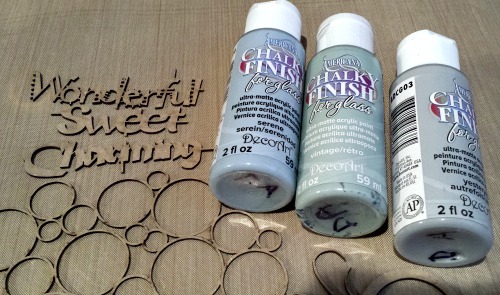
Let’s prepare the chipboard by painting the pieces with DecoArt paints.  I choose the non-traditional love colour of grey to match my photo base colours.
decoartpaint.jpg

DecoArt paint provides great coverage on these chipboard pieces.  You can find a well stocked store and I suggest buying 2 of all the pieces I have here in this layout, as you will love them!

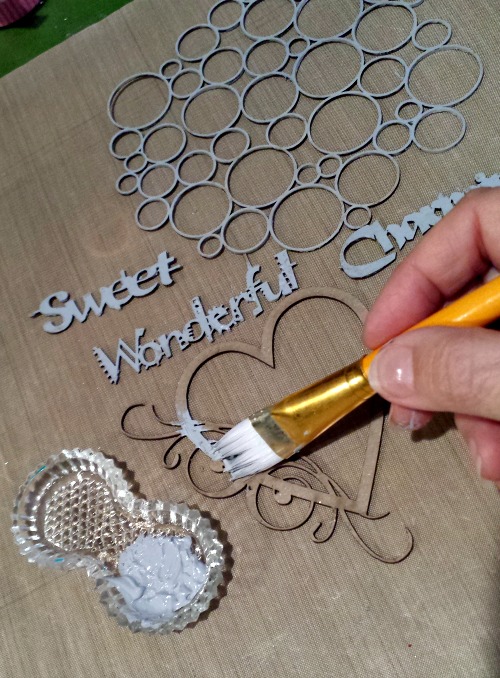
Here is the  tiny bubbles panel.

In the Welded words tab, find the Word Mix # 2

The Taneesha Heart is a new release from Creativation.
chippainted.jpg

Next up was designing my layout with lots of layers of pattern paper.  Tearing, distressing and balancing the pictures into a pleasing presentation of paper and chipboard from Southern Ridge Trading Co.  Lots of texture…..
top bubbles.jpg

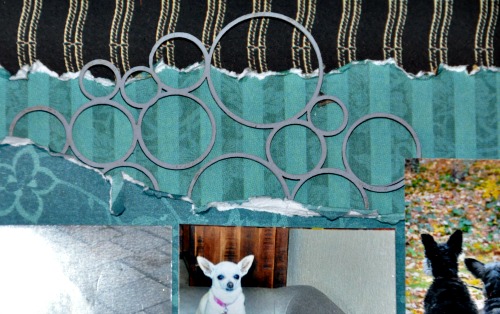
Love this bubble panel from the store.  I cut the panel into sections to layer between the cardstock panels.

heart.jpg

Be sure to when visiting the store to purchase 2 panels of the bubble and 2 of the YTBR heart chipboard.  Love love this heart design…..

One last look at a well embellished layout.
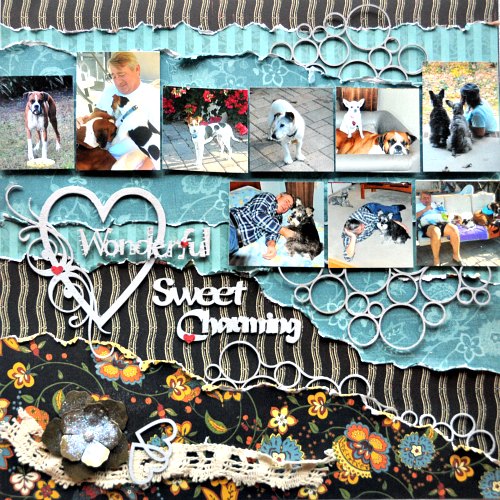
AvaGavloski-3.jpg

Southern Ridge Trading Company Products Used:


Other Supplies Used:

- Graphic 45 pattern paper and embellishments
- Clearsnap Fairy Glitter Dust
- Xyron Adhesive
- DecoArt paint

Thanks for visiting and let us know which chipboard piece you like on this layout.

- Ava

Wednesday, October 19, 2016

Grungy Rust Butterfly Scrapbook Layout with Karen Bearse

Karen Bearse here today with a grungy, rust effect butterfly layout. I got to use lots of fun Southern Ridge Trading Co. chippies on this one. It has been a long time since I made a scrapbook layout but here it is!

I played with rust effects for the first time & will definitely be using this product more. Mixed in some crackle paste just to see what would happen. I did get some small cracks which you can see on the doily. Fun!


Here are some detail shots. My chipboard pieces were painted with black acrylic paint & either distressed with paint or the rust effects. I also did some pen work to highlight some of the images.


I am still trying to figure out where July went but I did use fall colours on my layout as this month’s challenge is anything fall so I hope you join in!!

Southern Ridge Trading Co. Supplies Used:


Other Supplies Used:

- Prima Marketing: Flowers, Finnabair Mechanicals & Rust Effect Paste
- Ranger Ink: Distress Paint-Black Soot, Mermaid Lagoon
- Tim Holtz for Sizzix: Tim Holtz Gearhead
- Emerald Creek Craft Supplies:Silver & Blue Rhinestone Brad
- The Paper Studio: Newsworthy Paper
- Posca pen


Remember to play along in the monthly challenge over on the 
Southern Ridge Trading Company blogEach month enter for your chance to win 4 designs from the online store - chipboard.ca -$20 (before tax) retail value of YOUR OWN CHOOSING! 

- Karen


Wednesday, October 5, 2016

Shabby Chic Frame - All That's Gold with Karen Bearse

Hello Inky Chipboard Fans, Karen Bearse here today with a shabby, chic frame with gold accents. I am helping my 12 year old daughter to move into her gone to college brother’s room. I thought I would surprise her with a custom DIY frame using the colours she has chosen. This project is actually quite simple and the only hard part is waiting on crackle paste to dry!


Here is my finished frame. The picture is one of my favourites from when my daughter was very young.  Let’s get started! You can use any wooden frame, I just bought an inexpensive one from the craft store but this would also be a great way to repurpose one you already own.


Step 1: Cover frame with acrylic paint, I used a combo of paint to get the desired colour. Make sure to paint the sides also. Tint Texture Sand Paste with similar colours & scrape it thinly in random spots on the frame. Distress as desired including sides of frame.


Step 2: White crackle paste can be coloured by mixing in 20% fluid or regular acrylic paint. I choose to leave mine white.  Place a chip board piece with open spaces in it & scrap a layer of your crackle paste using a spatula, in the open spaces. Keep the paste level with the chip piece by scrapping across the top. Gently remove chippie. For this step I used part of the Tiny Bubbles cutting out the pieces I wanted. I let the paste dry on the chipboard & carefully picked it off using a pokey tool. Designer’s choice- either heat emboss or paint the chipboard pieces. Set the frame aside to let the crackle cure. Do not heat set. This will take a few hours. The cool part is the background paint shows through the cracks.


Step 3: Paint and heat emboss a few accent chipboard pieces using your chosen colour palette. I painted the pussy willows white, & used an embossing pen to heat emboss the leaves of this chippie in gold. The peacock feather was painted in Bahama Blue & distressed with some white. It was then stamped with a detailed image using embossing ink & heat embossed in the same gold colour.


Step 4: Assembly! Once the crackle paste is dry on your frame, replace your chosen chippies back into place using a strong wet glue. Adhere your other pieces. Pop your photo in & voila!! I hope you enjoyed this tutorial. Leave any questions or comments below. Have a fun inky day and remember to join us this month in our challenge-you could win chippie$$$!!!

Southern Ridge Trading Co. Supplies Used:


Other Supplies Used:

- Deco Art: fluid acrylic & Americana acrylic paint, Crackle Paste, Texture Sand Paste.
- Ranger Ink: stamps, perfect medium.
- Recollections: embossing powder.
- Zig: embossing pen.
- Michaels: Unfinished Frame.

- Karen