Showing posts with label Say Yes to the Dress. Show all posts

Friday, July 12, 2019

I Said Yes to the Dress Layout with Gloria Lee

Hello crafty friends!
Happy Friday!!!

Gloria here today and happy to share of my project.
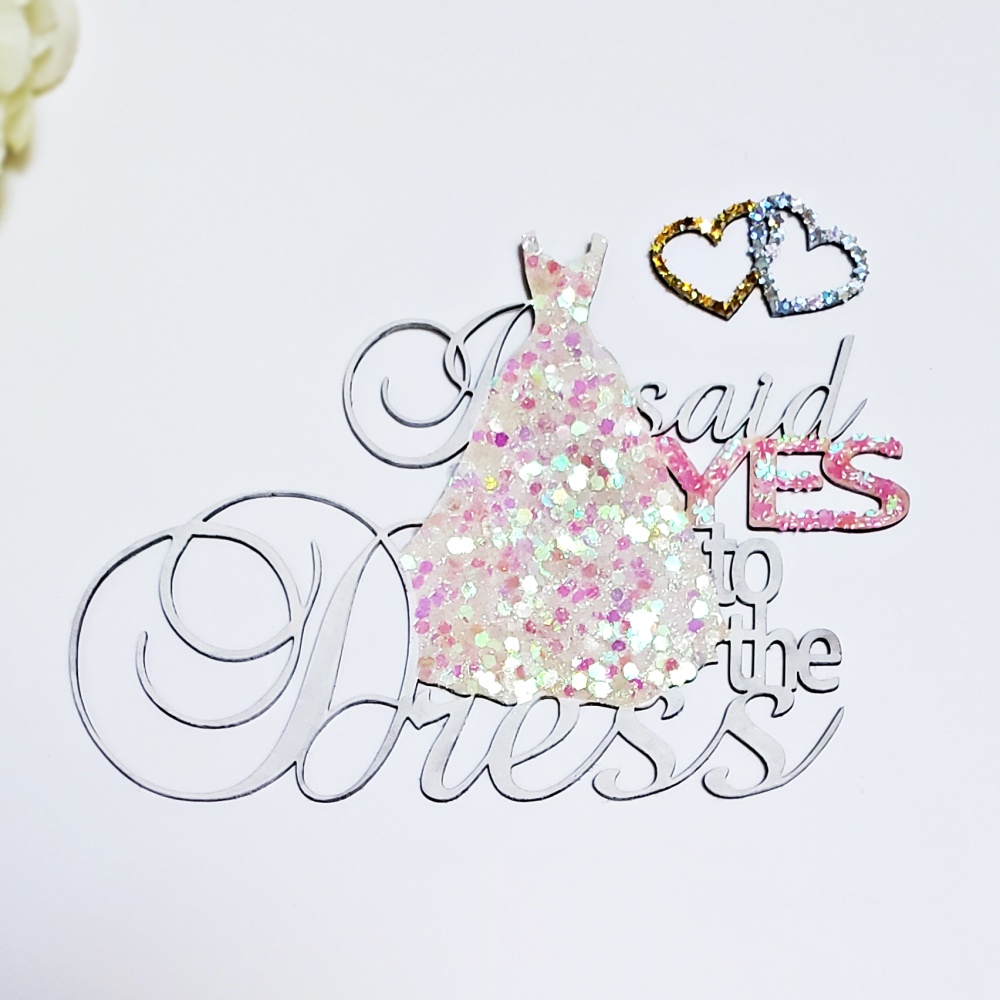
 I made a wedding scrapbooking layout using Say Yes to the Dress and Mini Connected Hearts chipboard die cut from Southern Ridge Trading Company Shop.

I made a 12' x 12' layout with my wedding photo.


When I saw the Say Yes to the Dress Chipboard, I decided to make a wedding page.
First, I coloured the Say yes to the Dress and Mini connected Hearts chipboard with white paint and I covered the dress, yes and hearts with Glossy accents and added glitters.

I painted a part of 12'x12' white card stock with watercolours and added some ink splatters all over the panel.


I cut some papers and adhere on the base card stock.


I stamped some flowers on a tracing paper with embossing ink, white heat embossed them and fussy cut them with my Cutter Bee scissors.  


I adhere my 15 years ago photo , the beautiful chipboards and the flowers .
The chip boards are so beautiful. 
The mini connected hearts is so adorable and perfect for wedding cards.


The hearts make cards so beautiful.
I made this card for our church member's wedding.


Southern Ridge Trading Company Supplies Used:


Thank you so much for stopping by and have a wonderful day!
Happy crafting!

Thursday, November 15, 2018

I Said Yes to the Dress Scrapbook Layout with Deonna Riegler

Hello all my artistic friends,
This is my first project for November that I made for the Southern Ridge Trading Company Design team.

I made this layout of my new daughter in law’s wedding dress.  It was such a beautiful day and she is such a beautiful woman on her happy day.  I just had to make this page of her!

First I took the “Love” word and misted it with black distress ink then I heat set it and applied a layer of shimmering paint on top.  I then took the “say yes to the dress” chipboard and misted it with red ink then I heat set it and applied a layer of shimmering paint on top.  Then put them both aside to dry.


I took my papers and picture to decide how I wanted to lay out the page.  I matted the picture with several papers. Inked the edges and applied the photo.  Placed a large red feather behind the picture, cut some tags of various shapes out of papers and matted some saying with paper to bring the focal to the train of her dress, made sure to add the date and attached everything with pop dots.  


I then decided how I wanted my chipboard pieces to best pop and then attached them with tape runner and liquid glue.


Southern Ridge Trading Company Supplies Used:


Hope you enjoy this page as much as I enjoyed the wedding!
Happy crafting,
Deonna