Hello blogger friends!
Charlene Here!
February is the month to celebrate your loved ones! Today I’m sharing a layout I designed with my hubby and I. The photo was taken during one of my favourite photo shoots ever…I love the old truck!
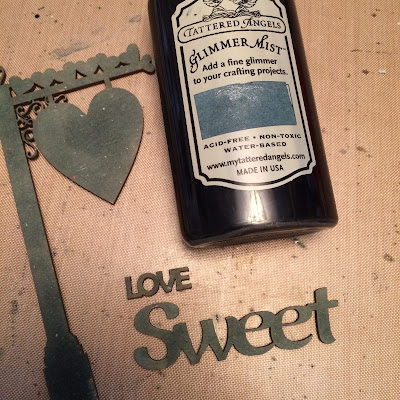
To start I added Glimmer Mist to the lamppost sign, the words and the fence. If you read my last blog post you’ll know I get frustrated when my Glimmer Mist bottles get clogged up! So instead of battling with them, I simply grab a paint brush and dip it in the bottle. Works like a charm!
Once they were dry I randomly dabbed White Distress paint on them.
Then I gave it a light mist of Perfect Pearls mist to give it some shimmer.
To finish it off I rubbed Pumice Stone Distress ink over the top of the chipboard pieces.
(Oh and FYI…I cut the fence into 2 pieces for the layout)
Then because the photos were taken in the snow I wanted the heart and the corner swirl to have some glitter!
I started by painting them both with white paint. Then I added some Glue and Seal adhesive to them so I could glue some Tim Holtz Distress Glitter to them. I was so happy with the outcome. The Distress Glitter gave it just the right amount of shimmer!
Southern Ridge Trading Company Products Used:
Other Products Used:
- We’R Memory papers
- Lace & String
- Paper Doilies
- Prima Marketing Flowers
- Tim Holtz for Ranger Ink: Distress Glitter, Picket Fence Distress Paint and Pumice Stone Distress Ink
- Ranger Ink: Glue n’ Seal and Perfect Pearls Mist
- Tattered Angels: Glimmer Mist
I hope you’ve enjoyed today’s layout.
Happy Creating!!
Charlene


Love, love, love this layout. Great pointers about mists, I have the same , yucky problem. Such a simple and effective technique.
ReplyDeleteLove the layout Charlene! Great tutorial too- adding paint to mist!
ReplyDeleteGreat treatment on the chipboard pieces by Southern Ridge Trading Co.
ReplyDelete