Showing posts with label Foliage Round Frame. Show all posts

Friday, August 18, 2017

Life Lesson Number 25 with Deb Riddell

Hello and thank you for stopping by, Deb Riddell here today to share a mixed media project with you that I’m calling ‘Life Lesson Number 25’.


It was created with Southern Ridge’s Foliage Round Frame, Birds On Branch and a page from the Sprocket Album chipboard album along with their Heart stencil, read on for my how to.

I started by using a Deco Foil Adhesive pen to apply some glue to the bare chipboard Foliage Round Frame and once the glue was tacky, Rebekah Meier Designs’ Patina Transfer Foil was burnished over top.  Perfect Pearls powders in Forever Blue and Forever Green were then dabbed onto the lost and found areas where the foil hadn’t transferred completely and the powders sealed into place by gently wiping the frame with a lightly dampened paper towel.


I had a portion of the Birds On Branch chipboard piece left over from another project, so I trimmed it down to size and basecoated it with Bittersweet Chocolate Americana acrylic paint.  The entire piece was then stamped with Antique Linen Distress Oxide ink and the Floret background stamp.  The contrast between the background and the stamped design was a little too bold for the look I was going for so I wiped the still wet Distress Oxide ink off with a damp baby wipe and shazam! look at the wonderful ghost print I was left with!!


I love it when a mistake results in a fabulous new discovery don’t you?  I will be experimenting with this technique lots more, love, love, love the effect.  I wanted to emphasize that ghostly design so I sealed the piece with some Distress Micro Glaze (so that any of the Distress Oxide ink left on the chipboard wouldn’t react), heated the piece to set the Micro Glaze and then finished it off with a coat of Gloss Americana Dura-Clear varnish.

A piece of Rebekah Meier Designs Mixed Media Art Paper was cut out to about 6” x 6” and painted with a slip slap layer of Tumbled Glass Distress Stain.   Once the stain had dried, the Heart stencil was used to stencil some tone on tone hearts over the background with Tumbled Glass Distress ink.


A page from the Sprocket chipboard album was painted with a coat of white acrylic paint and the pre-punched holes on the page filled with hot glue to fill the voids.  The backing paper was removed from the prepared stenciled Art Paper (it has an adhesive backing) and the chipboard album page covered completely.  The edges of the album page were shaded here and there with Stormy Sky Distress ink.

The phrase ‘always be a dreamer’ was stamped onto the album page with a Simon Says Stamp BE 3x4 stamp set and Black Soot Archival ink.


I chose the number 25 Mini Plaquette and dipped the accompanying brads in some Snow Cap alcohol ink mixative to colour them white.  I wanted the Index Clip to have the same chippy enameled look as the mini plaquette so I coloured it with Pitch Black alcohol ink and then added some Glacier White Enamel Accents to the front of the clip, worked like a charm!


And finally a couple of Mirrored Stars and Mirrored Hearts were coloured with Stonewash alcohol ink.

The plaque was then assembled; the Foliage Round Frame was centered onto the plaque and the Birds On Branch bird positioned overtop, supporting the chipboard as necessary with small pieces of black fun foam.


The Mirrored Stars and Mirrored Hearts were scattered here and there,


the mini plaquette was added to the top right corner,


and the enameled Index Clip added to the left side of the plaque with a little ‘life lesson’ note inserted into it that I printed out on the computer and coloured with Old Paper Distress ink.


I hope that you’ve enjoyed seeing how my Life Lesson Number 25 mixed media plaque came together, think that one of my nieces will be receiving this as a gift sometime in the near future!


Southern Ridge Trading Company Supplies Used:


Other Supplies Used:

- Tim Holtz / Ranger Ink: Distress Ink, Distress Oxide Ink, Distress Stain, Distress Micro Glaze, Alcohol Ink, Enamel Accents, Archival Ink and Perfect Pearls
- Tim Holtz / Advantus: Mini Plaquettes, Index Clips, Mirrored Stars and Mirrored Hearts
- Tim Holtz / Stampers Anonymous: Floret stamp
- Therm O Web: Rebekah Meier Designs Transfer Foil, Rebekah Meier Designs Mixed Media Art Paper, Deco Foil Adhesive Pen and Mixed Media Adhesive
- DecoArt: Americana Acrylic Paint and Americana Dura-Clear Varnish
- Simon Says Stamp: BE 3x4 Clear Stamp set
- Miscellaneous: computer and printer, scissors, E6000 glue and fun foam

Thank you again for stopping by today and as always, happy creating!


Friday, February 17, 2017

Happy Birthday Tag with Katelyn Grosart

Hey there Southern Ridge Trading Company fans, Katelyn here. Spring will soon be here, so today I've created a Happy Birthday tag that is perfect for that special someone in your life. Read below and learn how I transformed my chipboard pieces to create my Happy Birthday Tag.


To start, pull out two of the Leafy Branches. Apply two coats of Peeled Paint Distress Paint to each of the leafy branches. Set the branches aside to dry. Once the branches have dried, ink the edges of the branches using Black Soot Distress Ink and a blending tool.


Select one of the Happy Birthday sentiments (coming soon). Apply two coats of Mustard Seed Distress Paint to the Happy Birthday sentiment. Set the Happy Birthday sentiment aside to dry. Once the sentiment has dried, ink the edges of the Happy Birthday using Black Soot Distress Ink and a blending tool.


Take two of the Marked Butterflies out of the package. Apply two coats of Broken China Distress Paint to the butterflies. Set the butterflies aside to dry. Once the butterflies have dried, apply a coat of Emboss It Ink to each butterfly. Sprinkle Fine Clear Gloss Embossing Powder to each butterfly. Tap off excess powder and emboss with your heat tool. Ink the edges of each butterfly using Black Soot Distress Ink and a blending tool.


Cut the foliage part off of the Foliage Oval Frame (get rid of the excess chipboard). Using a distress tool, blend Mowed Lawn and Forest Moss Distress Ink over the foliage. Ink the edges of the foliage using Black Soot Distress Ink and a blending tool. Set foliage aside.


Next, you'll need the Foliage Round Frame. Using a distress tool, blend Spiced Marmalade and Barn Door Distress Ink over the entire frame. Once the frame has been inked, apply a coat of Emboss It Ink to the frame and sprinkle Fine Clear Gloss Embossing Powder over top of it. Tap off the excess powder and emboss with your heat tool. Ink the edges of the foliage frame using Black Soot Distress Ink and a blending tool. Set the foliage frame aside.


Take out one of the Swirl Corners #2. Apply two coats of Peeled Paint Distress Paint to the swirl corner. Set the swirl corner aside to dry. Once the swirl corner has dried, ink the edges of the branches using Black Soot Distress Ink and a blending tool.


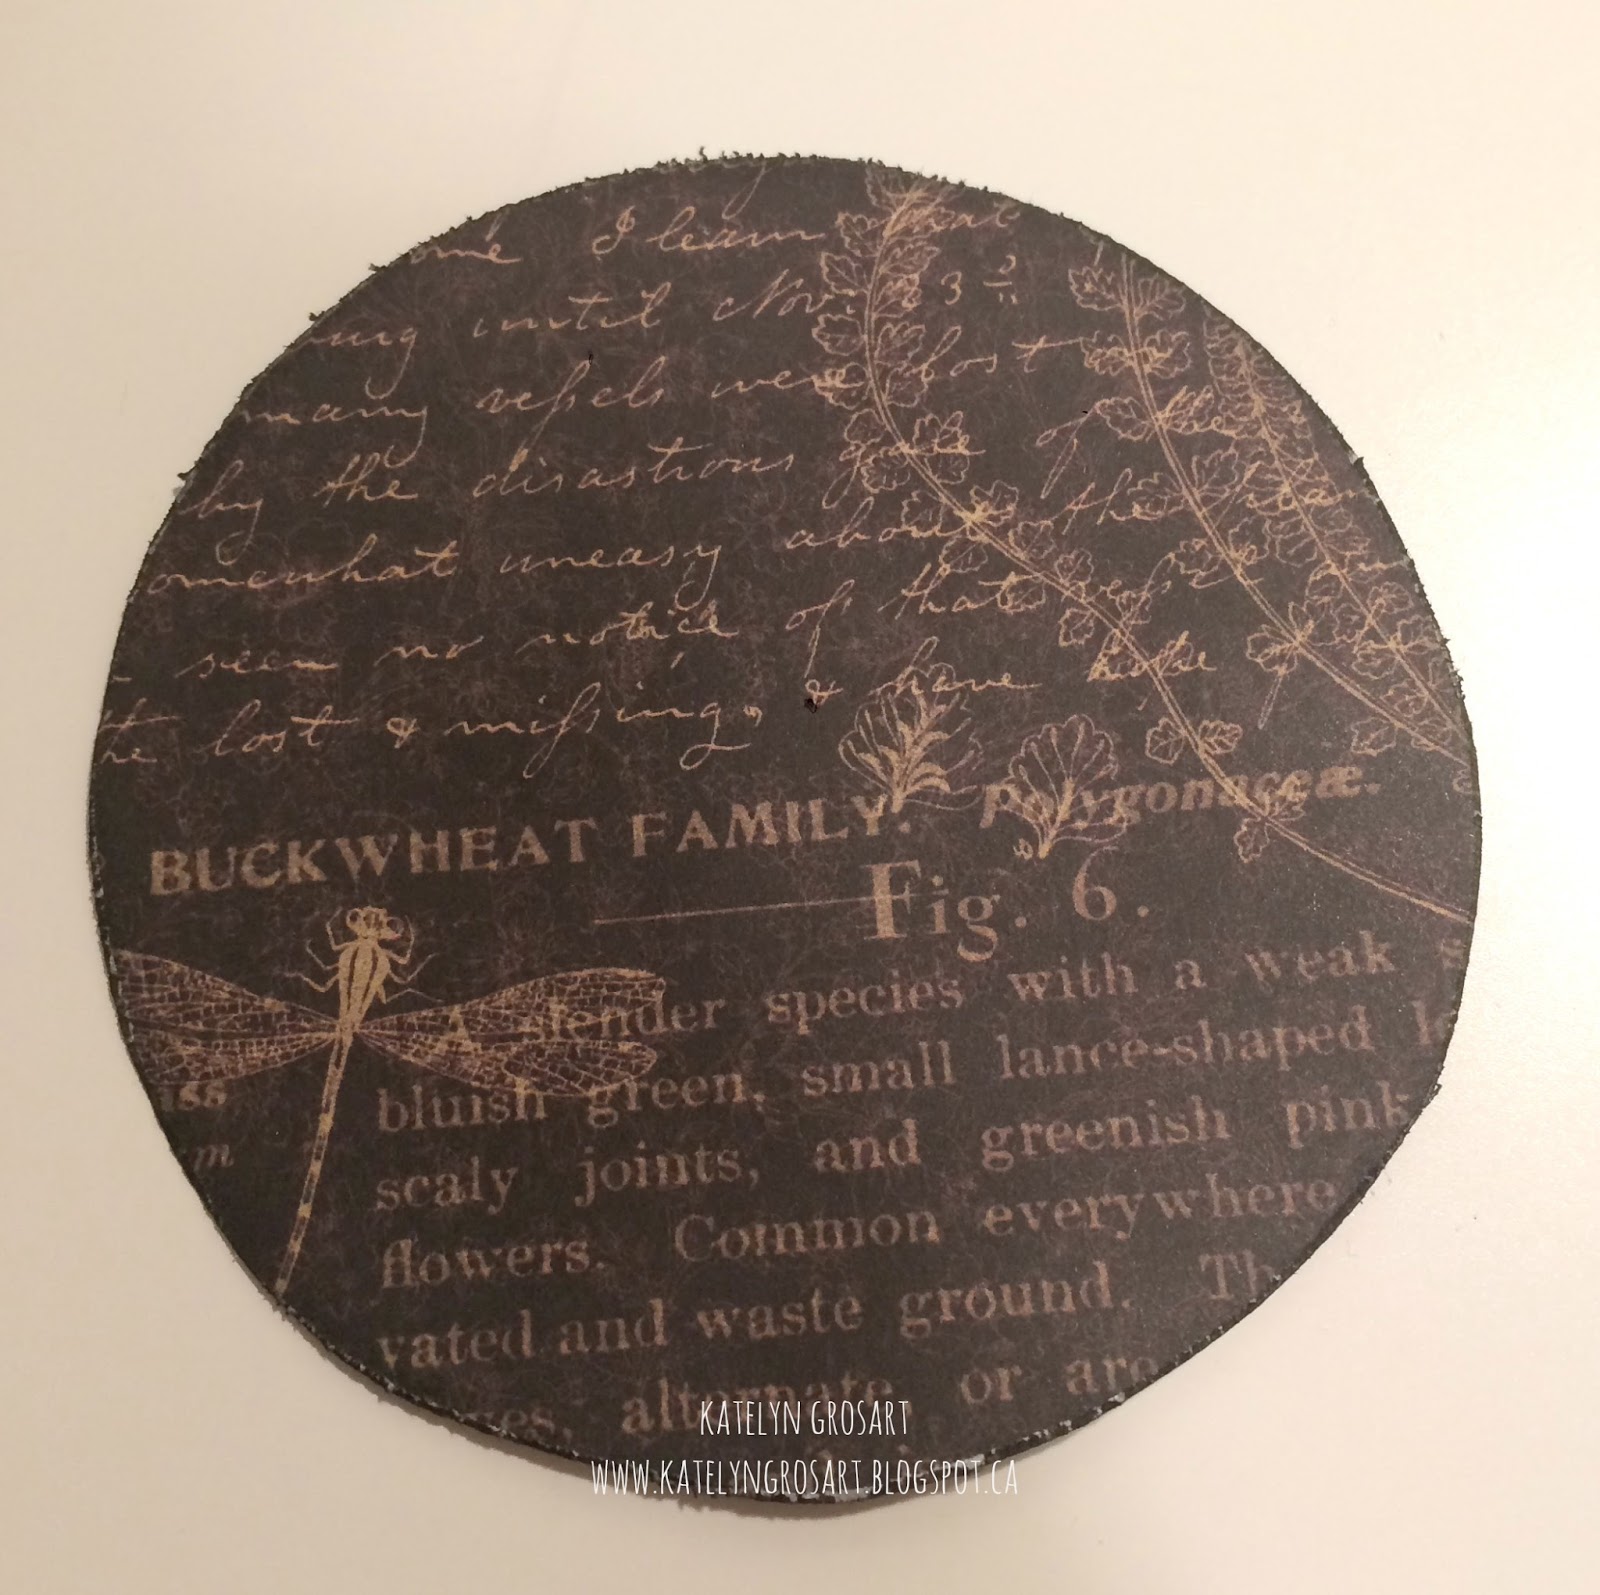
Trace the Foliage circle frame around the Honeycomb Pattern. Apply two coats of Carbon Black Paint to the honeycomb pattern. Set the honeycomb pattern aside to dry. 


The last piece of chipboard you'll need to take out is one of the Delicate Lace Doily's from it's package. Cut the doily in half and then cut that half into quarters. Once the doily has been cut, apply two coats of Carbon Black paint to each doily piece. Set the doily pieces aside to dry.


Before starting the assembly of your tag, you'll need to trim the #12 Giant Tag down to 8" long.


Trace the tag around a piece of patterned paper. Cut out the patterned paper tag. Cut a second piece of patterned paper that measures 4 7/8" x 7. Cut a third piece of patterned paper that measures 4 5/8" x 6 3/4". Once all the patterned paper pieces have been cut, distress the edges of the papers and then ink the edges of the patterned papers using Black Soot Distress Ink and a blending tool.


Trace the honeycomb pattern piece around a piece of patterned paper. Cut out the patterned paper piece. Distress the edges of the circle and then ink the edges of the circle using Black Soot Distress Ink and a blending tool.


Now it's time for the assembly of the tag. Adhere the patterned paper tag to the tag. Adhere the second piece of patterned paper to the now paper tag. Adhere one of the doily pieces to the top left hand corner of the adhered patterned paper. Adhere the second doily piece to the bottom right hand corner of the adhered patterned paper.


Adhere the third piece of patterned paper overtop of the doily and the second patterned paper. Roll down the top left hand corner on the third adhered patterned paper piece to show part of the doily. Roll up the bottom right hand corner on the third adhered patterned paper piece to show part of the doily.


Adhere the honeycomb pattern piece to the circle patterned paper.


Adhere the Foliage Circle Frame to the honeycomb pattern.


Adhere the swirl piece of chipboard to the middle left of the tag. Adhere the foliage piece overtop of the middle of the swirl. Make sure a bit of the swirl corner is showing on the left and right hand side of the foliage.


Foam Square the top of the Foliage Circle Frame and add adhesive to the bottom of the frame. Adhere the frame to the middle of the tag. The bottom portion of the frame will sit on the foliage you just adhered.


Adhere one of the leafy branches on the bottom left hand side of the frame. Adhere the second leafy branch to the bottom right hand side of the frame. Adhere one of the butterflies in the top left hand corner of the frame. Adhere the second butterfly to the bottom right hand corner of the frame.


Adhere the Happy Birthday Sentiment to the middle of the Foliage frame.


In the top left hand corner around the butterfly, adhere three black roses and two cream roses. In the bottom right hand corner around the butterfly, adhere seven black roses, two small white roses and one large white roses. Note: Once I finished the tag I decided to get rid of the bow, so add one large white rose and one black rose where the bow is currently sitting.


To finish in amongst the butterflies and flowers, adhere Citrine and Moissanite Gemstones in any spots you feel that need some extra bling. Punch a hole at the top of the tag and adhere a cream ribbon bow. 


Here are a few close ups of the finished Happy Birthday Tag.


Here's the finished Happy Birthday Tag.


Southern Ridge Trading Company Supplies Used:

- Happy Birthday (coming soon)
- 10mm Roses: Black and White

Other Supplies Used:

- Emerald Creek Craft Supplies: Fine Clear Gloss Embossing Powder, Citrine Gemstones and Moissanite Gemstones
- Tim Holtz for Ranger Ink: Distress Ink - Black Soot, Mowed Lawn, Forest Moss, Barn Door & Spiced Marmalade, Distress Paint - Broken China, Mustard Seed and Peeled Paint
- Ranger Ink: Emboss It Ink - Clear (dabber), Glossy Accents and Craft Tags #12 Giant Tags: Kraft
- DecoArt Media Fluid Acrylics: Carbon Black
- Tombow: Aqua Mono Liquid Glue
- Graphic 45: Nature Sketchbook - Plant Kingdom, Wildflower Bouquet and Monarch Butterfly
- Hug N' Snug Seam Binding Ribbon: Cream
- Misc: Heat Tool and White Resin Roses


Until Next Time!

-Katelyn